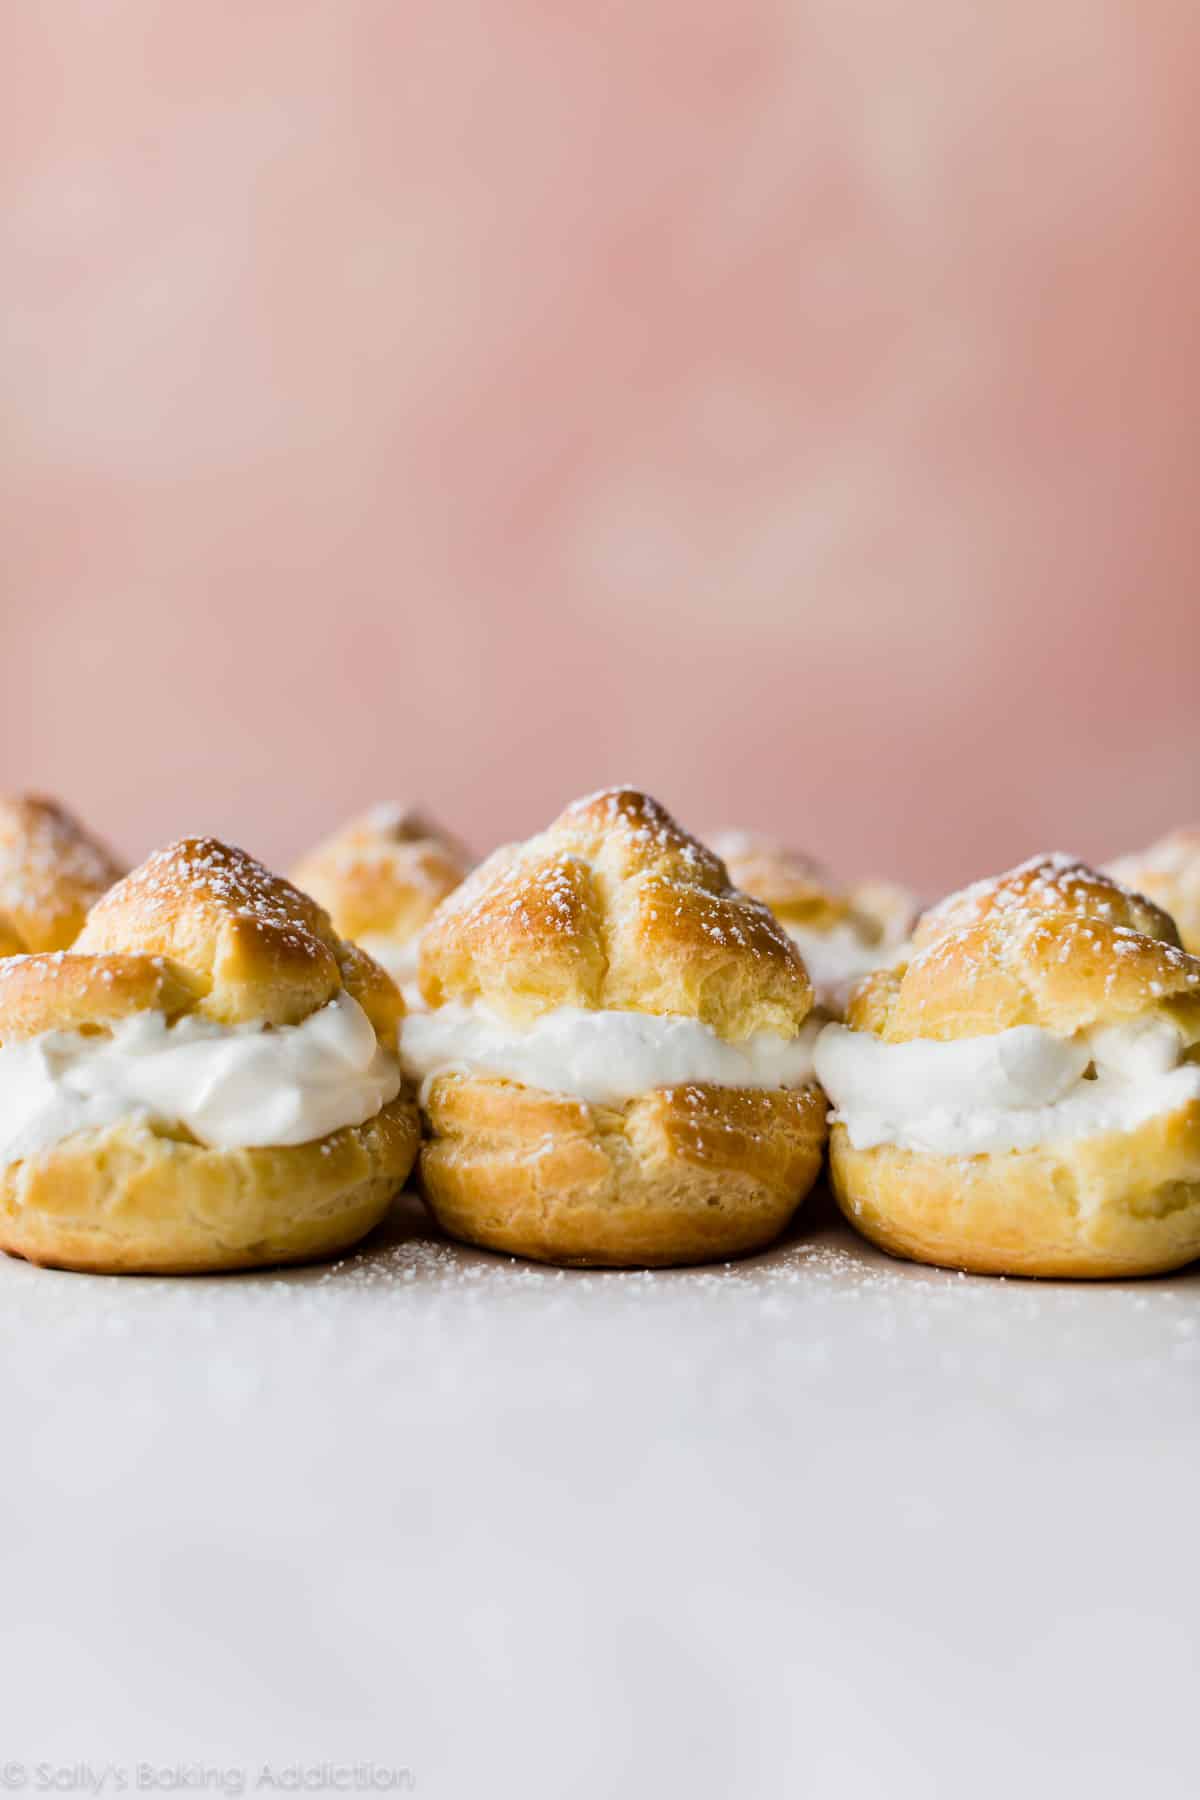
Today I’m teaching you how to make choux pastry (pâte à choux) with about 100 pictures to show you how it’s done. If you’re not digging all the step-by-step photos, video tutorial, and explanations, scroll down to the recipe to get started. 🙂
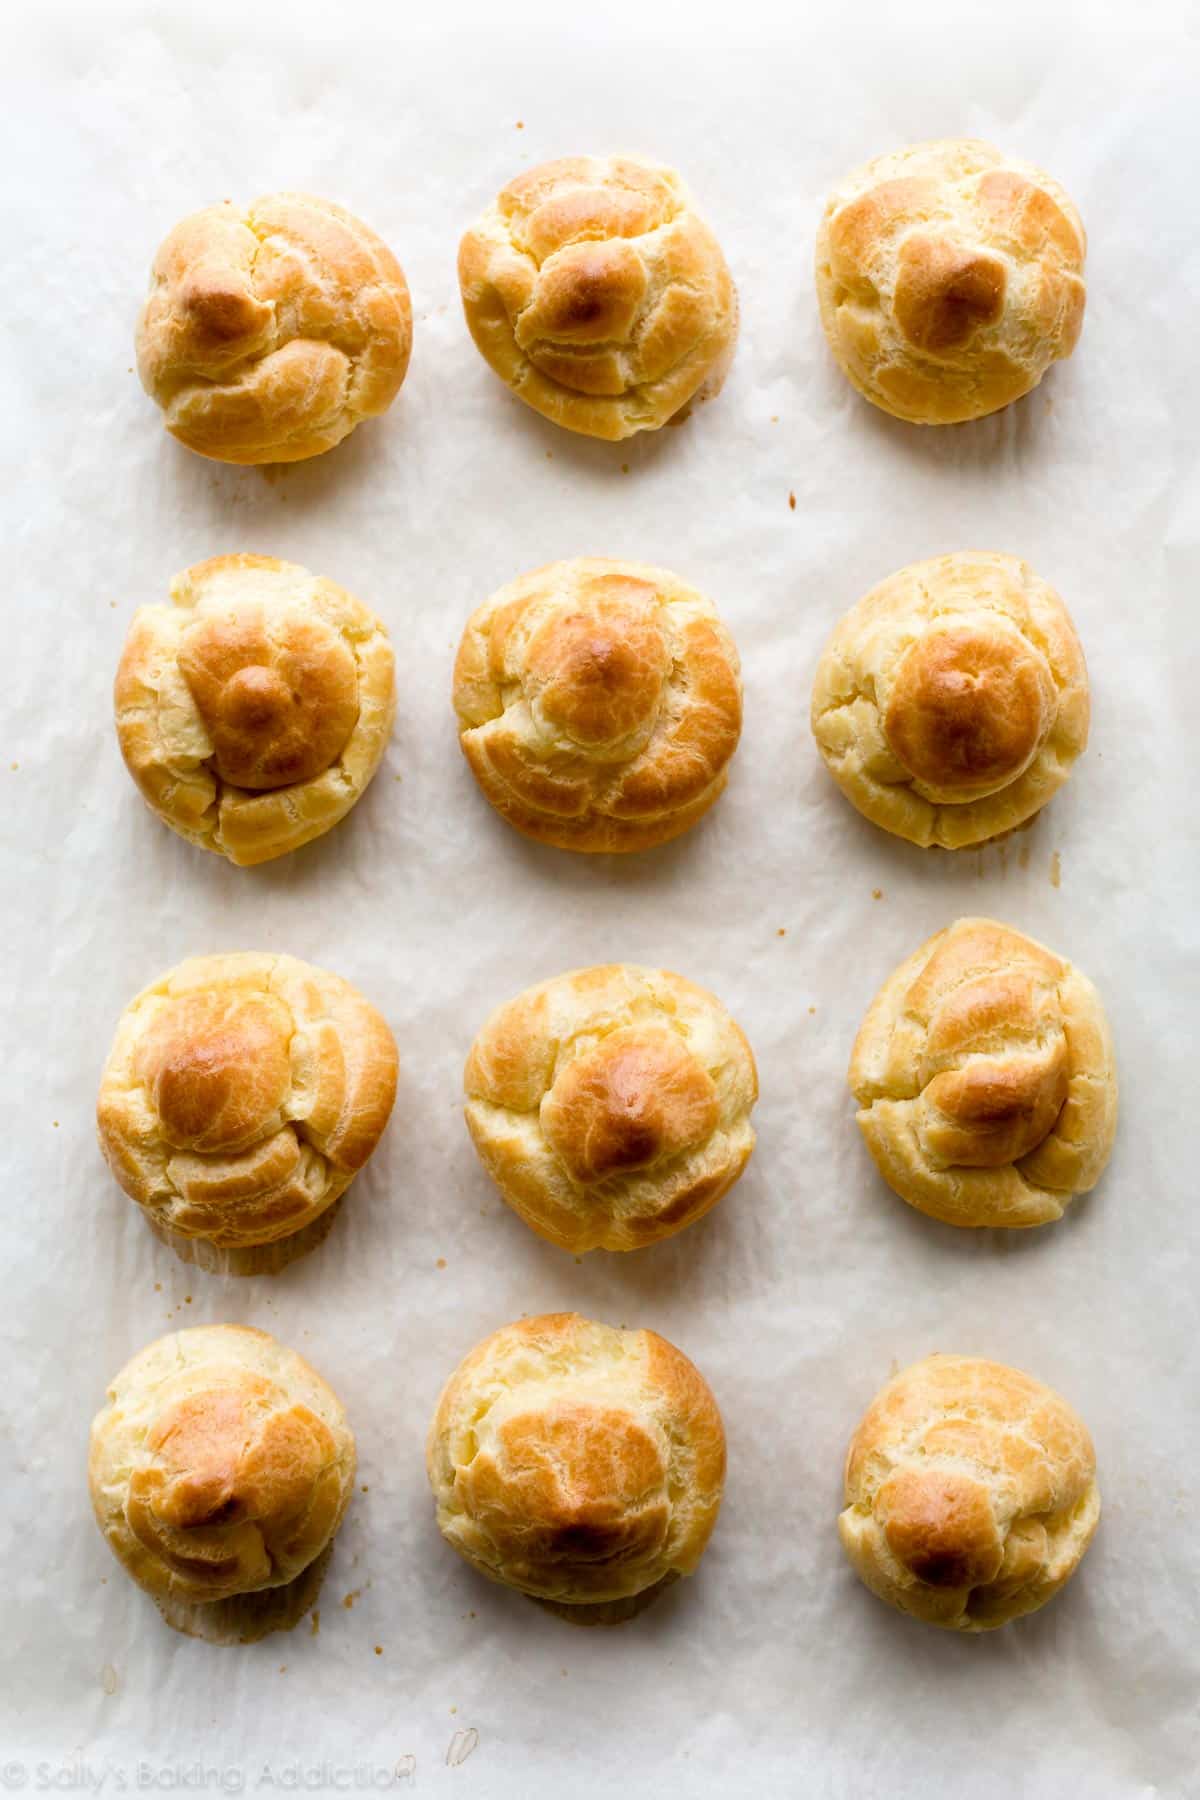
By popular request, we’re tackling a French pastry dough: choux pastry, pronounced shoe pastry. Or, in French, pâte à choux. I learned how to make choux pastry in the French baking class I took earlier this summer. We spent an afternoon diving deep into this versatile classic and I’m sharing everything I learned with you today.
“Choux” means cabbage. So, in other words, cabbage pastry. Why is it called “cabbage” you ask? The name comes from the resemblance the pastry has to tiny cabbages. When baked, the pastry puffs up with little crinkles and ruffles—pictured above. Little cabbages! But instead of cabbage pastry, let’s simply call it choux pastry.
Like other French pastries such as croissants or even croissant bread, choux has the reputation for being difficult, but—as I witnessed with several other bakers in our French pastry class—it’s surprisingly simple. Master this easy recipe and you can make many pastries most bakers are scared to try. Pipe logs and fill with pastry cream for eclairs, pipe dollops and sandwich with whipped cream or ice cream for cream puffs and profiteroles, mix it with cheese and herbs for savory gougères, deep fry it for churros, French cruller donuts, choux beignets, the list goes on.
Choux pastry is a wonderful recipe to master because if you stick to the 1 basic recipe below, the door to DOZENS of other pastries is wide open.
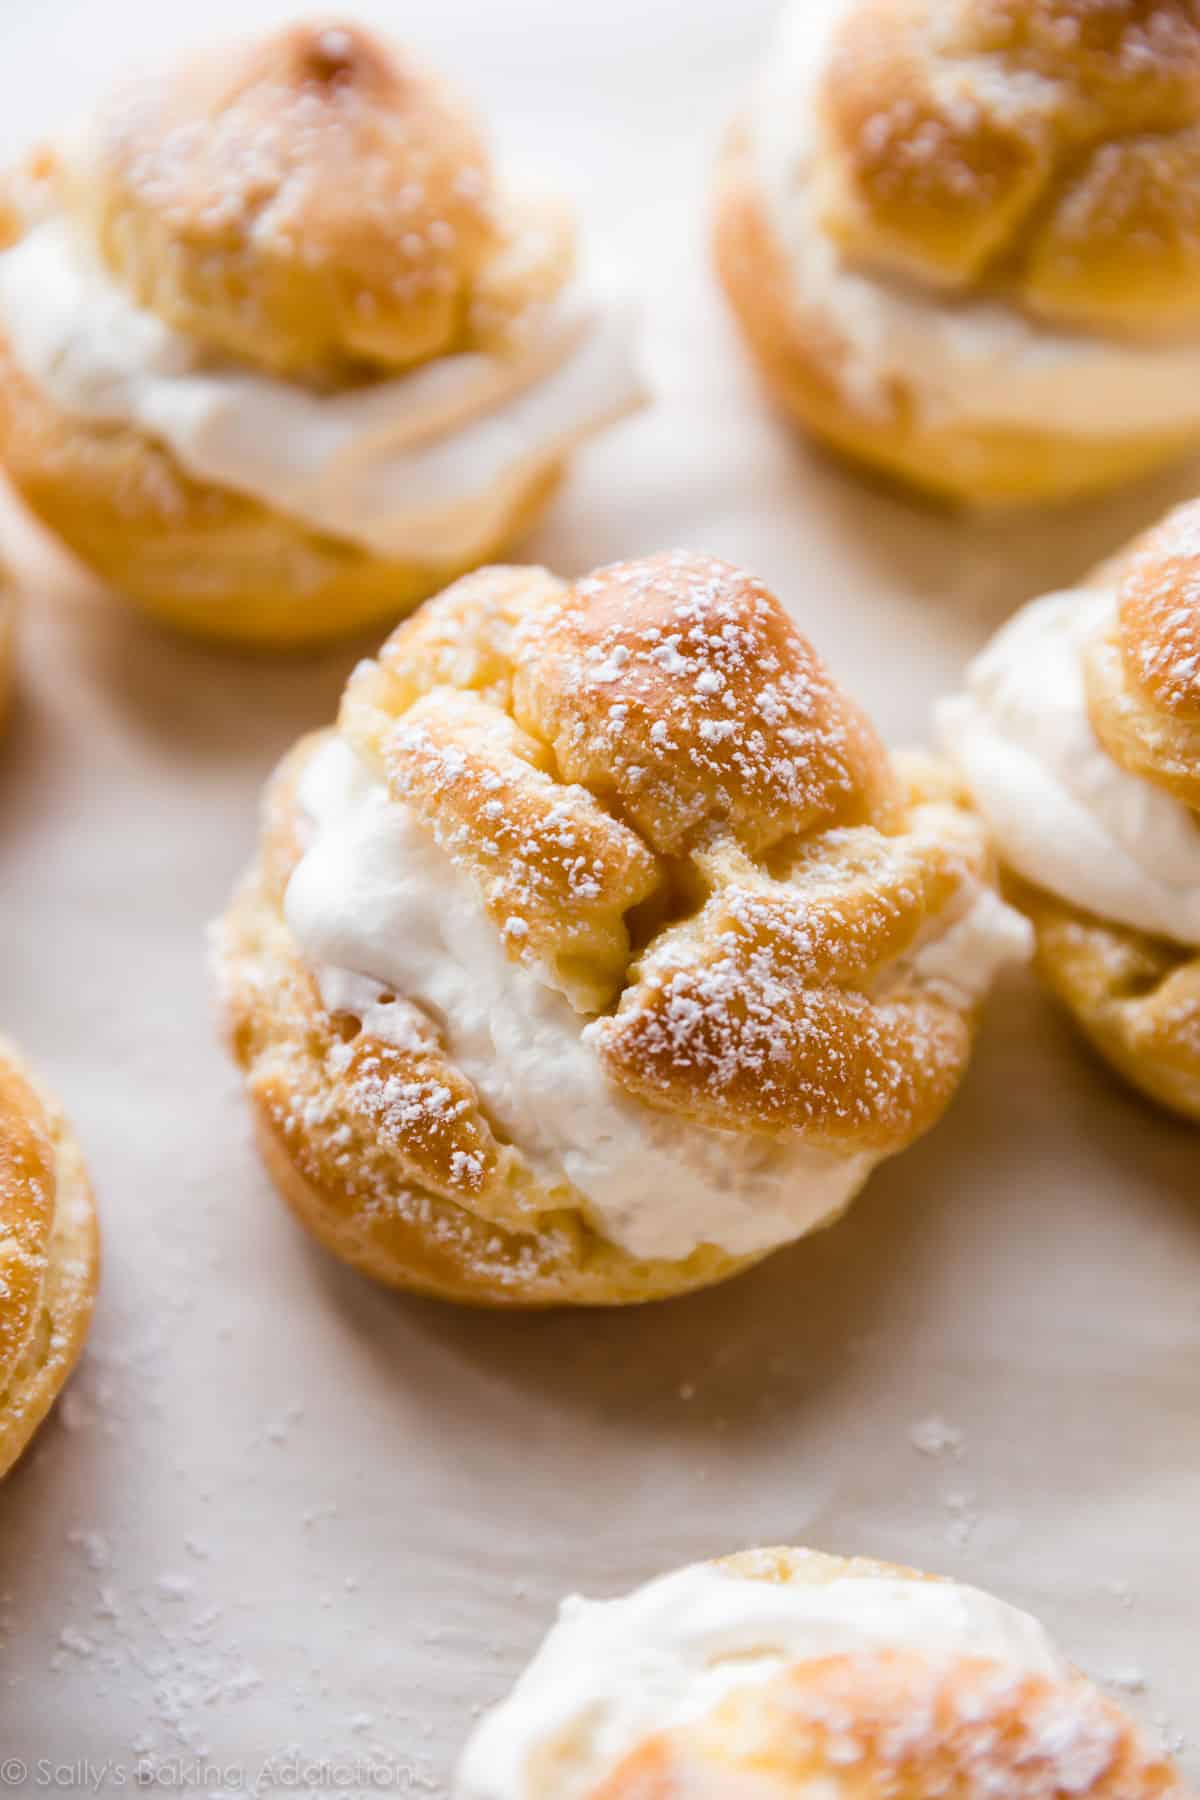
Today I’m showing you how to make sweet cream puffs and profiteroles. Later this week, I’ll show you how to make eclairs. (Update: here is the eclairs recipe!) Feel free to use this basic choux dough in any of the pastries listed above!
TWO SIMPLE RULES FOR CHOUX PASTRY
- Stick to the ingredients and measurements
- Don’t open the oven while it bakes
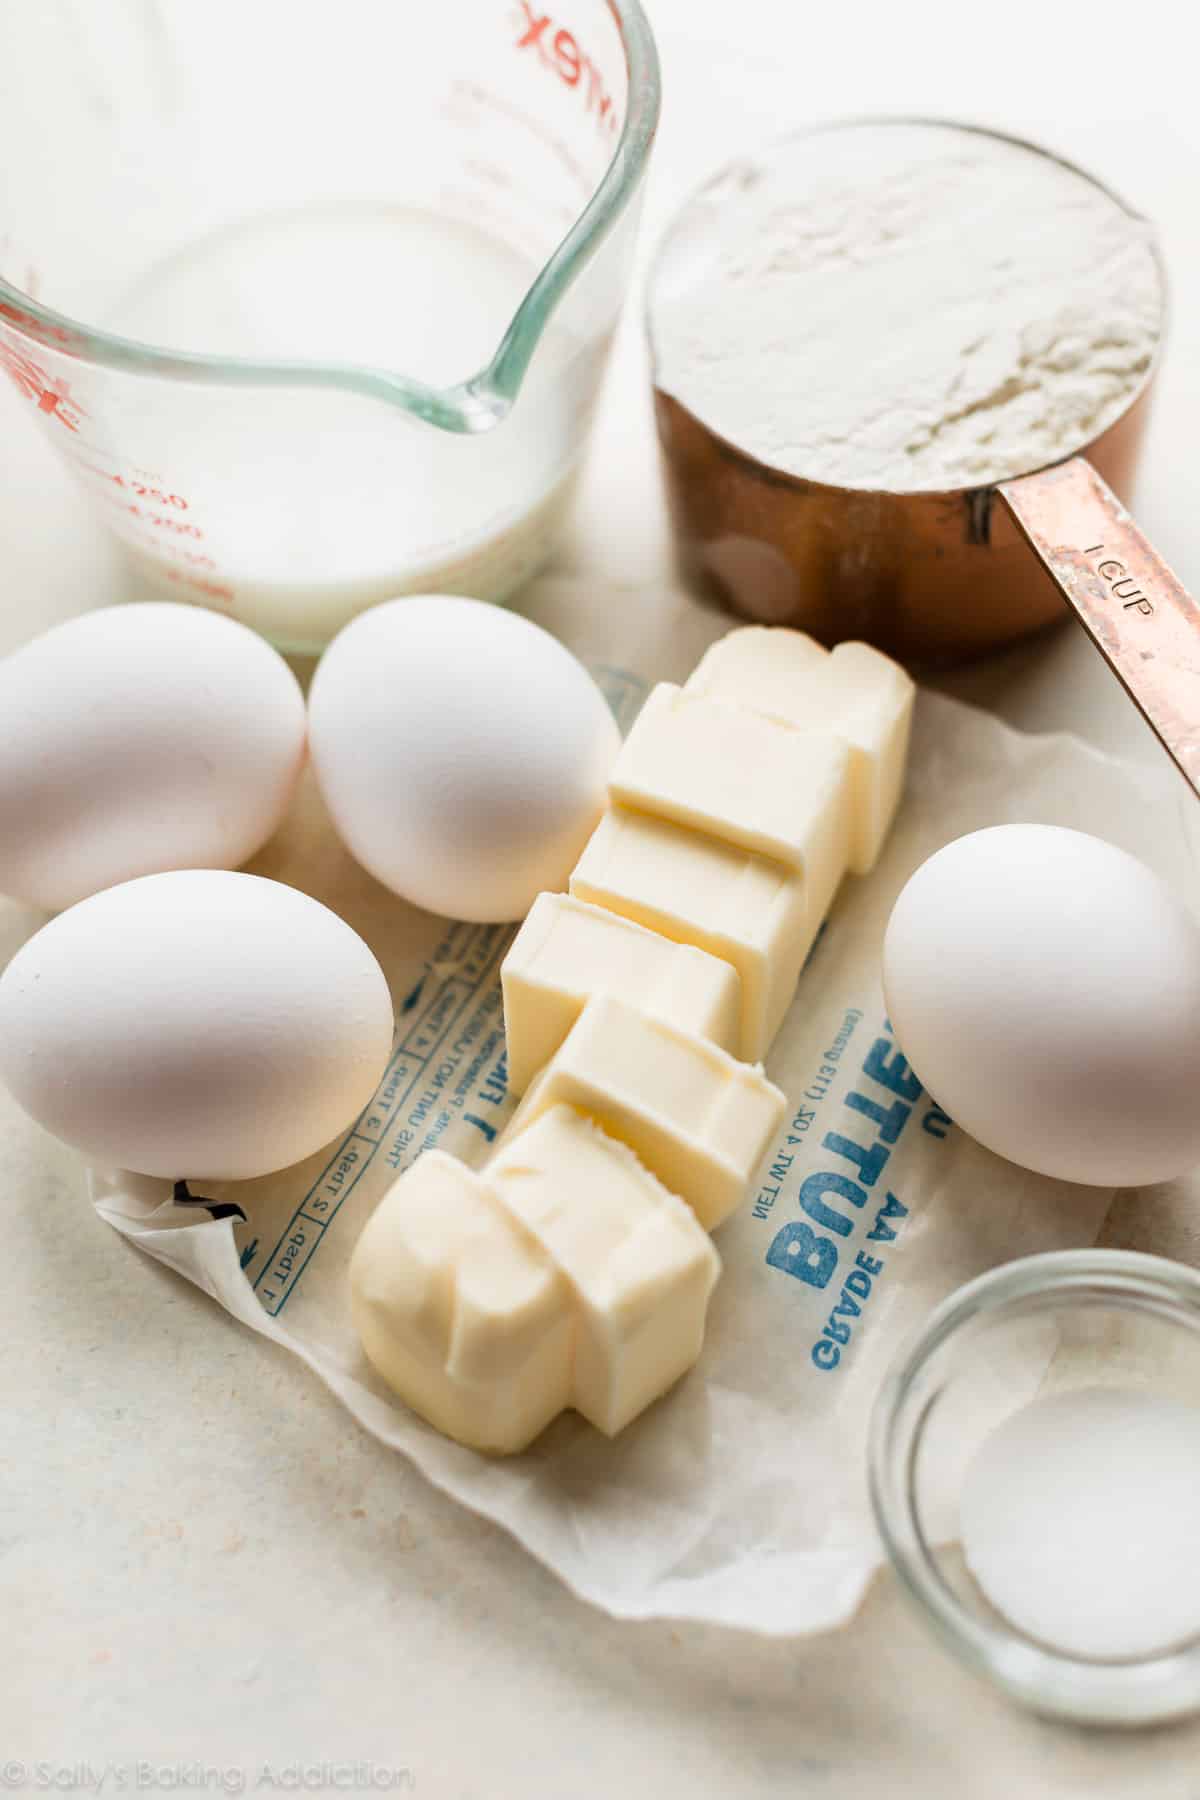
The 7 ingredients are staples that you likely have in the kitchen right now: butter, water, milk, sugar, salt, flour, and eggs. Some recipes use all water instead of milk + water, but I find the combination yields a slightly softer and richer pastry. Not many choux pastry recipes call for sugar, but only 2 teaspoons provide a little flavor. The bulk of the pastry dough is eggs. Eggs provide some leavening, allowing the pastries to puff up when baked. The centers are soft, light, and airy. The exterior is golden and crisp. A beautiful marriage of textures!!
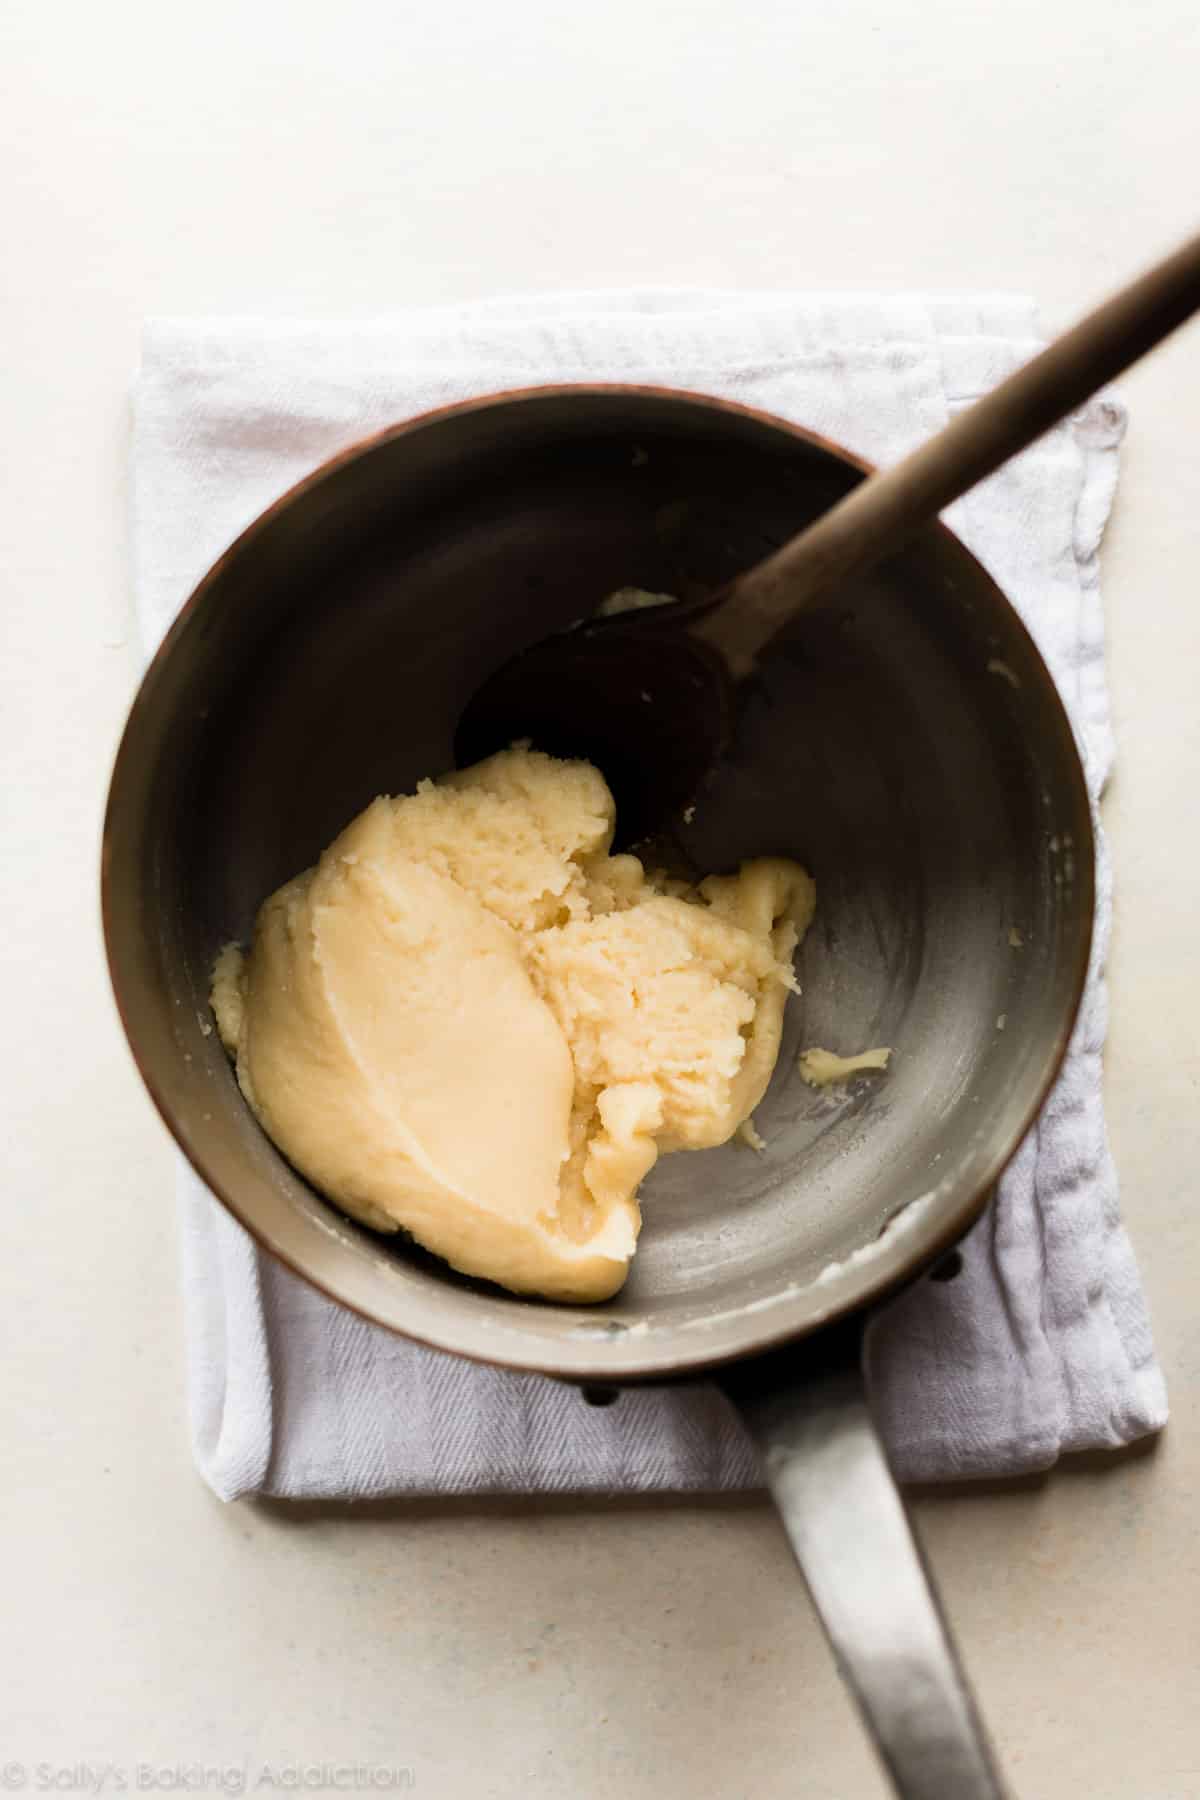
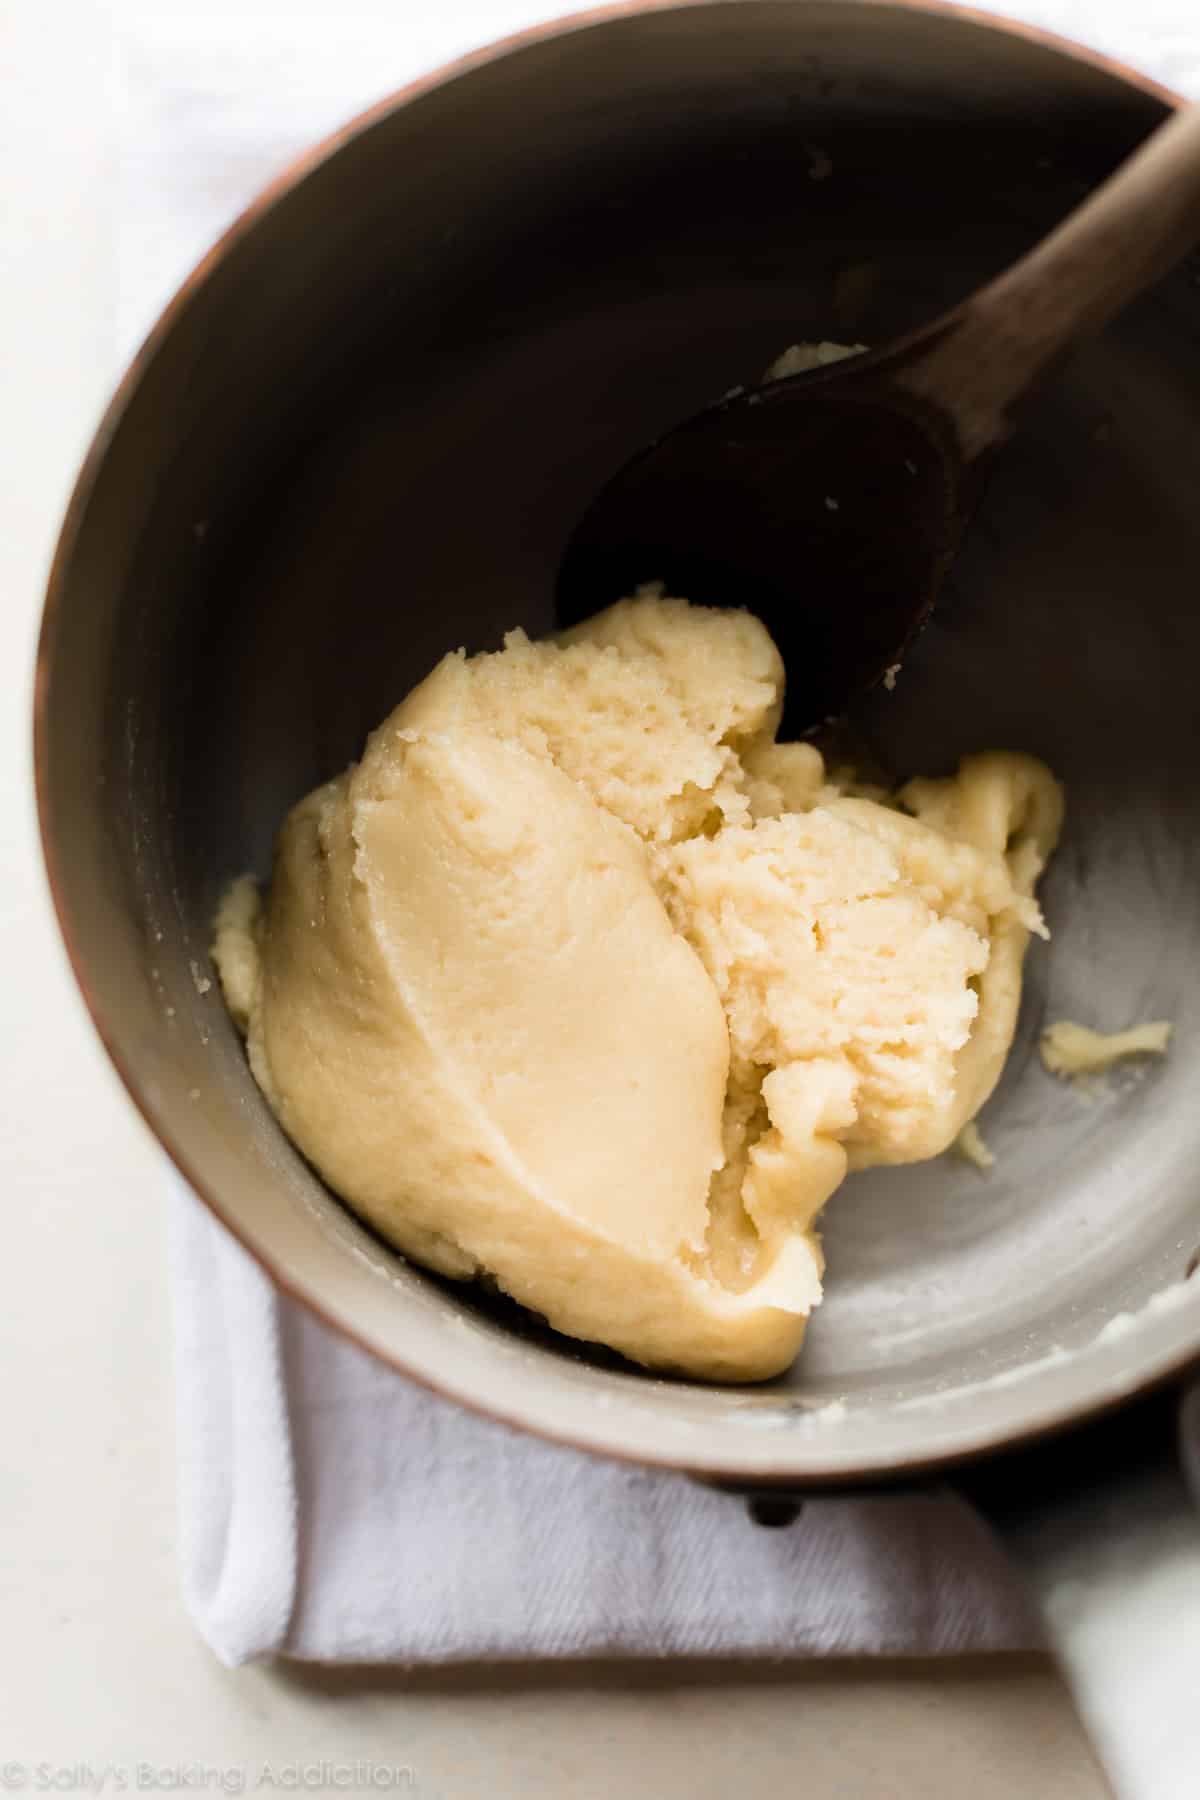
Choux pastry comes together in about 10-15 minutes. Most of the ingredients are cooked together on the stove; this initial cooking causes the starch in the flour to gelatinize, which will help the pastry hold onto steam and puff up. The Spruce Eats has an interesting article explaining the science of choux pastry if you’re into that!
After the choux pastry dough is gently cooked on the stove, transfer to a mixing bowl and add AROUND 4 beaten eggs. That’s the finicky part—the number of eggs in choux pastry isn’t really consistent between batches. Humidity, the exact size of egg, or an accidental extra 1/2 teaspoon of flour creates inconsistencies. 4 beaten eggs is an ideal starting point, though. Only add as much as you need to create a shiny, thick, and smooth dough with a pipeable consistency. I usually leave a few teaspoons of beaten egg behind, which can be used with the egg wash.
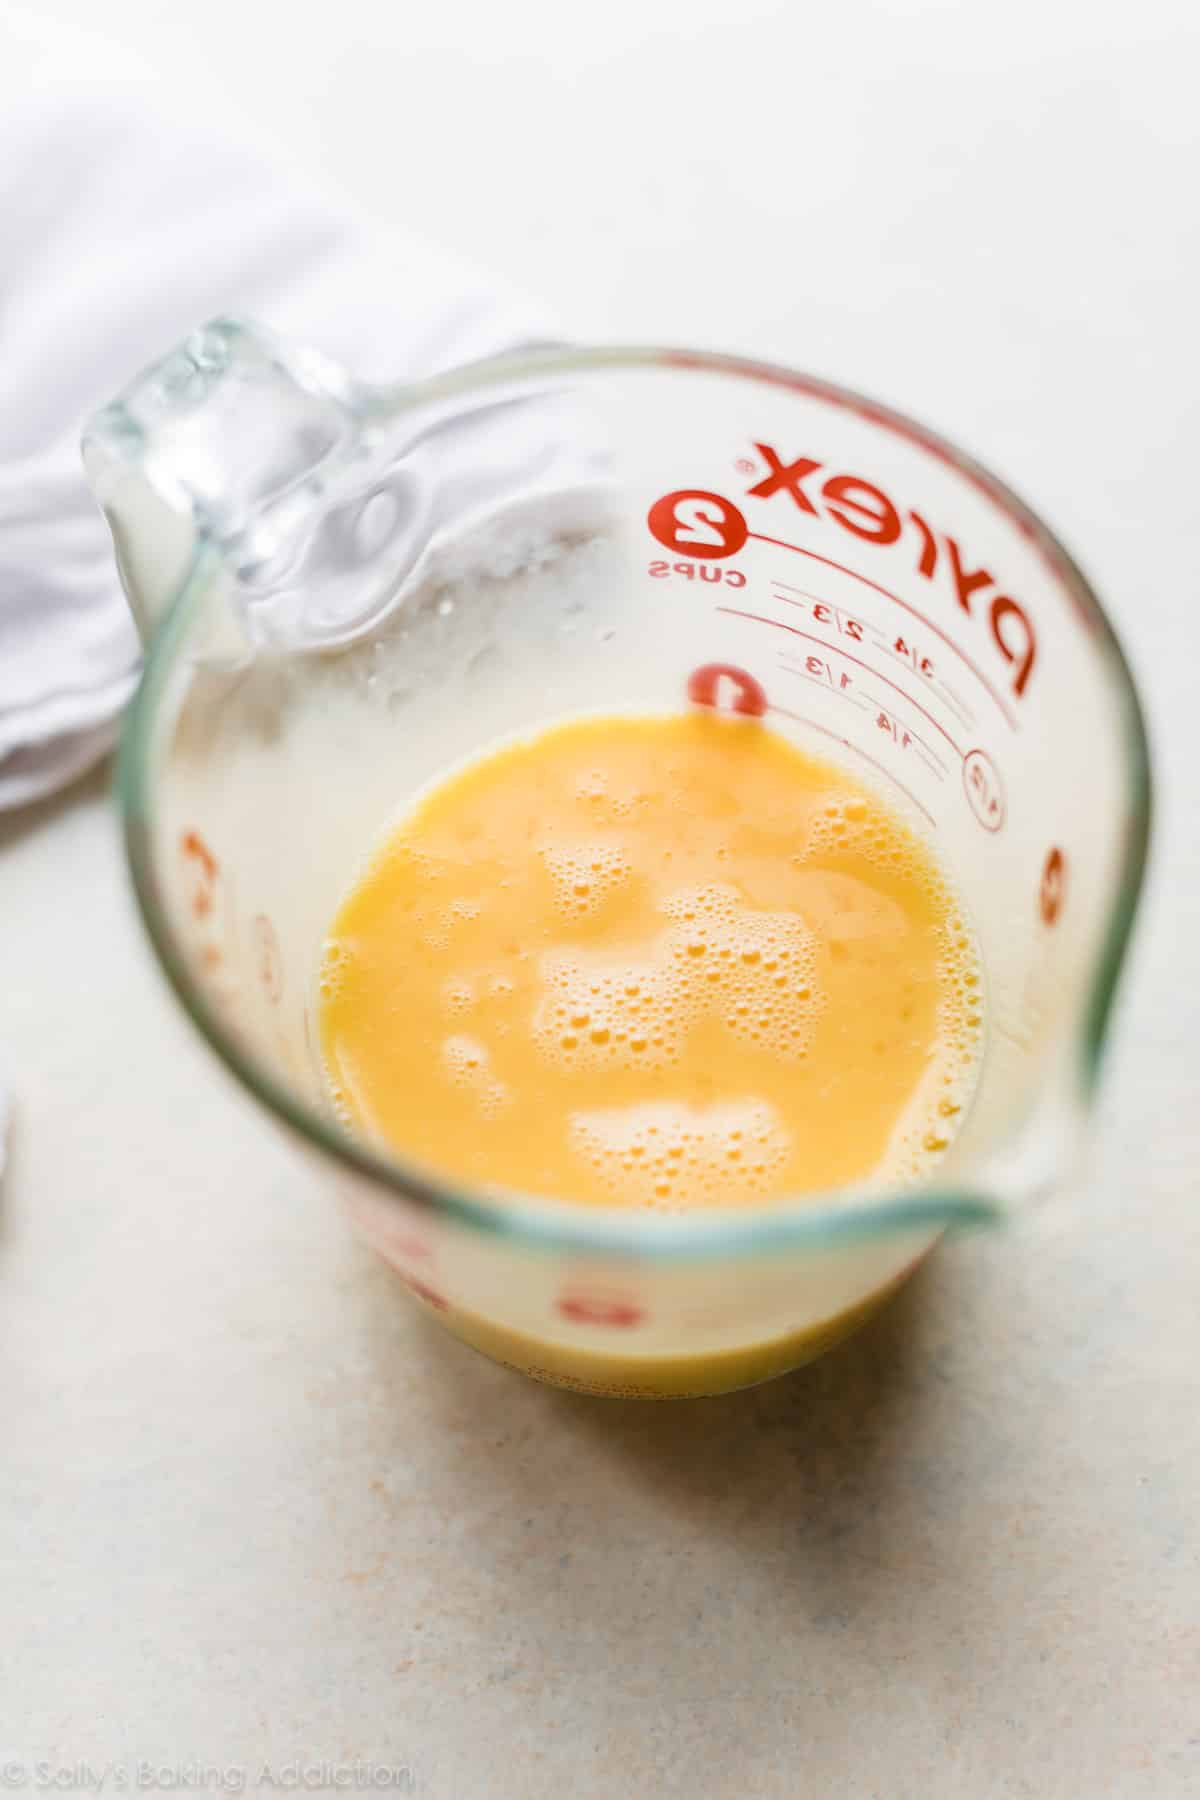
The yolks in the eggs bring most of the flavor and color to choux pastry:
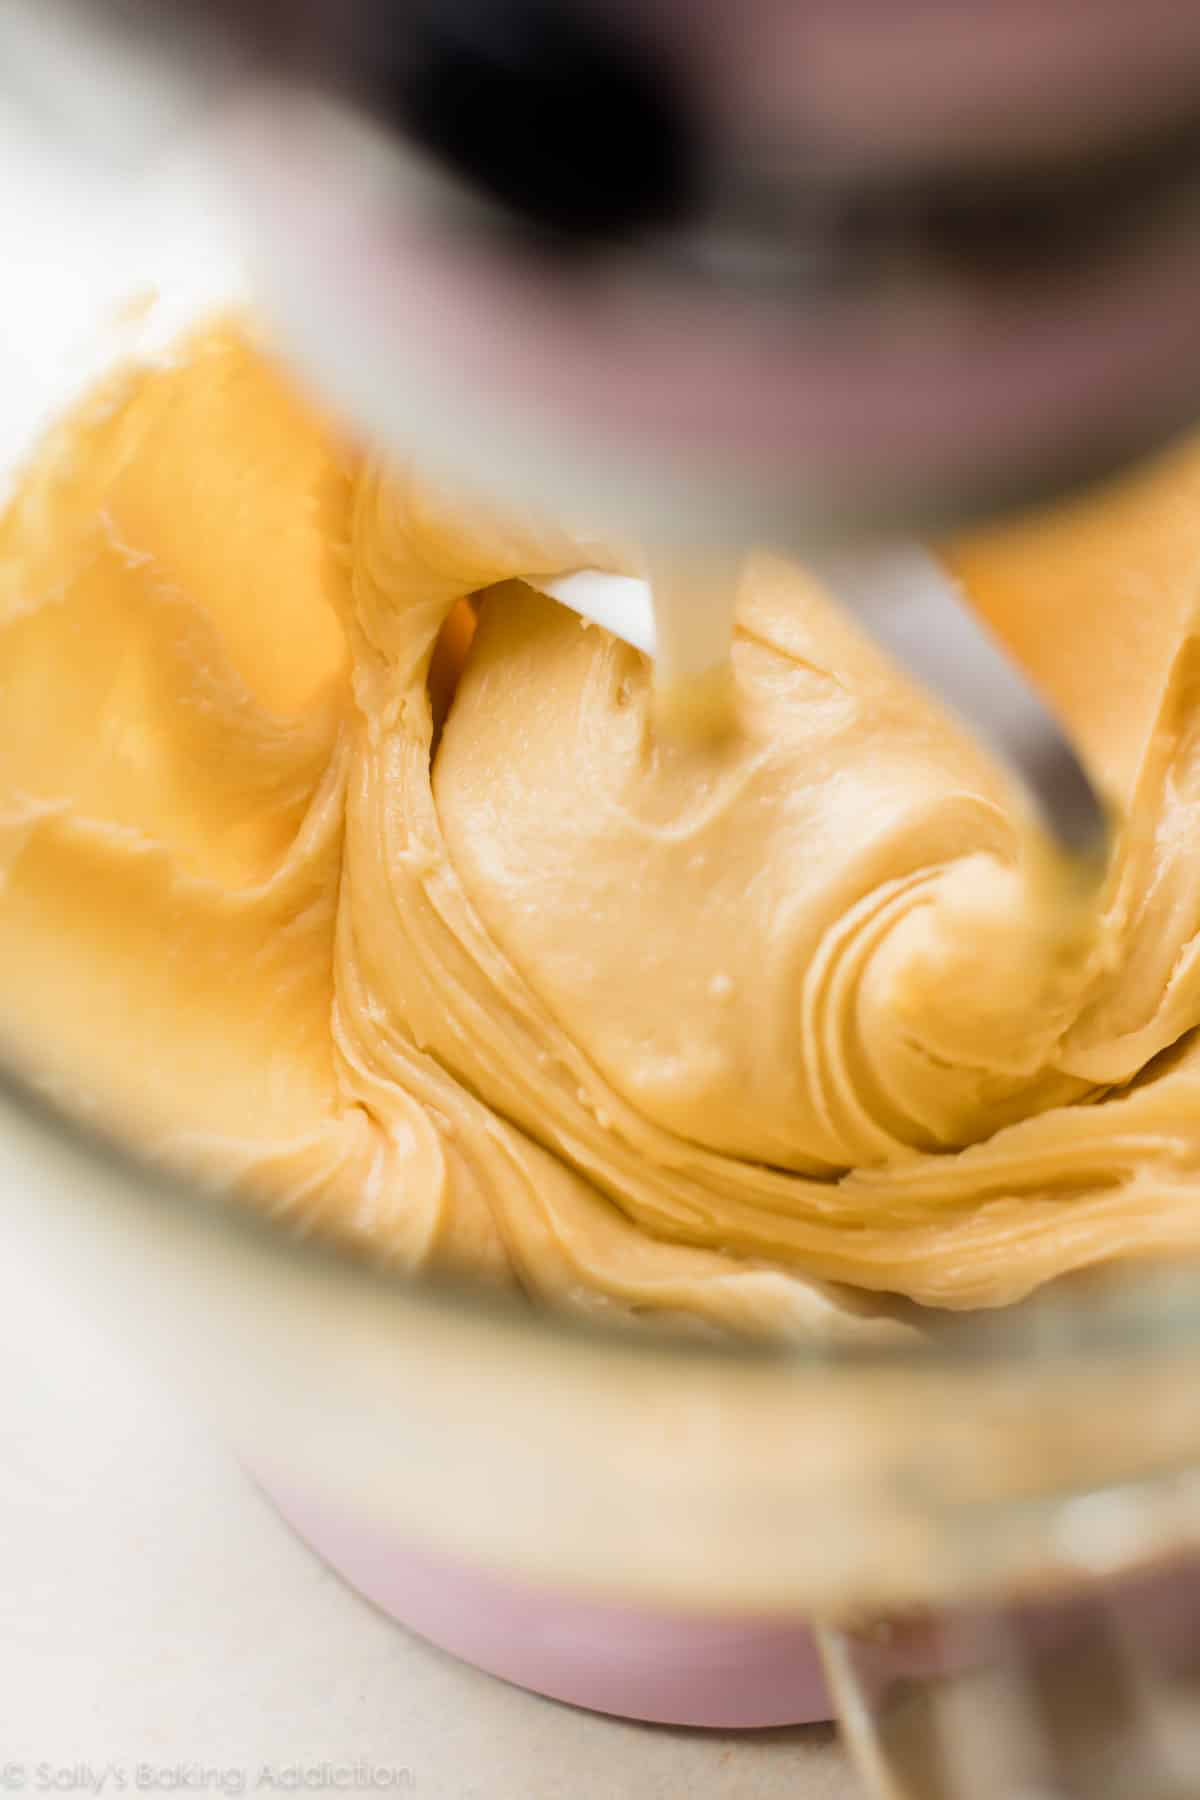
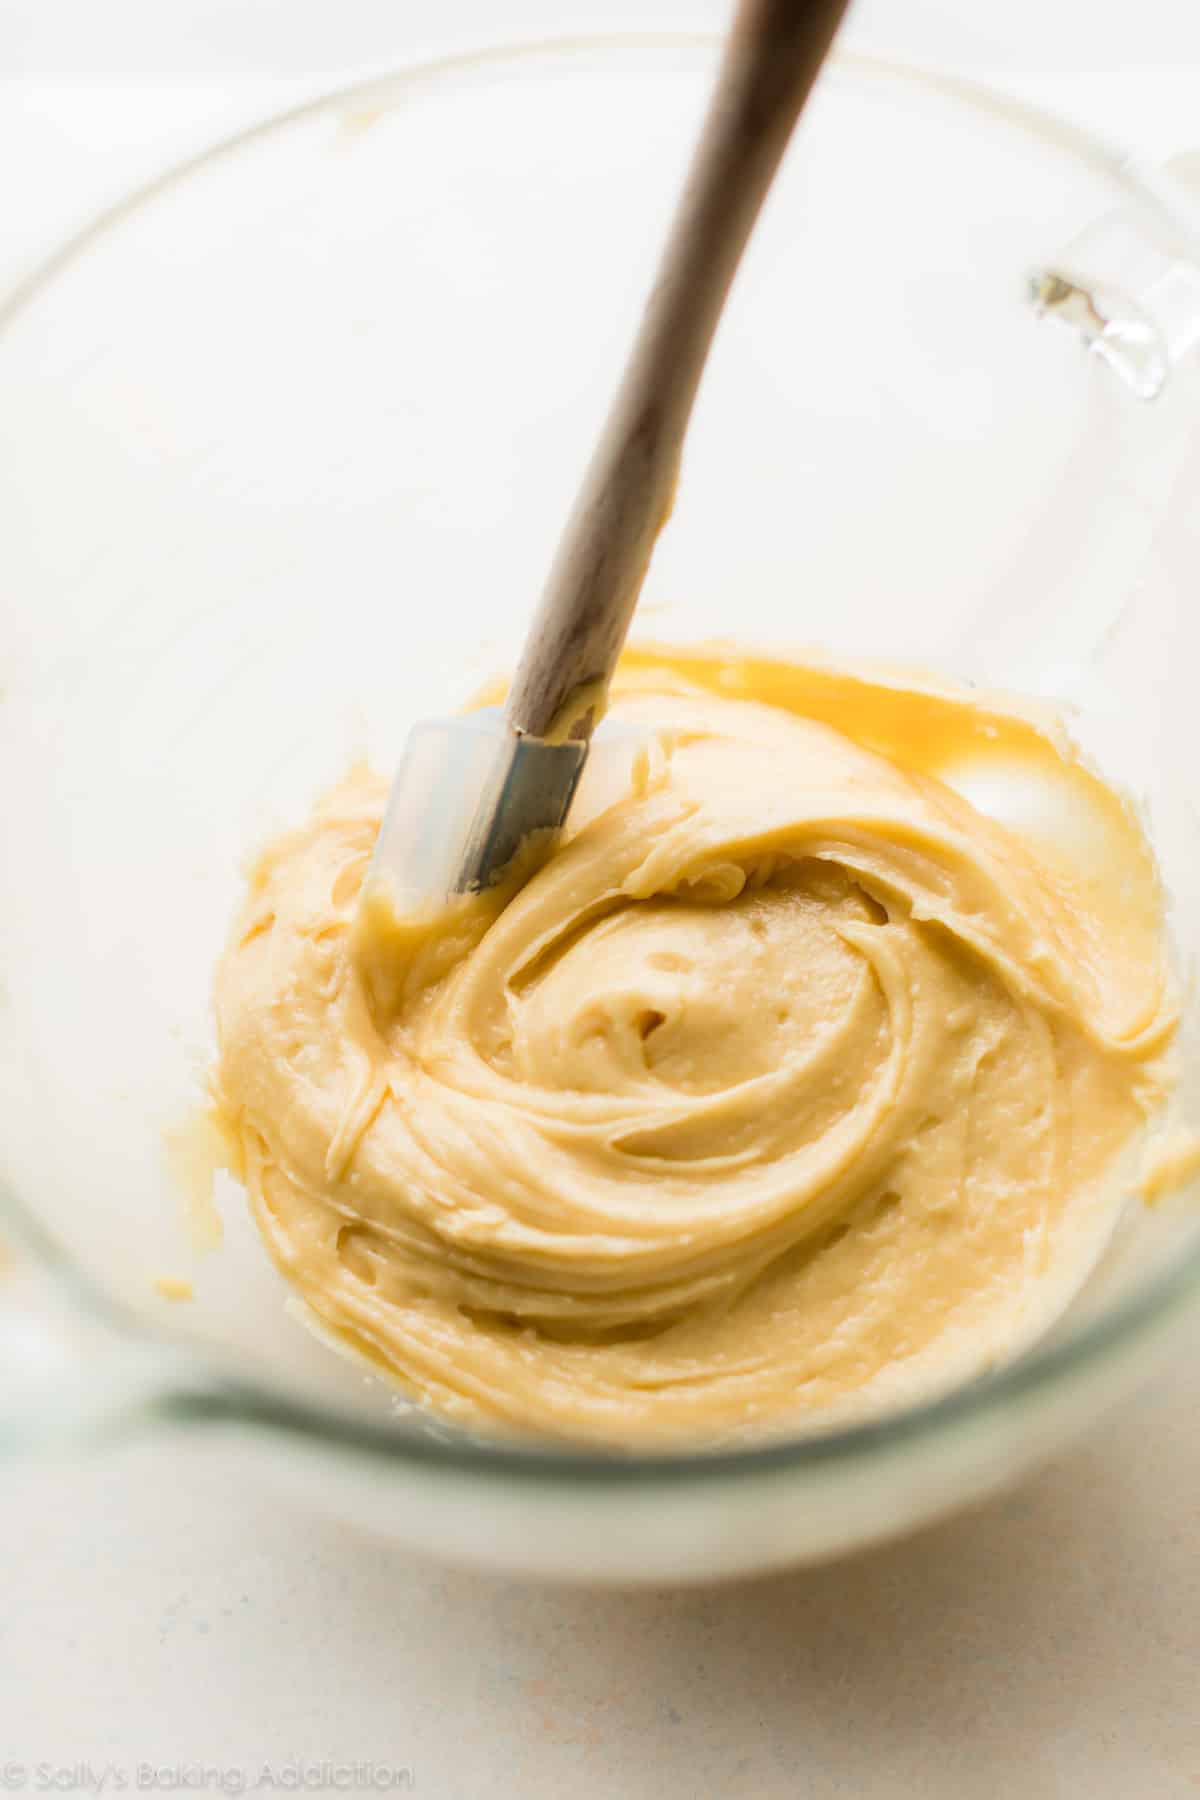
At this point, our choux pastry dough is complete! Yes, that’s really all you need to do before shaping/baking it. Cook 6 ingredients on the stove, then beat in the eggs.
Now let’s make our cream puffs or profiteroles.
CREAM PUFFS
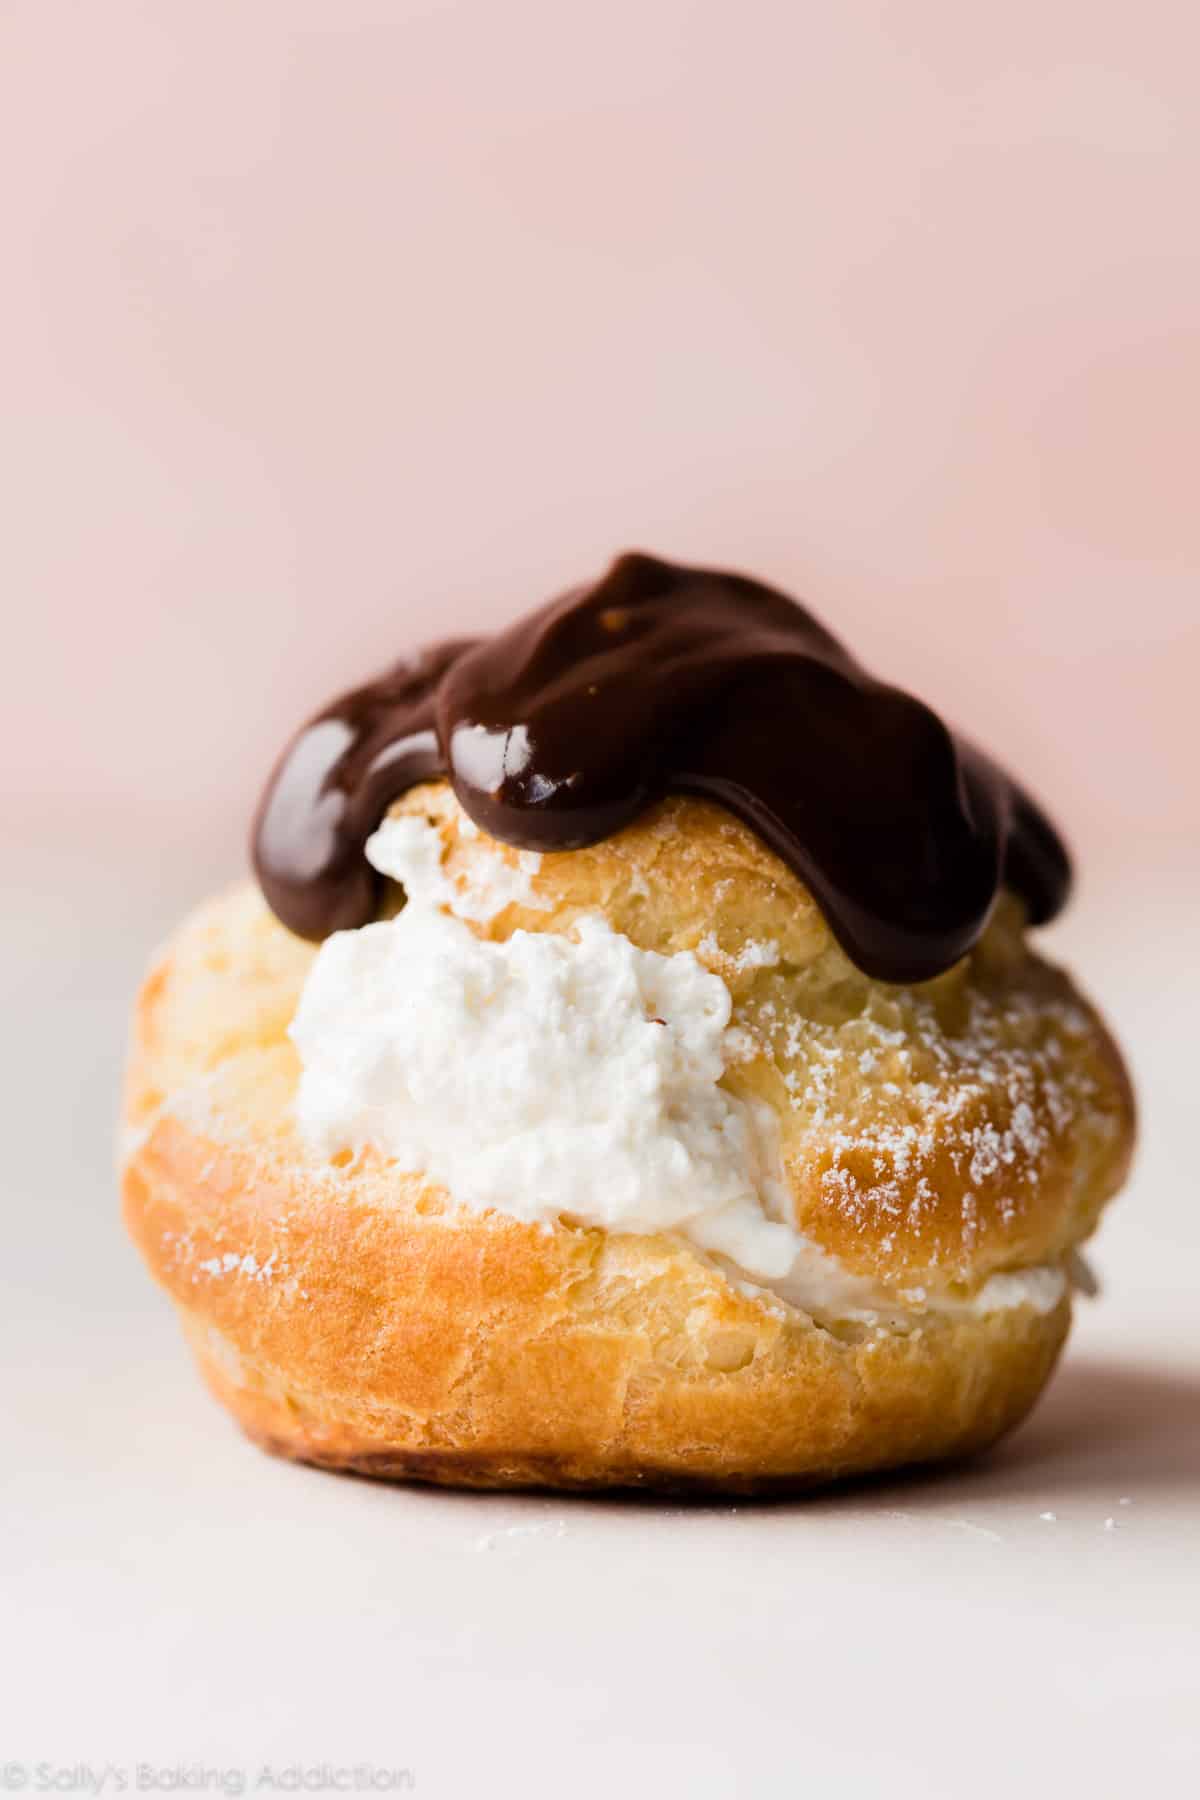
Filled with flavored whipped creams. Today I’m using homemade vanilla whipped cream, aka Crème Chantilly. Top with a dusting of confectioners’ sugar or a spoonful of chocolate ganache.
PROFITEROLES
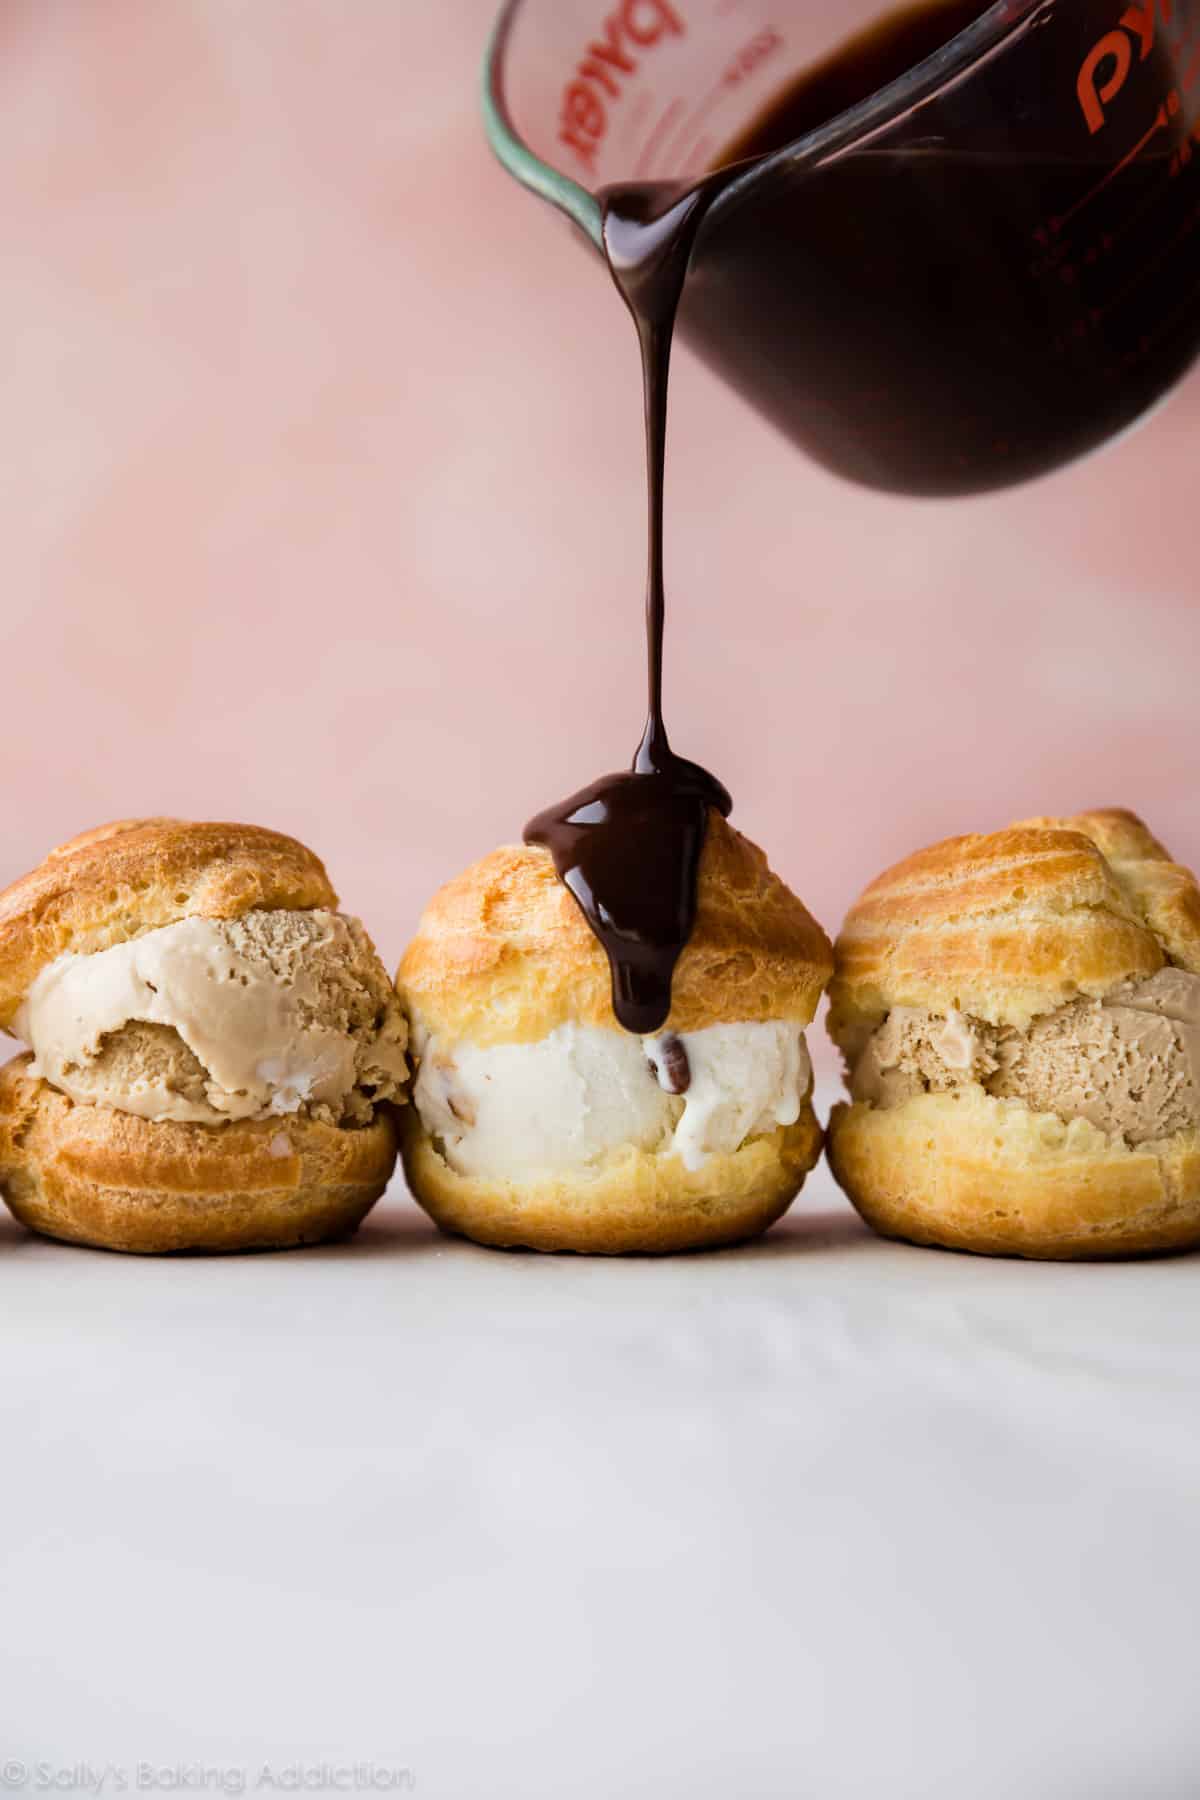
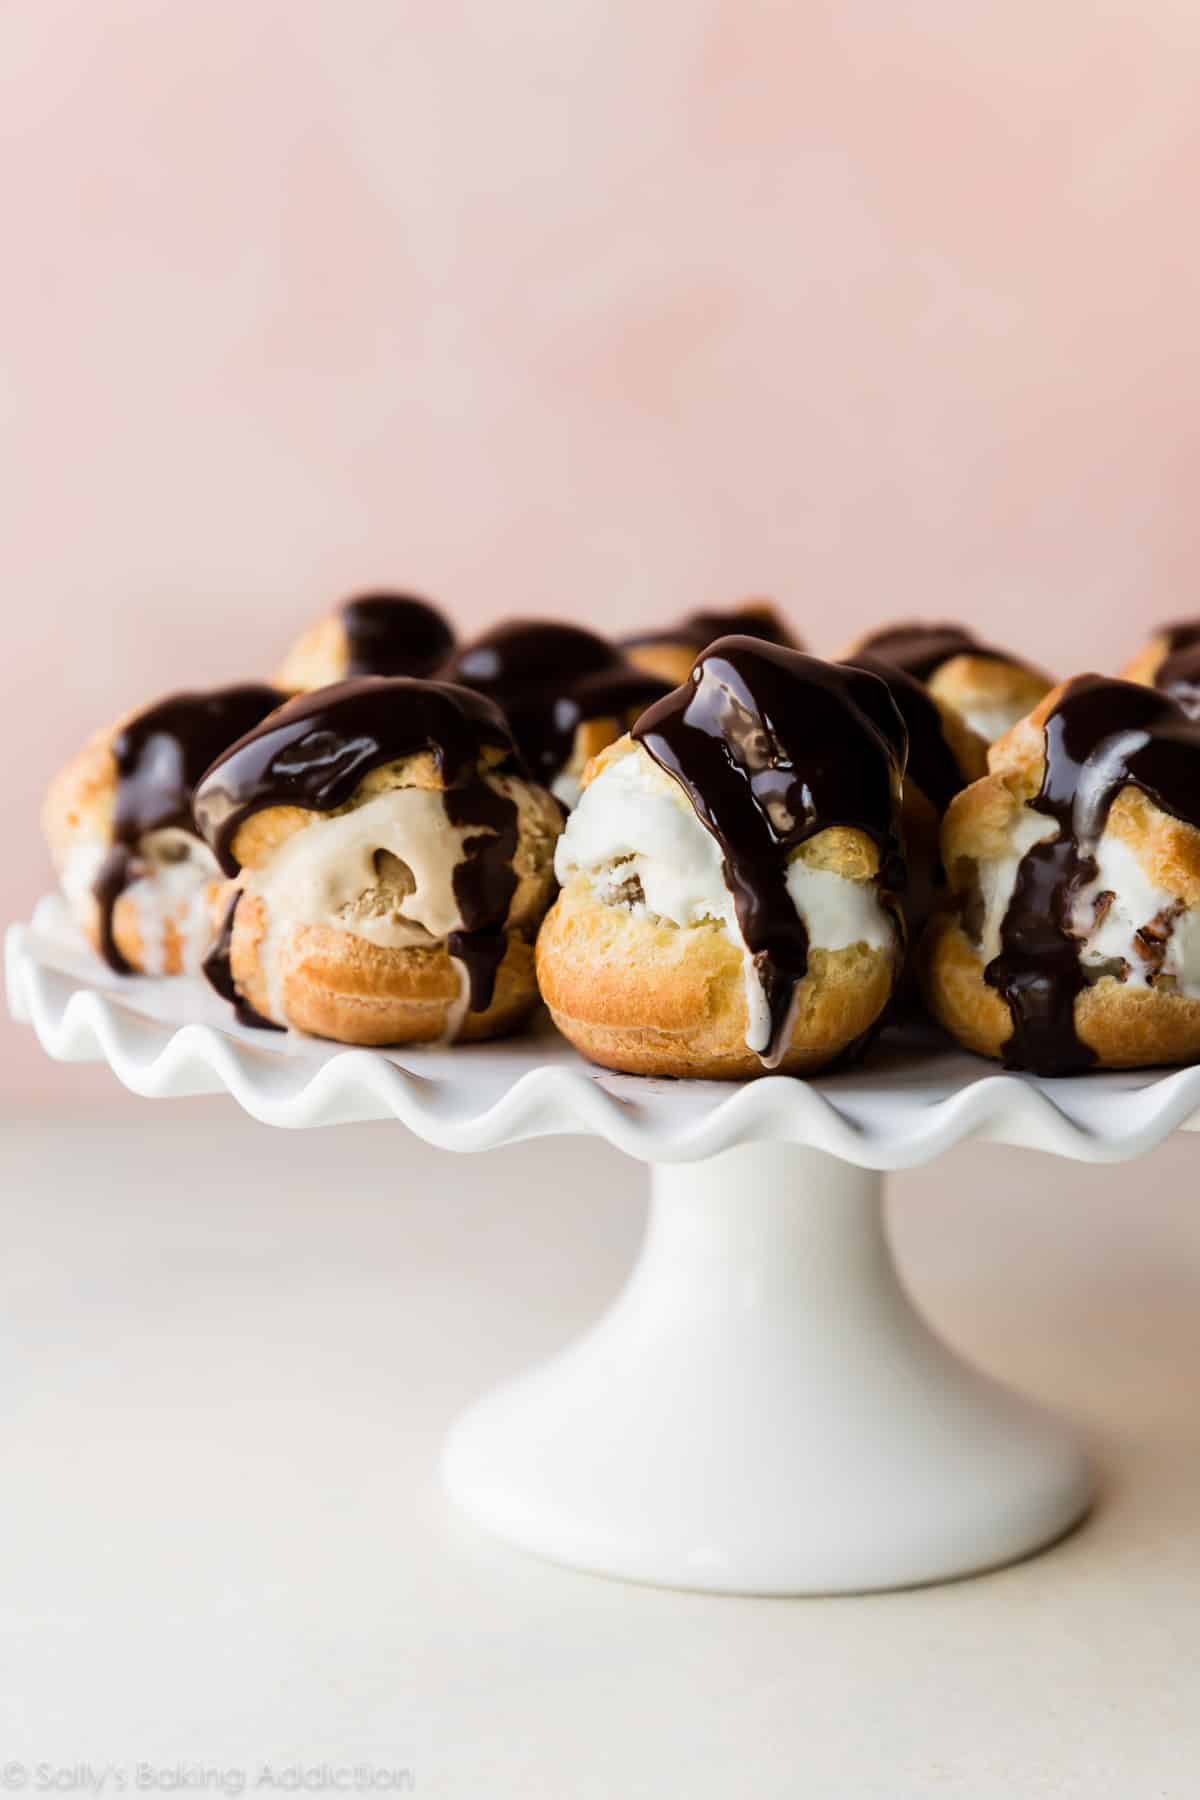
Filled with ice cream and frozen. Topped with chocolate ganache. Profiteroles were my FAVORITE!!! We used butter pecan ice cream and coffee ice cream.
Choux Pastry Video Tutorial
Watch me make the choux pastry and shape/bake into cream puffs and profiteroles:
Do you have a better understanding of the process after watching the video tutorial? Not too scary at all, right? You totally got this!
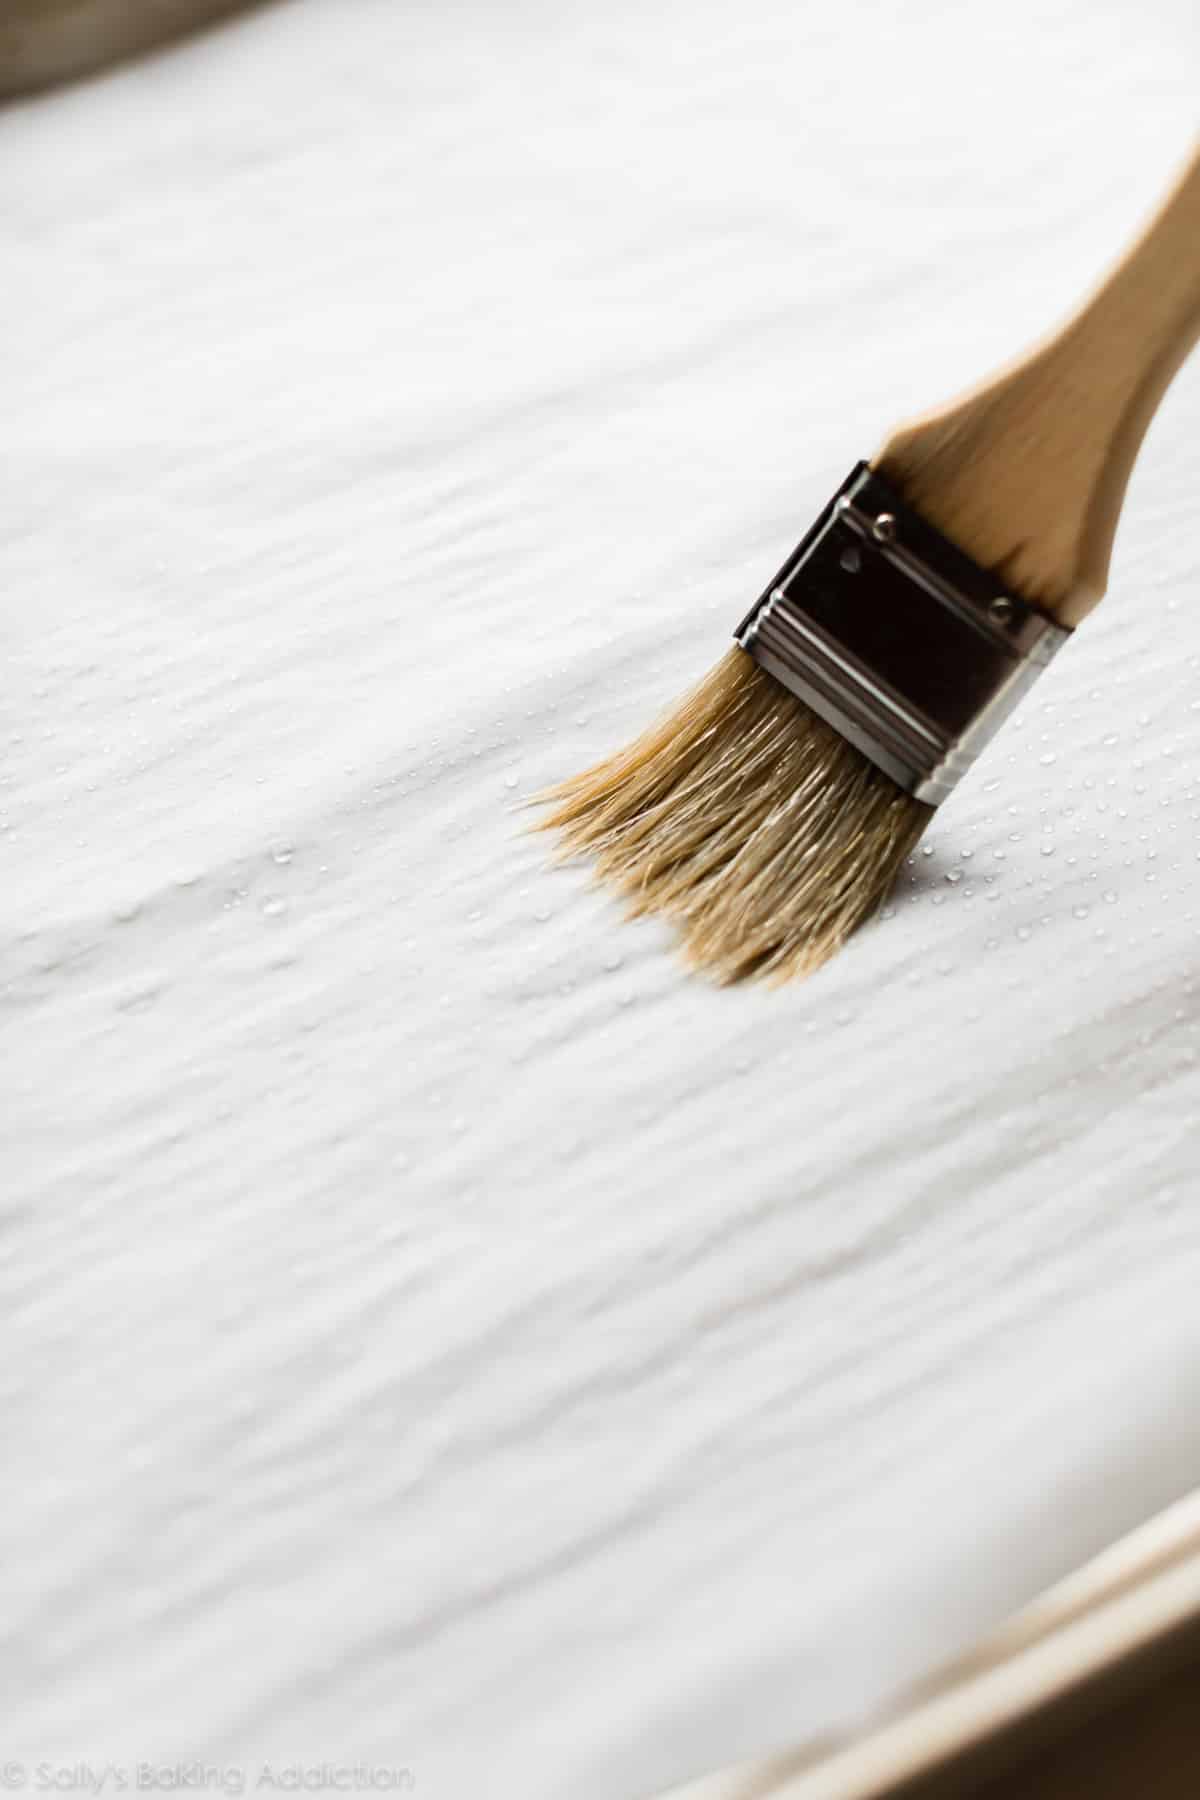
ONE TRICK I LEARNED
And it makes a huge difference in (1) how much the pastry puffs up and (2) how delicious the pastry tastes. Bake the pastries on parchment paper, the BEST nonstick surface for this choux pastry dough. But before you pipe the dough onto the parchment paper, moisten it with water. You can see me doing this in the video tutorial above.
Why? Think of cheesecake. We bake cheesecakes in a water bath, right? Cheesecake, like choux pastry, is egg-heavy. Eggs need a moist and humid environment in the oven to (1) properly rise and (2) avoid drying out and burning.
Water moistened parchment paper = perfectly puffed up pastries with a deliciously light center and crisp exterior. Pastry perfection.
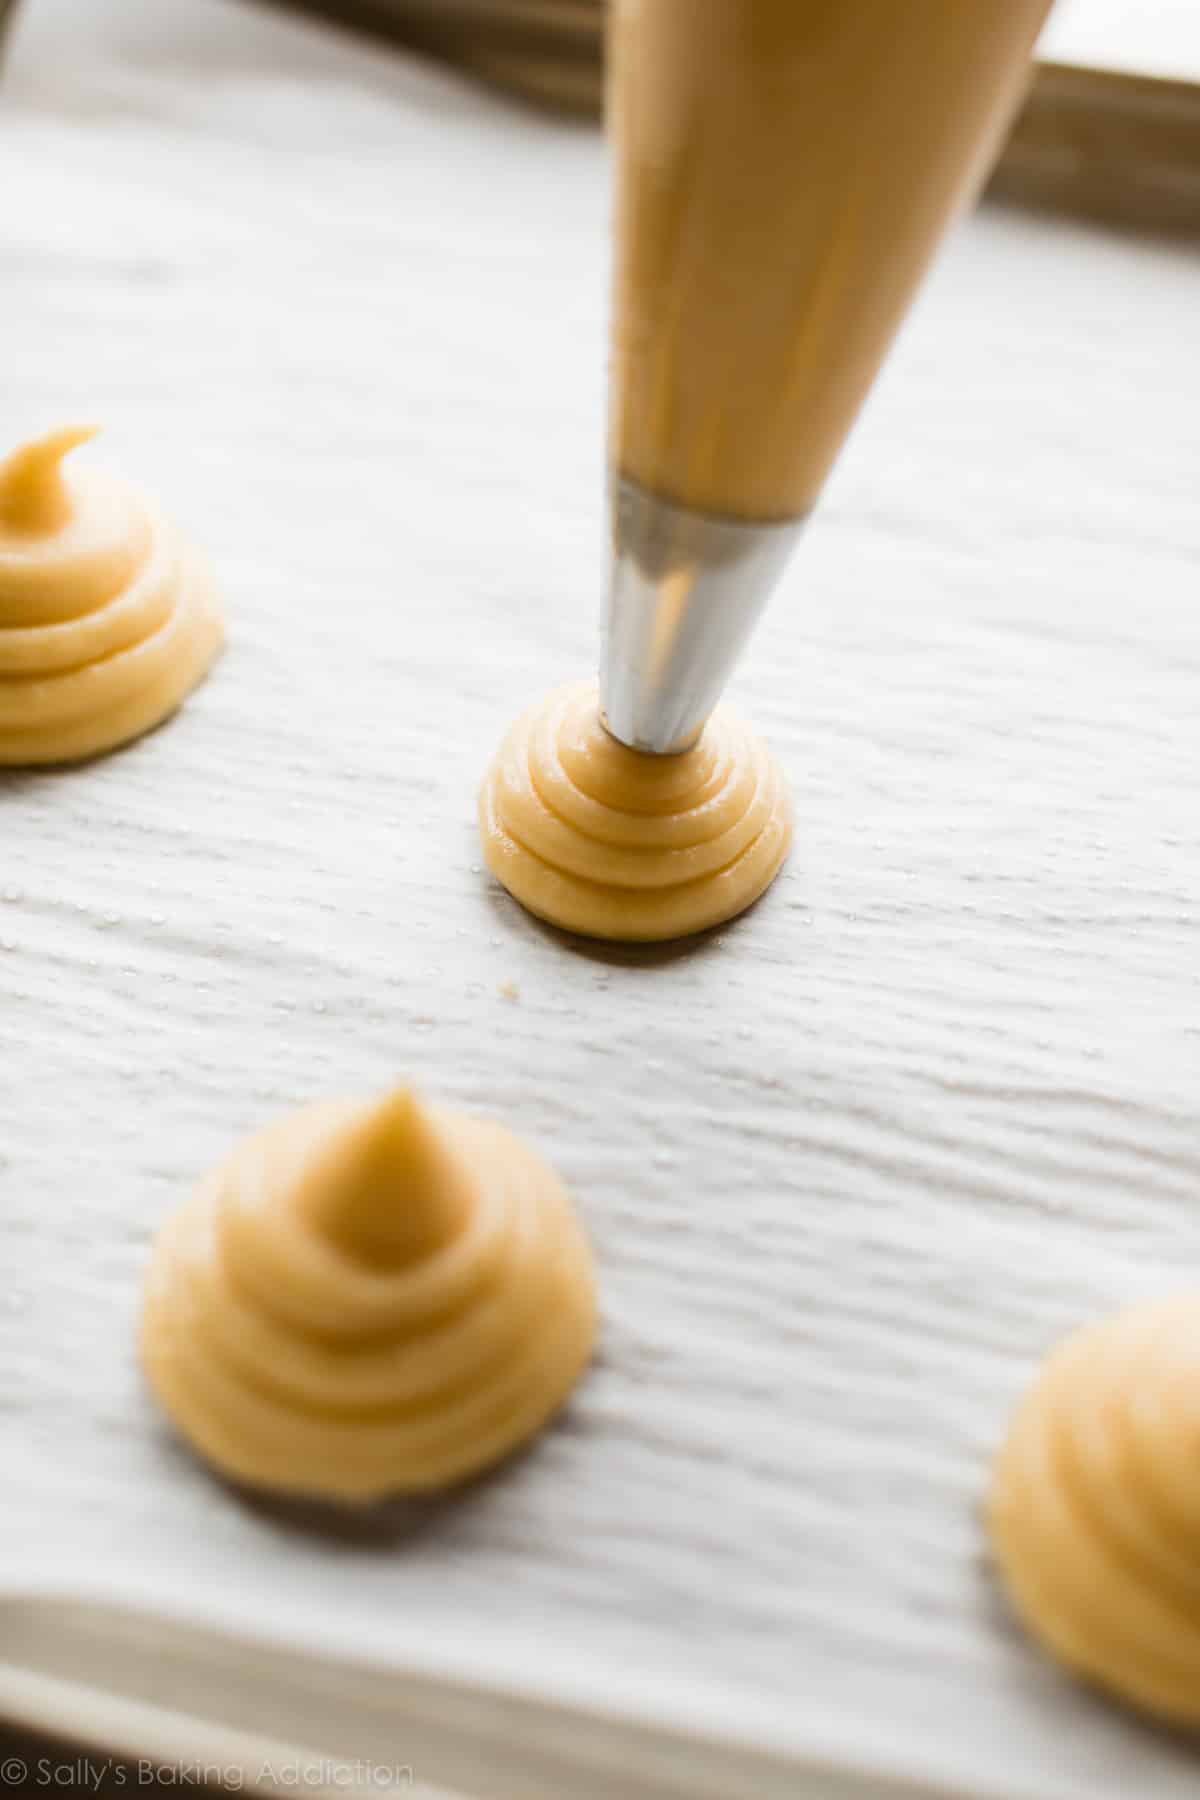
For cream puffs and profiteroles, use Wilton 1A piping tip. Pipe 2-inch mounds about 3 inches apart. (Watch the video above for a good visual.) You could also use a zipped-top bag and cut off the corner for easy piping. Using a water moistened finger, smooth down the peaks and lightly brush each mound with egg wash.
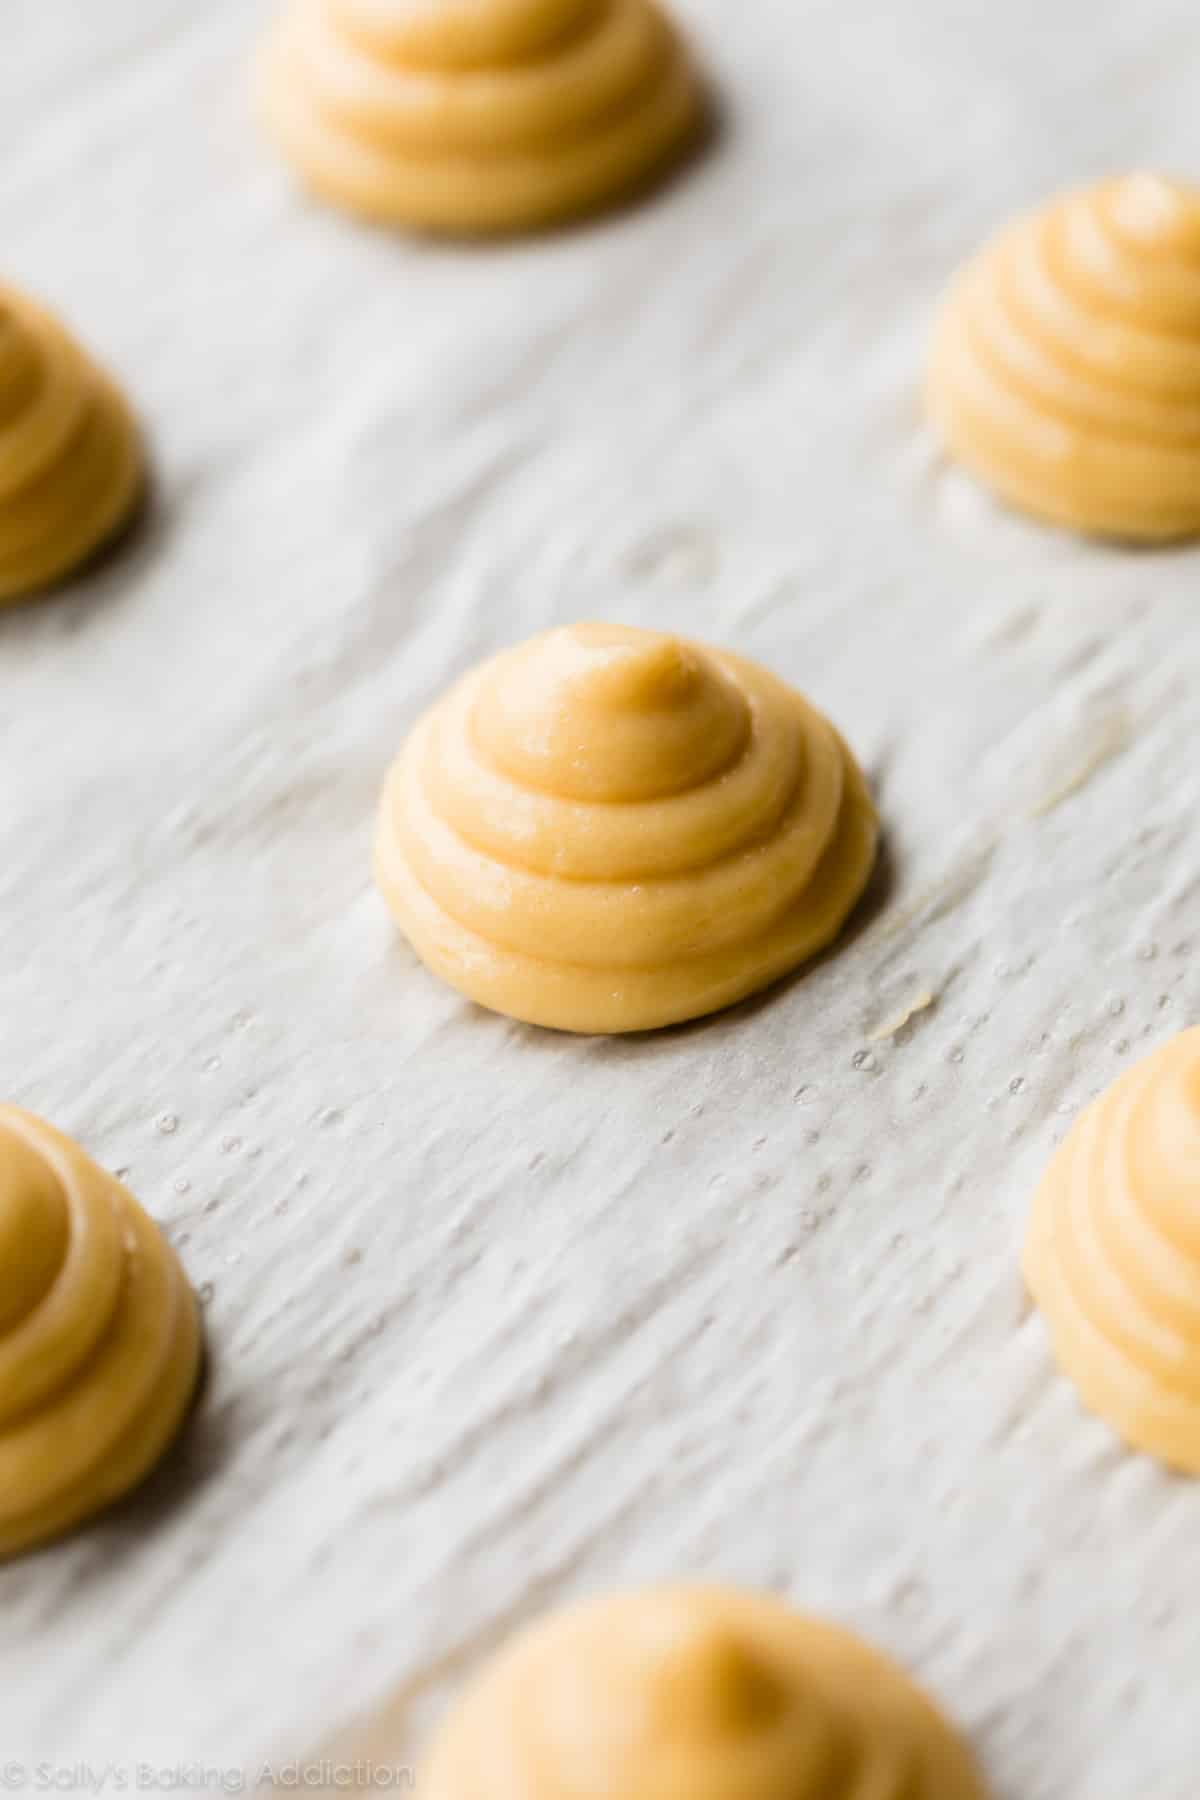
↑ These mounds bake into this golden puffy pastry! ↓
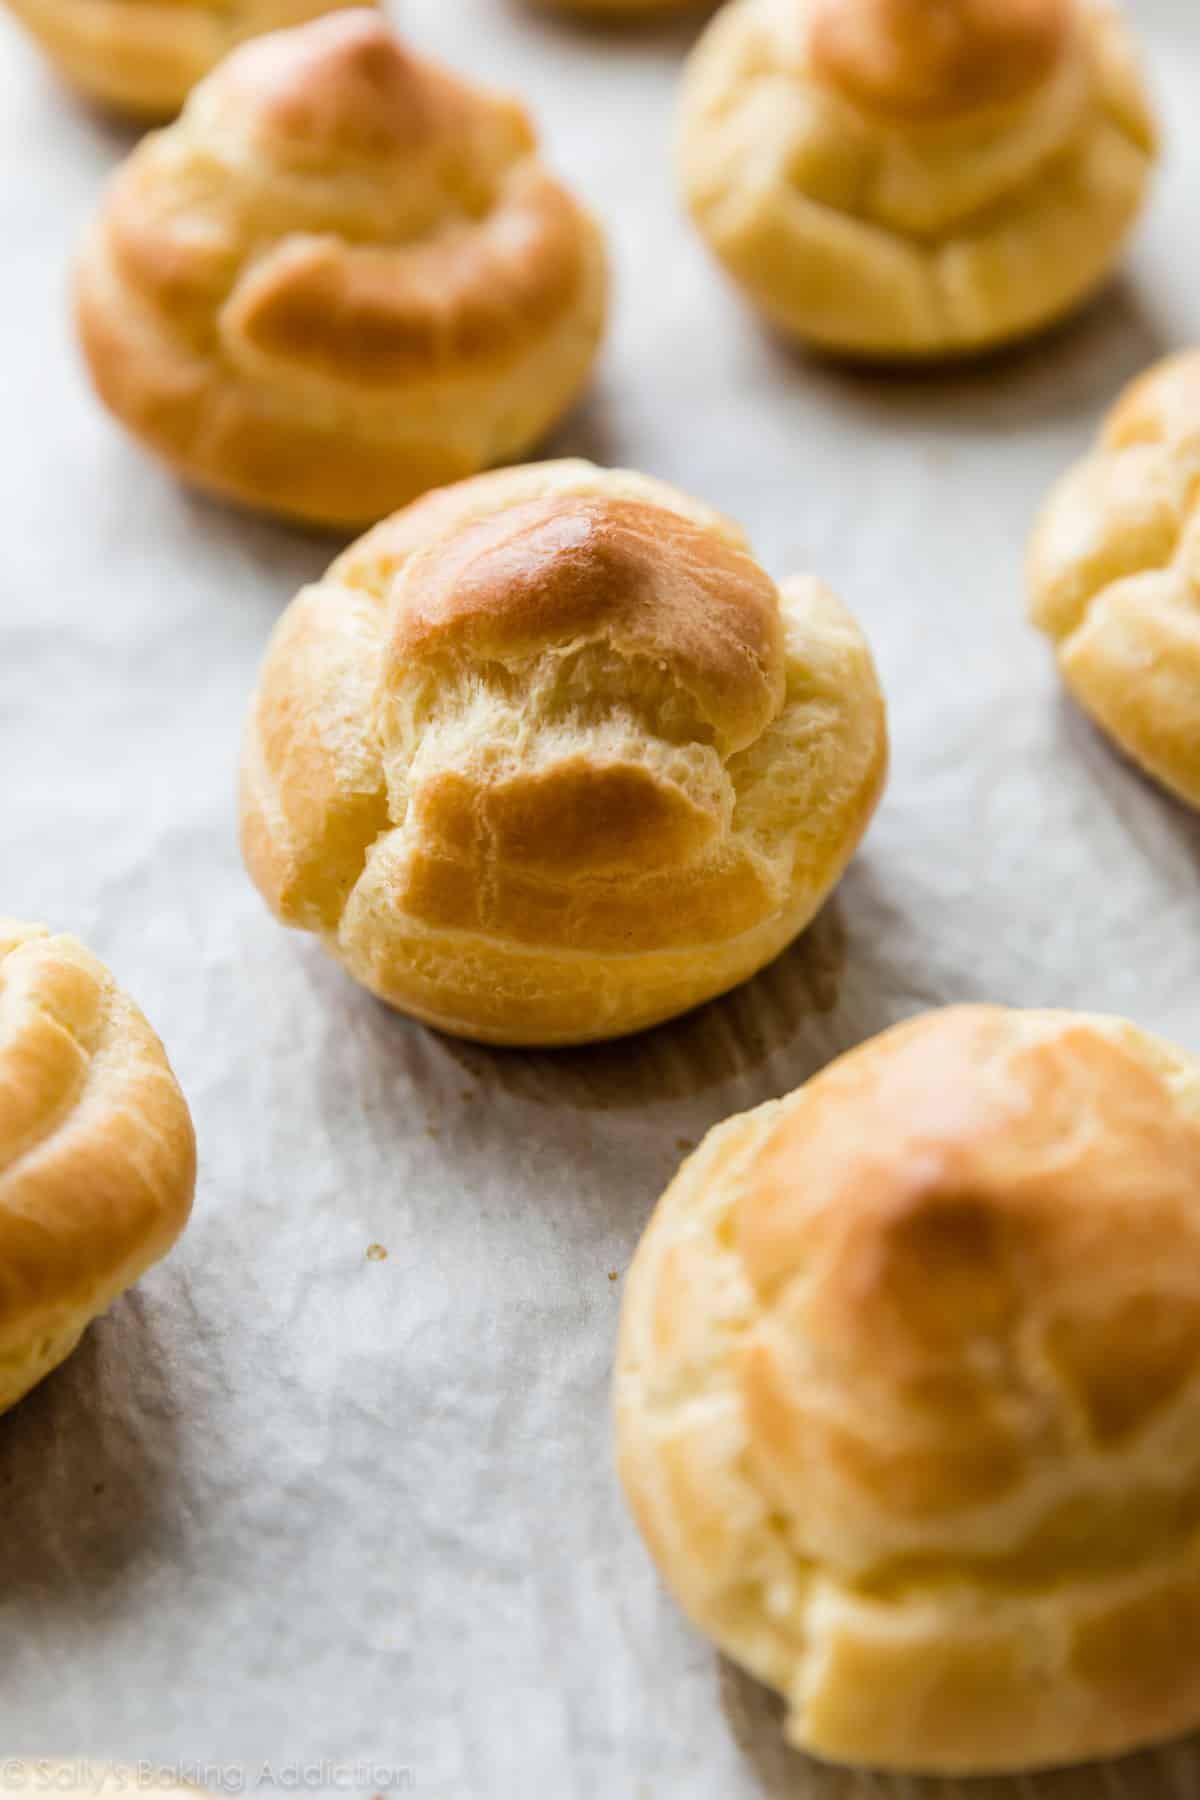
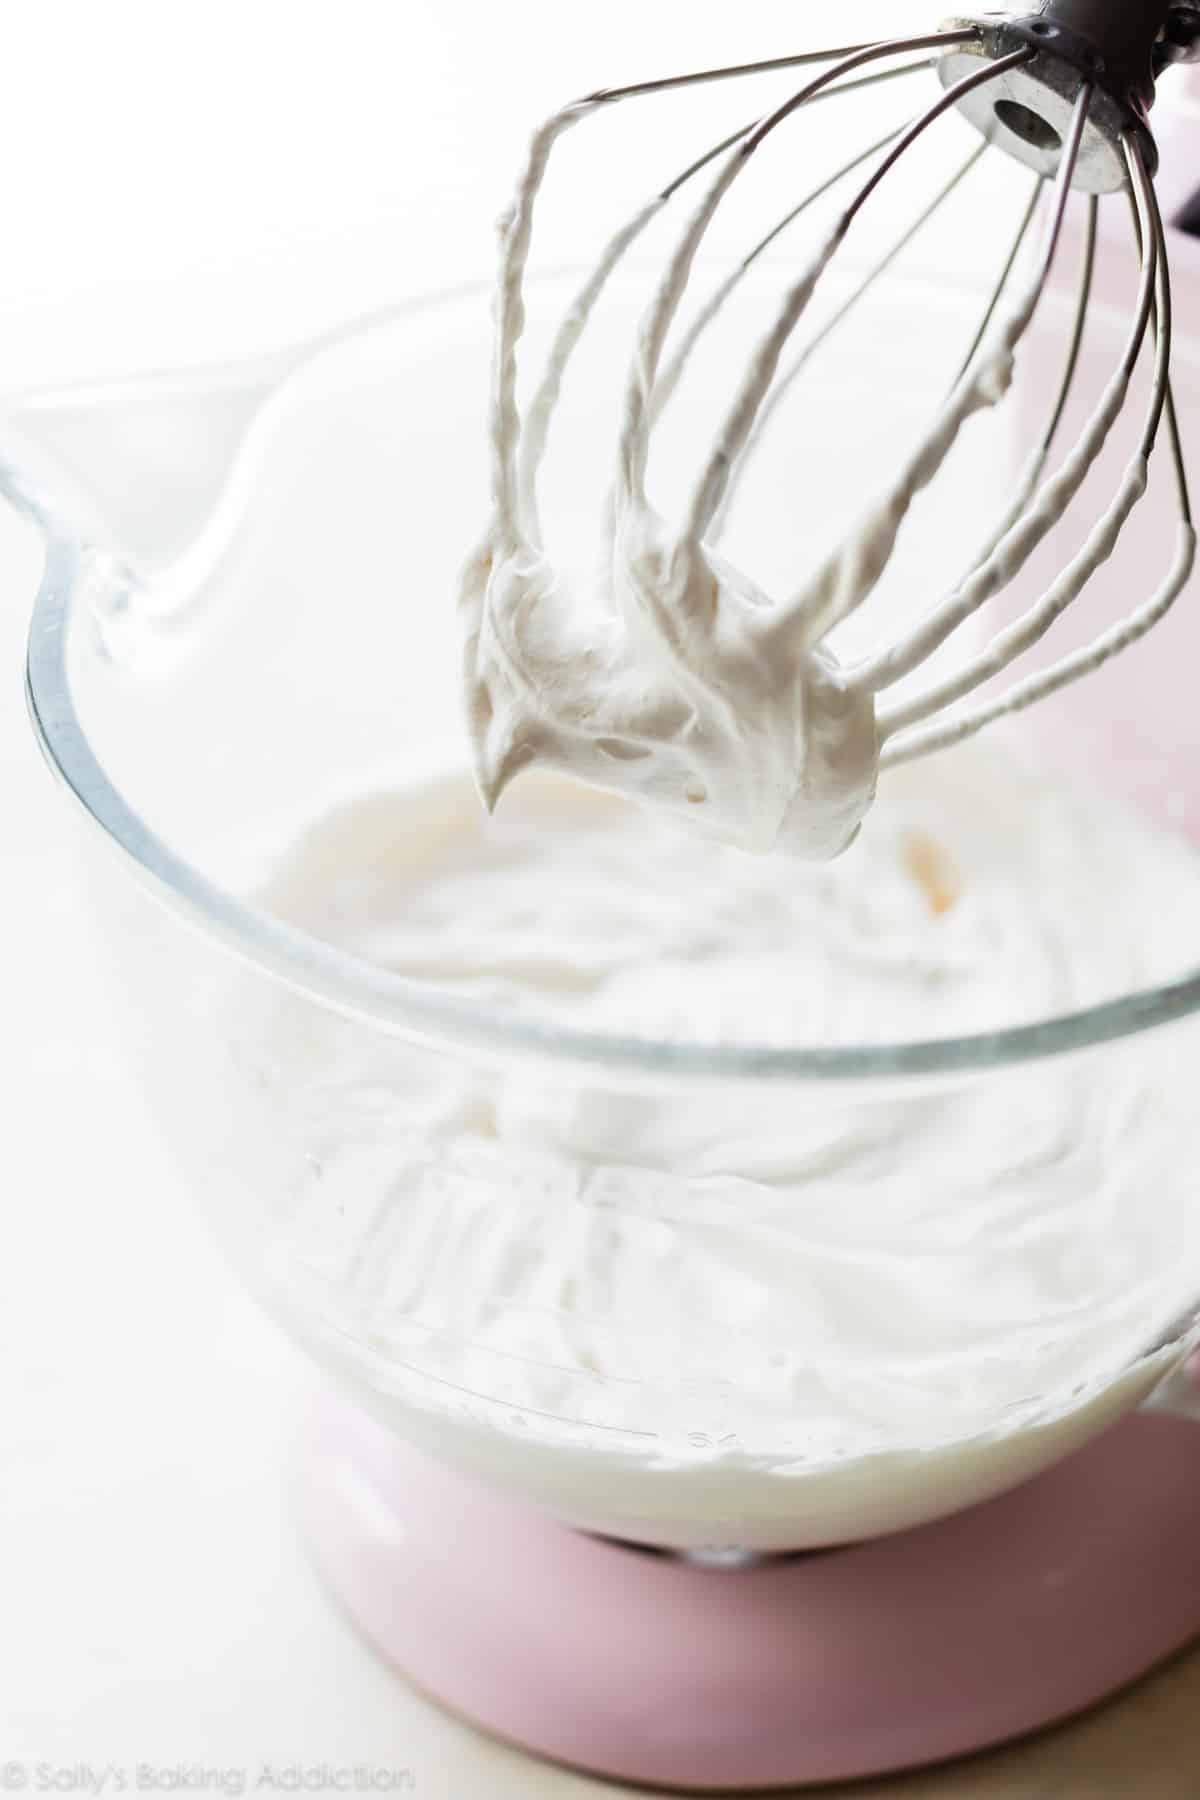
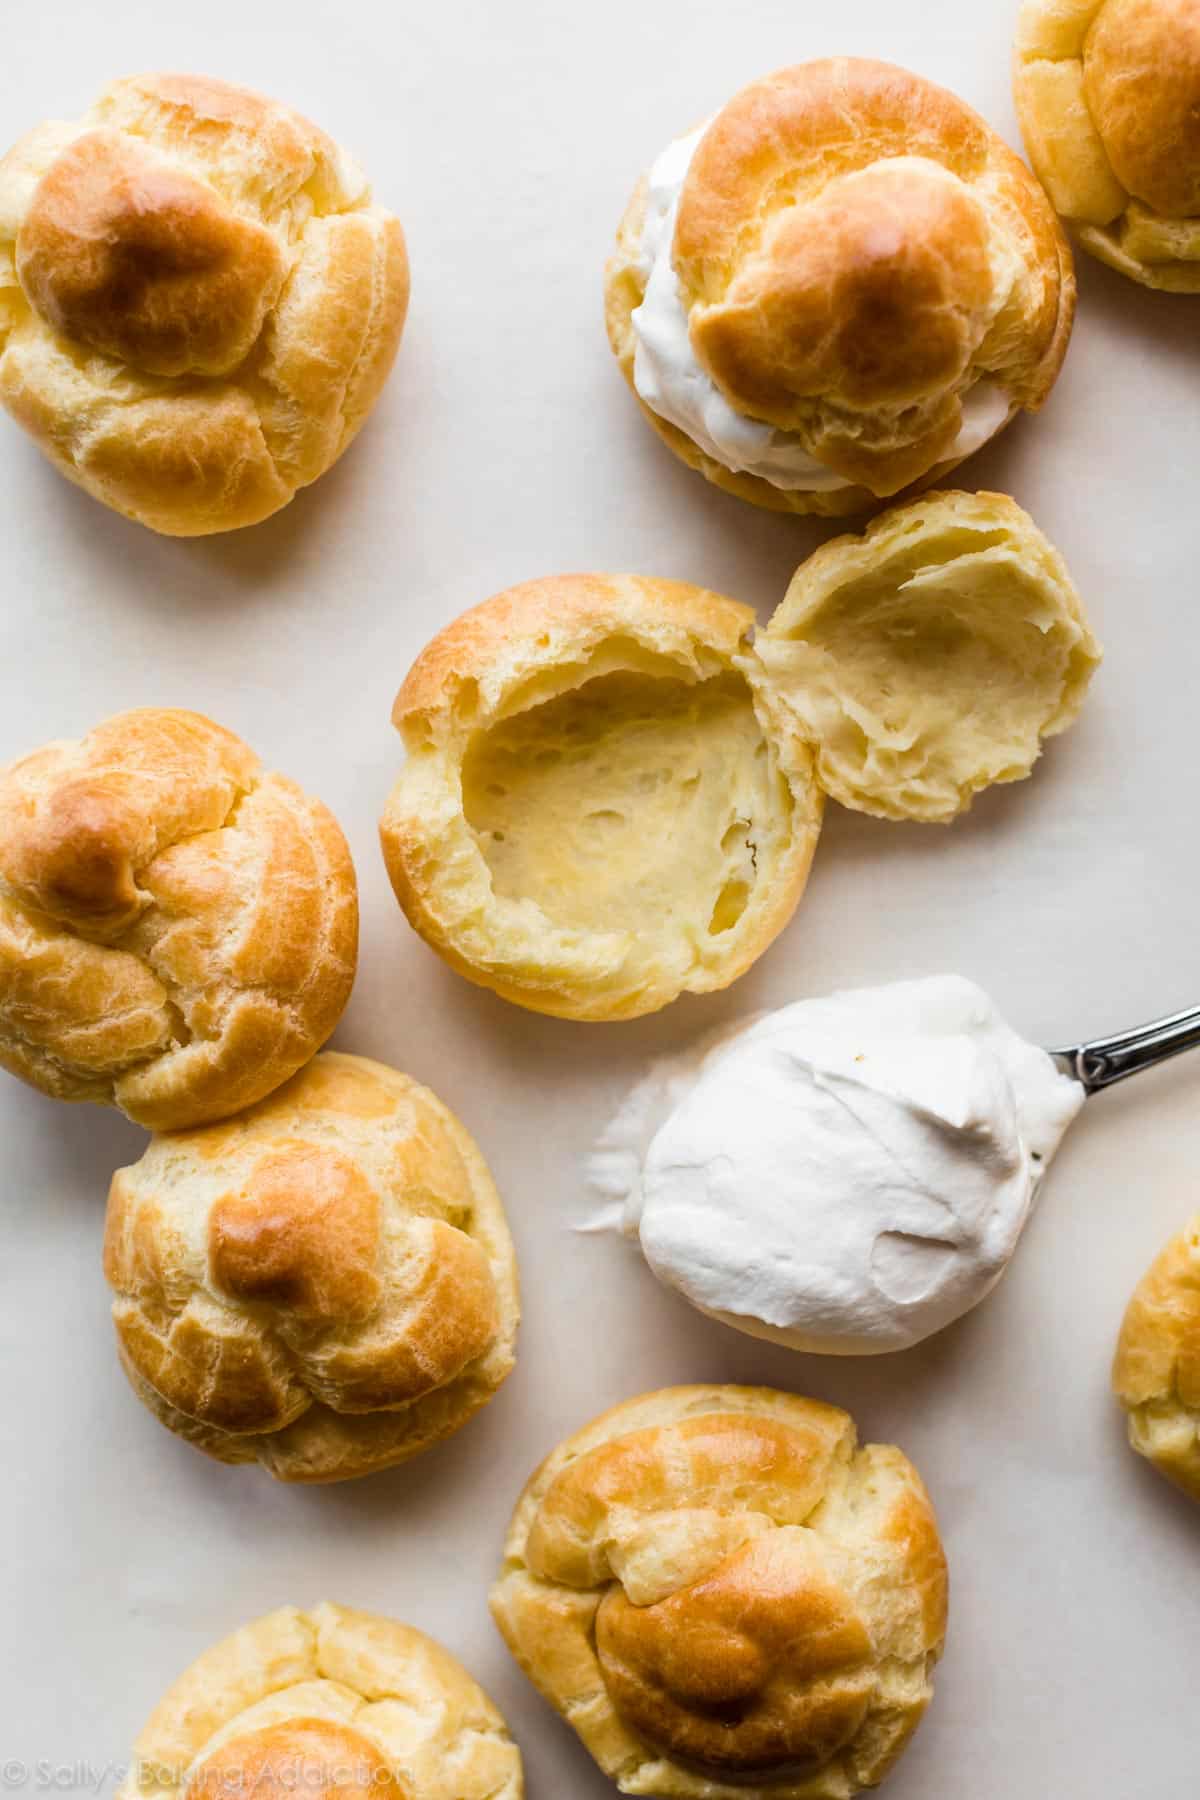
Split open the baked and cooled pastries, then fill with homemade whipped cream, lemon curd, jam, pastry cream, a combination of these, or your favorite filling!! You can also poke a hole in the pastries and pipe the filling inside.
Check out these beautiful hollow pastries, thanks to the steam created from the moisture inside and outside the baking dough!
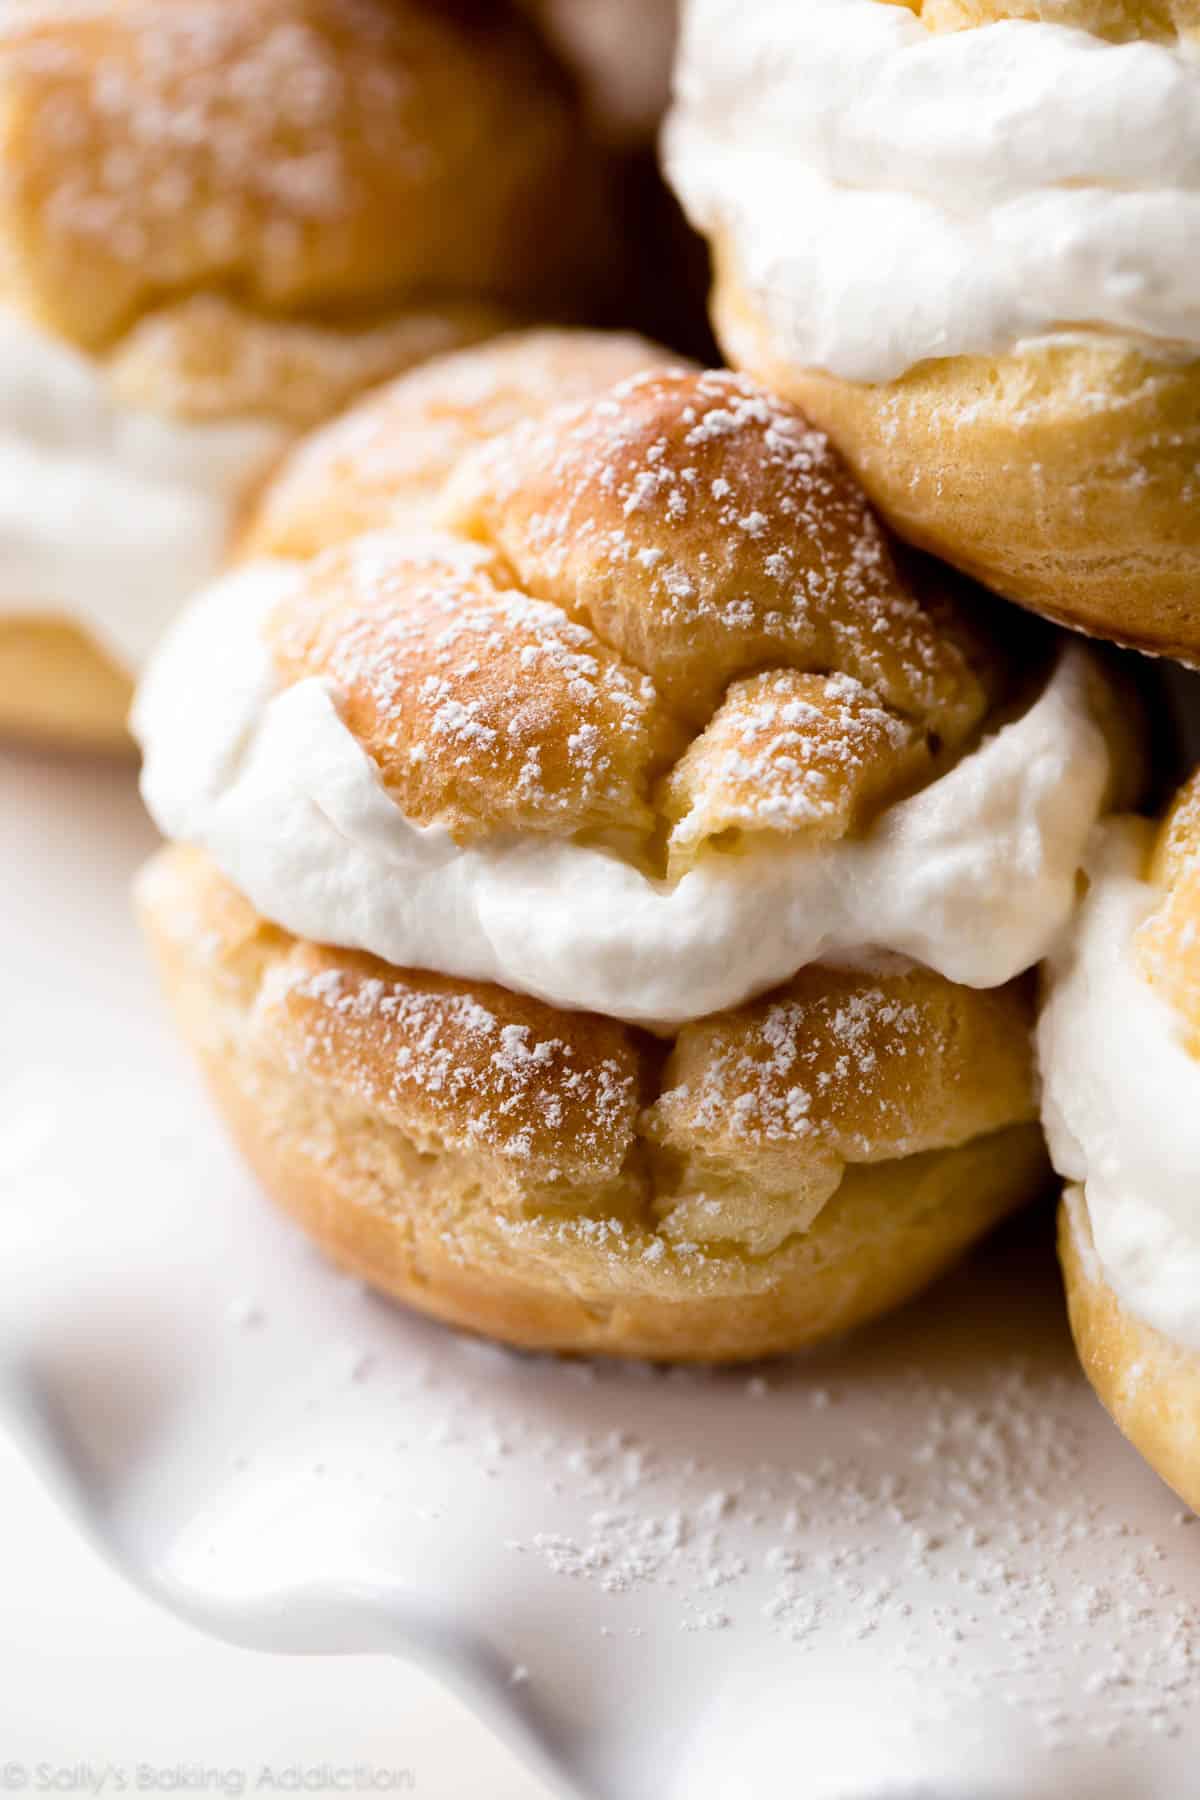
And for profiteroles, ice cream with a generous shower of chocolate ganache. I teach you how to make these pictured cream puffs and profiteroles in the recipe notes below.
See Your Choux Pastry!
Many readers tried this recipe as part of a baking challenge! Feel free to email or share your recipe photos with us on social media. 🙂
Print
How to Make Choux Pastry (Pâte à Choux)
- Prep Time: 15 minutes
- Cook Time: 35 minutes
- Total Time: 1 hour, 30 minutes
- Yield: 16 puffs
- Category: Dessert
- Method: Baking
- Cuisine: French
Description
Choux Pastry can be used in anything from cream puffs, profiteroles, and eclairs to churros, croquembouche, French cruller donuts, choux beignets, and gougères! It only takes about 10 minutes to prepare and the options for filling and shaping are endless.
Ingredients
Choux Pastry
- 1/2 cup (8 Tbsp; 113g) unsalted butter, cut into 8 pieces
- 1/2 cup (120ml) water
- 1/2 cup (120ml) 2% or whole milk
- 1/4 teaspoon salt
- 2 teaspoons granulated sugar
- 1 cup (125g) all-purpose flour (spooned & leveled)
- 4 large eggs, beaten
- egg wash: 1 egg beaten with 1 Tablespoon milk or water
Instructions
- Watch the video in the blog post above; it will help guide you through the next few steps.
- Make the choux pastry dough: Combine the butter, water, milk, salt, and granulated sugar together in a medium saucepan over medium heat. Stir until the butter has melted. Bring mixture to a simmer. Once simmering, reduce heat to low and add the flour all at once. Stir until the flour is completely incorporated and a thick dough clumps into a ball. Mash the dough ball against the bottom and sides of the pan for 1 minute, which gently cooks the flour. Remove from heat and transfer to the bowl of a stand mixer fitted with a paddle attachment or, if using a handheld mixer, a large mixing bowl. Allow to cool down for a few minutes before adding the eggs in the next step.
- Read this step in full before starting. With the mixer running on low speed, slowly add the eggs in 3-4 separate additions mixing for 30 seconds between each. The mixture will look curdled at first, but will begin to come together as the mixer runs. Pour in the final addition of beaten eggs very slowly. Stop adding when the choux pastry has reached the desired texture: shiny, thick, and smooth with a pipeable consistency. I usually leave a few teaspoons of beaten egg behind, which can be used with the egg wash.
- Your choux pastry dough is complete! You can use it immediately or cover and refrigerate for up to 3 days. There’s no need to bring it to room temperature after refrigerating. In fact, you can store it in a piping bag (see step 6) in the refrigerator and then pipe/bake right away. If it’s too stiff to pipe, though, let it warm to room temperature a bit as the oven preheats.
- For cream puff and profiterole shells: Preheat oven to 400°F (204°C). Line two baking sheets with parchment paper. Lightly brush the parchment with water, which creates a humid environment for the pastry shells allowing them to puff up without drying out or burning.
- Transfer choux pastry dough to a piping bag fitted with a Wilton 1A piping tip. Pipe 2-inch mounds about 3 inches apart. Watch the video in the blog post above for a visual. You can also use a zipped-top bag and cut off the corner for easy piping. Using a water moistened finger, smooth down the peaks and lightly brush each with egg wash.
- Bake for 20 minutes then, keeping the pastries in the oven, reduce oven to 350°F (177°C) and continue to bake for 10-15 more minutes until golden brown. Do not open the oven as the pastries cook, as cool air will prevent them from properly puffing up. Remove from the oven and transfer to a cooling rack. Allow to cool completely before filling.
- Split open pastries and fill with homemade whipped cream, lemon curd, pastry cream, jam, a combination of these, or your favorite filling. You can also poke a hole in the pastries and pipe the filling inside. For my pictured cream puffs and profiteroles, see recipe notes.
- Cover and store leftover filled pastries in the refrigerator for up to 3 days. Cover and store unfilled pastries at room temperature for 1 day, in the refrigerator for 5 days, or freeze for up to 3 months. Thaw in the refrigerator before filling and serving.
Notes
- Make Ahead Instructions: Prepare choux pastry dough through step 3. Cover and refrigerate for up to 3 days or freeze for up to 3 months. Thaw in the refrigerator before shaping and baking.
- Special Tools (affiliate links): Saucepan | Wooden Spoon | Electric Mixer (Handheld or Stand) | Baking Sheets | Parchment Paper | Pastry Brush | Piping Bag (Reusable or Disposable) | Wilton 1A Piping Tip
- Cream Puffs (pictured): Crack open each cooled pastry shell and generously spoon homemade whipped cream (it’s vanilla flavored, so it’s called Crème Chantilly) inside each. Top with a dusting of confectioners’ sugar or drizzle of chocolate ganache (ganache instructions below).
- Profiteroles (pictured): Crack open each cooled pastry shell and fill with a scoop of your favorite ice cream. Freeze for 1 hour or up to 1 day. Top with chocolate ganache. For the chocolate ganache, finely chop two 4-ounce semi-sweet chocolate bars and place in a medium bowl. Heat 1 cup (240ml) heavy cream in a small saucepan until it begins to gently simmer. (Do not let it come to a rapid boil– that’s too hot!) Pour over chocolate and let it sit for 2-3 minutes to gently soften the chocolate. Slowly stir until completely combined and chocolate has melted. Allow to cool for 3 minutes before pouring over pastries.
Adapted from Baltimore Chef Shop, where I took my pastry class 🙂




Reader Comments and Reviews
perfect if done right, cooking the dough for 1-1.30min is essential and with practice this recipe comes out great
Made 2 batches of the dough today. It was fantastic. To everyone who isn’t getting results it’s because many factors play in. I had to use 9 eggs for the 2 batches. Maybe because i used bread flour instead of ap. Recipe says 35 mins. My oven took 45. But I’m very happy with this dough and will use it again. Cheers
Hi, I am about to try this recipie. I do not have 2% or whole milk, and I only have soy or almond milk, would that not work well?
Thank you!
Hi Jo, we haven’t tested it, but other readers have reported success using non-dairy milk. Let us know if you give it a try!
When making the pastry can I use all water? This is my first time and I’ve done research probably too much, and most of them are saying all water. I’m super confused. I seem to like your recipe the best especially cooking where it says the start at 400 and then turn it down 20 minutes into cooking.
Hi Debbie! See the post above: Some recipes use all water instead of milk + water, but I find the combination yields a slightly softer and richer pastry. You could use all water if you prefer, but we like the milk + water combo.
Thank you for the amazing recipe – I have been making them for some time now but lately encountering a big issue – puff pastries rise very well and when I taken them out of the oven, following all the steps described above , in a few minutes of cooking they deflate completely
Hi Humnah, Choux can deflate for a number of reasons. Be careful not to open the oven while they’re baking, and make sure to bake them for long enough. If they’re too wet and not baked through, they will collapse. Try adding a few more minutes of bake time next time to see if that helps.
Hi sorry to bother again. Betty Crocker recipe says to bring the liquid to rolling boil and then add flour. Your recipe says to a simmer and to reduce heat. Could that be why mine was a runny soupy texture. Before I even added the eggs.
Hi Jean, this method has worked well for us, but you can certainly try adjusting it that way. Let us know how it goes!
Mine spread on pan. Didn’t hold shape and baked up like a dry cookie. What did I do wrong? The dough was too runny. Just spread on pan. Other recipes I’ve seen had less liquid and more flour. These were a waste of my time.
Hi Jean, I responded to your other comment about the runny batter — did you see it? Thanks again for giving this recipe a try.
My dough was like liquid. Are you sure it was only 1c of flour?
Hi Jean, 1 cup flour is correct. Happy to help troubleshoot. Were your eggs particularly large? It’s 4 whole eggs, beaten; however, you add the beaten eggs into the dough in several increments, just until your dough reaches the desired consistency. You may have some beaten egg (a few teaspoons) left that do not get added. If you try it again, stop short of adding all the egg. Thank you for giving this recipe a try!
No my eggs were average. I did save egg like suggested.
No my eggs were average. I did save egg like suggested. What else could it have been?I noticed some others had a soupy texture as well.
Hi Jean, you may need to save more egg if the mixture ended up too soupy. Did you watch Sally’s video tutorial above? That gives you a nice visual of the consistency you’re looking for. Hope this helps!
Every single recipe has been spot on! If I look up random things to try to bake and Sally has a recipe, I go to hers. I e never had a failure with her instructions! I’m trying her Choux recipe tonight as my dad has a hankering for eclairs!
Thank you so much for making and trusting our recipes, Lisa!
Hi Sally,
How early in advance can I make the choux pastry without filling them with cream until the day I need them?
I’d like to make these a few days in advance to save on time, but will they become stale?
How would you recommend I store the unfilled puffs? Thank you.
Hi MG, you can cover and store unfilled pastries at room temperature for 1 day, in the refrigerator for 5 days, or freeze for up to 3 months. Thaw in the refrigerator before filling and serving.
Thank you, you made
The choice pastry very easy
sally, i have made this recipe twice and am following it TO THE LETTER!!! i measure by weight, not volume but both times, my pastry has been a soupy mess. i have tried to “stiffen” it by making a second batch of pastry batter (just half, no eggs) to add to the original batch and even that doesn’t help. i’m not boiling the liquid, i make sure it is cool enough when adding the eggs. there just seems to be way too much liquid. for the second try, i only used 3 eggs and even that was too much. am i beating too much? is one cup of liquid too much? should i let it cool completely before piping onto the parchment covered cookie sheet? what am i doing wrong???? please help!!!!
Hi Steph, reducing the eggs is the first thing I would do. I know you said you already reduced to 3 eggs. Can you try 2 eggs next time (though I do fear that won’t be enough). Also, try reducing the milk to 6 Tablespoons (around 80ml). You can try letting the batter cool before piping, which will undoubtedly help. Sorry you are having trouble with this one.
I love your site, but, I can’t get the macarons to come out right!
Hi Susan, what exactly is going wrong? We’re happy to help. Make sure to check out the Troubleshooting section of the macarons recipe post.
The recipe was easy to follow but one baking sheey full of croux didnt rise and just got brown and the other one puffed up nicely but when I pulled them out after the 35 minutes written in the recipe, it deflatedlike a balloon. Any tips for next time?
Hi Poyraz, Choux will deflate if it is not baked long enough, make sure to bake it through! There’s plenty of tips on the process in the blog post above – happy baking!
The recipe was super easy to
Follow! I loved that! My only issue is baking time. I baked them for 20 mins @ 400 F and they’re almost over done. Another 12 to 15 mins at 350 F and they’d be burned. Either time and temp are incorrect but something isn’t right. Other than that, I loved the recipe.
Same.
I wish I knew how “cool” the dough needs to be before mixing. It’s still quite hot 5 minutes later and I am anxious about ruining the dough. Perhaps we could add a temperature requirement to the notes section ?
“cool” almost cold, as once you add the eggs, they shouldn’t be cooking. I normally spread mine on a parchment paper and flat it, so it cools down easily. Another tip is to put it into your standing mixer and whisk until cooled . Hope this helps
Hey, I’m thinking of making a croquembouche for new years and was thinking of using this recipe for the choux but I am a bit worried about the cooking part of it ( fear of deflation) after reading some of the comments. Do yo un have any tips of tricks (especially cause I will not be using own oven)
Choux will deflate if it is not baked long enough, make sure to bake it through! There’s plenty of tips on the process in the blog post above – happy baking!