If you enjoy trying homemade versions of store-bought favorites, you will love these fudge chocolate pastry tarts because they’re just like chocolate pop tarts but with a homemade touch! Like my homemade brown sugar cinnamon pop tarts recipe, this is a fun baking project for a snowy or rainy day or when you’re looking for a special baking recipe to try out.
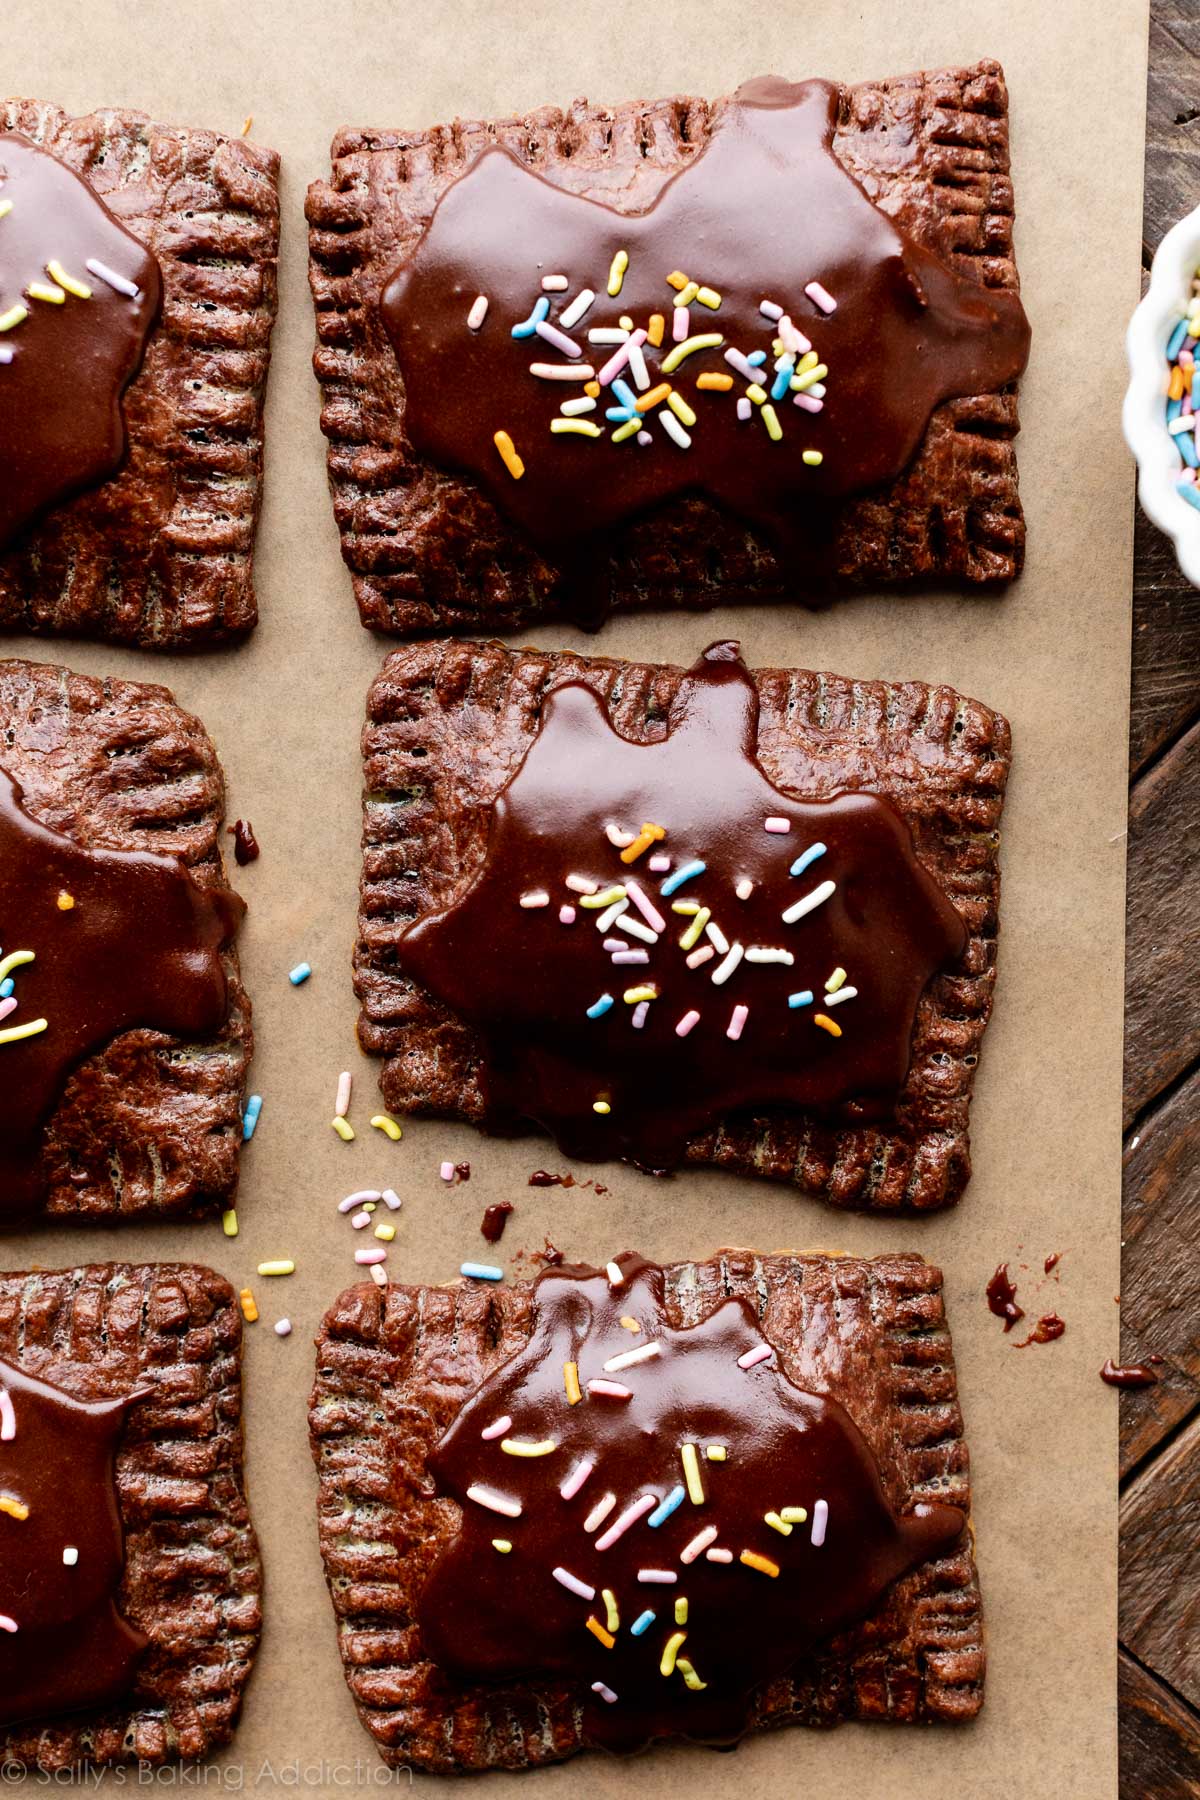
Pastry tart can refer to a handful of different baked goods like actual tarts made in a full size or mini tart pan, tarts made from puff pastry, or something like hand pies—which is what I consider today’s chocolate dessert recipe. They’re like store-bought pop tarts, but I don’t suggest putting them in the toaster to reheat.
Whatever you call them, they’re perfect for anyone who LOVES chocolate.
These Fudge Chocolate Pastry Tarts Are:
- Draped in chocolatey cocoa icing
- A homemade version of store-bought pop tarts
- Like these chocolate hand pies, but with a slightly different filling & topping
- Best after they have completely cooled
- An intermediate baking recipe and doable for most home bakers
- Definitely a dessert, but feel free to indulge for breakfast!
After completely cooling, the crust is deliciously crumbly, the filling has thickened, and the icing has set. If you have the self control, WAIT to eat one!
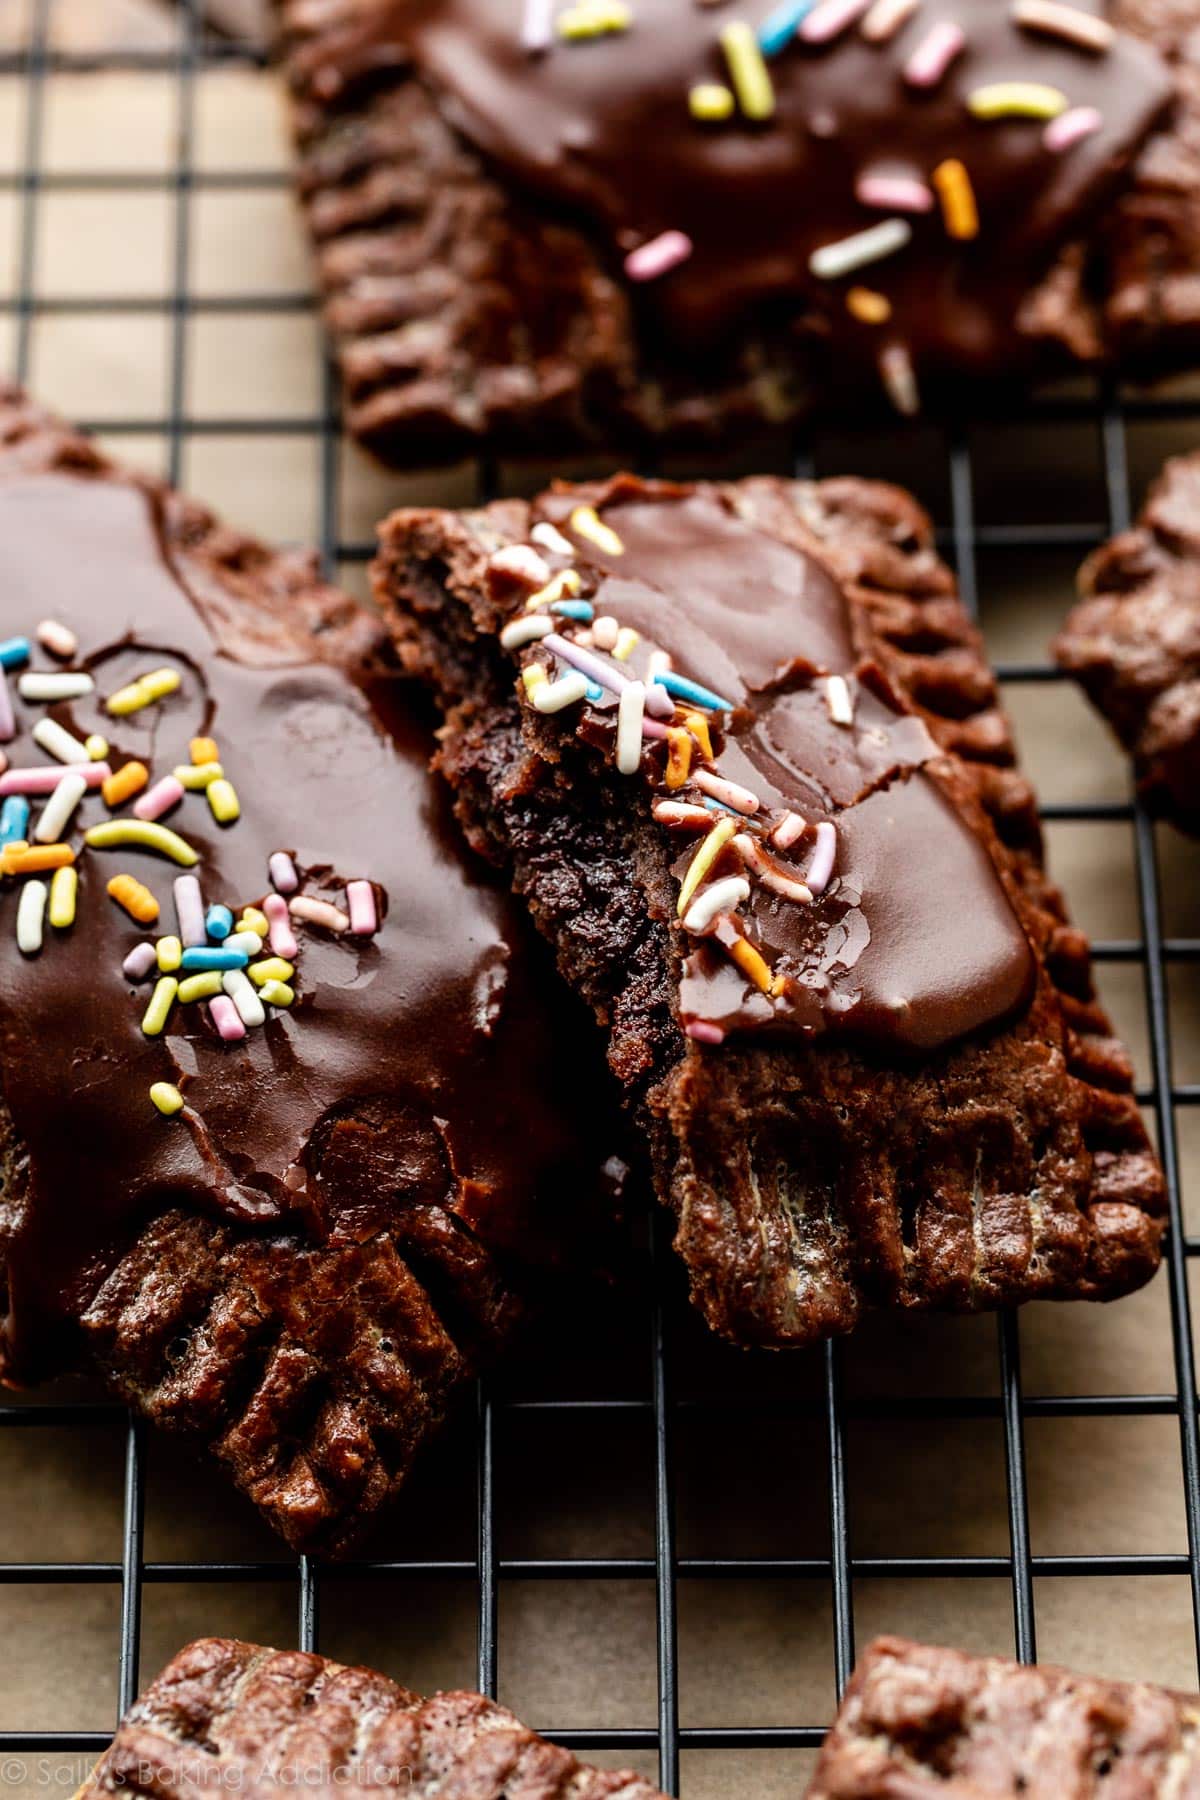
3 Parts to Homemade Chocolate Pop Tarts
There are 3 components to these homemade chocolate pop tarts and even though the ingredient list below looks long, the ingredients are mostly repeated in each part of the recipe. (For example, you use butter in all 3 components.) Here’s each part of the recipe:
- Chocolate Pastry/Pie Dough
- Fudge Filling (tastes like brownies!)
- Cocoa Icing
You need 11 ingredients total. Let me walk you through the steps so you have a better idea of the process. There is also a video tutorial in the recipe card below.
Chocolate Pie Dough
The envelope sealing in all of the fudge filling is chocolate pie crust and I recommend you make this first because the dough needs to refrigerate for at least 2 hours. This is an all butter chocolate pie dough, so you don’t need shortening which is a fat I like to combine with butter in my favorite pie crust recipe. I do have an all butter pie crust that I love as well and today’s recipe is basically a chocolate version of that. We’ll swap some flour for cocoa powder, reduce the salt, and use milk as the liquid. Since there’s no leavening, you can use either dutch-process or natural cocoa powder. (If you’re ever curious, here is the difference between dutch-process vs. natural cocoa powder.)
- Tools for Pie Dough (affiliate links to products I use and love): A food processor makes the pie dough process easier and if you don’t have one, use a pastry cutter. A blender could work, but be VERY careful not to over-work this dough. You also need a rolling pin, sharp knife or pizza cutter for shaping the dough, and a pastry brush.
- Pie Dough Success Tip: For the most successful chocolate pie dough, make sure your butter and milk are VERY cold otherwise both will incorporate into the dough too quickly and you’ll be left with unworkable dough/paste.
Instead of chocolate dough, feel free to use my favorite regular pie crust or all butter pie crust.
Where Else Can I Use This Chocolate Pie Dough?
The dough recipe yields enough for 2 pie crusts and you can use 1 for any of the following recipes—simply switch out the dough in each recipe for the chocolate version.
- Brownie Pie (blind bake as directed in that recipe)
- French Silk Pie (blind bake as directed)
- Nutella Tart (bake crust as directed in that recipe)
- Snickers Caramel Tart (bake crust as directed)
- Pecan Pie
Pie Dough Step Photos
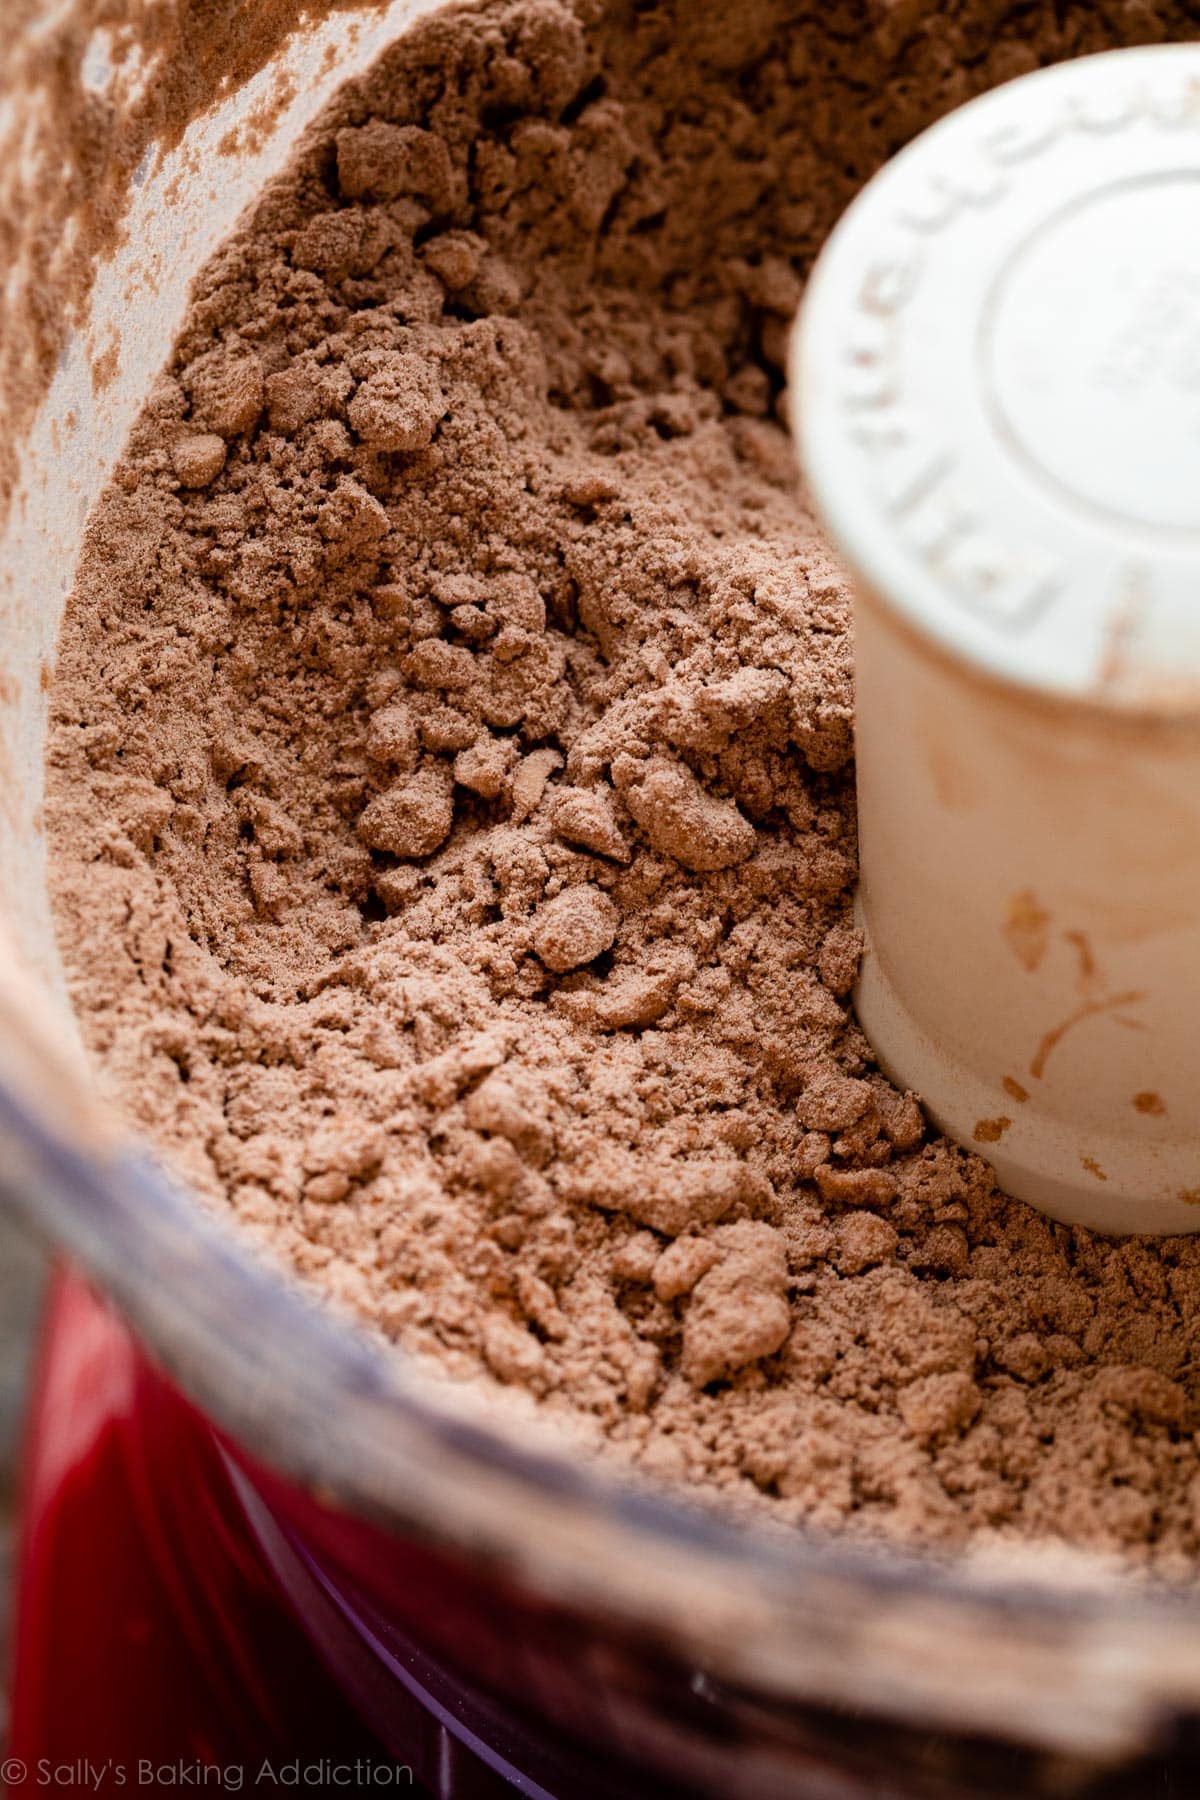
The full detailed recipe is below, but let me walk you through the step photos as they will be helpful especially when it comes to the dough. Using either a food processor or pastry cutter, pulse/cut your cold butter into a mixture of flour, cocoa powder, sugar, and salt. Just like regular pie dough, you want coarse butter crumbles coated with the dry ingredients:
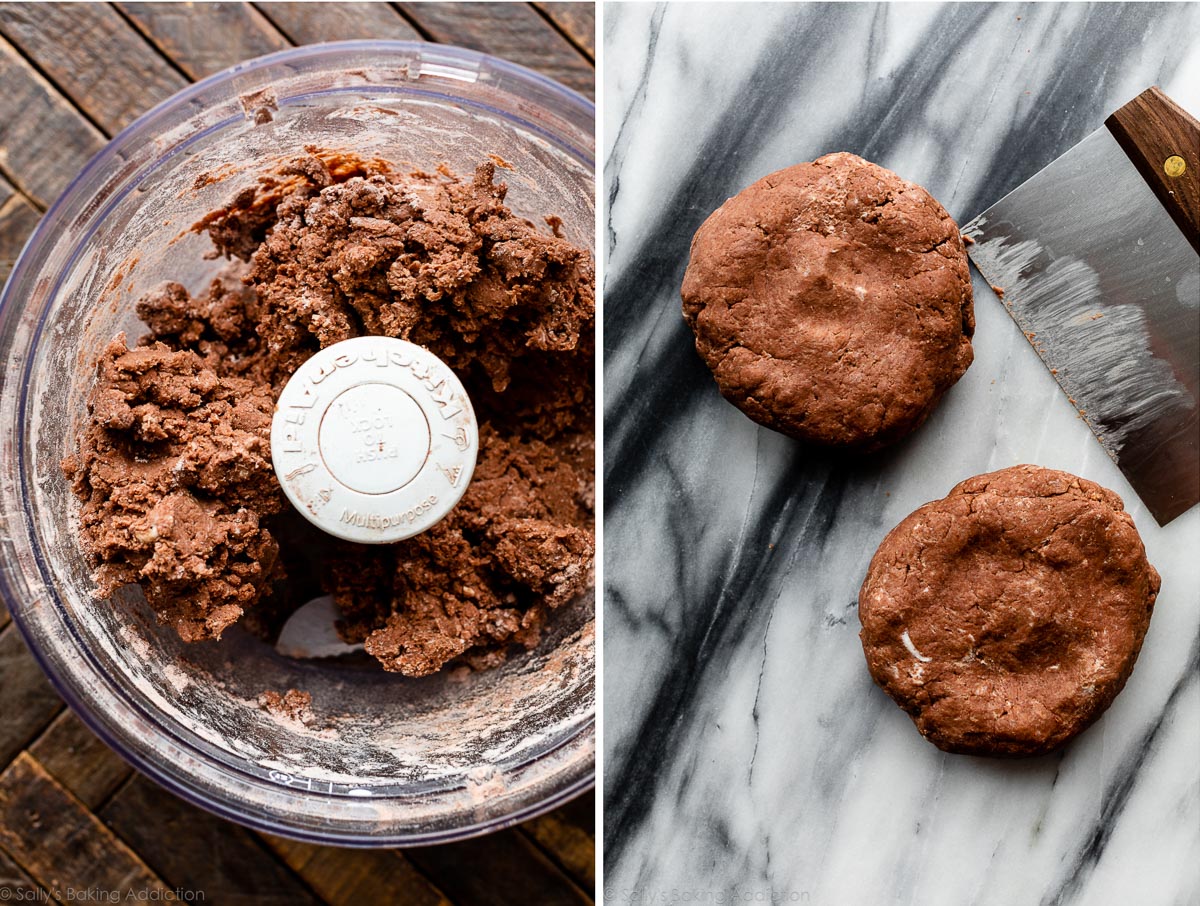
Slowly add the cold milk just until the dough clumps and comes together. Divide dough in half, flatten into discs, and then refrigerate both for at least 2 hours:
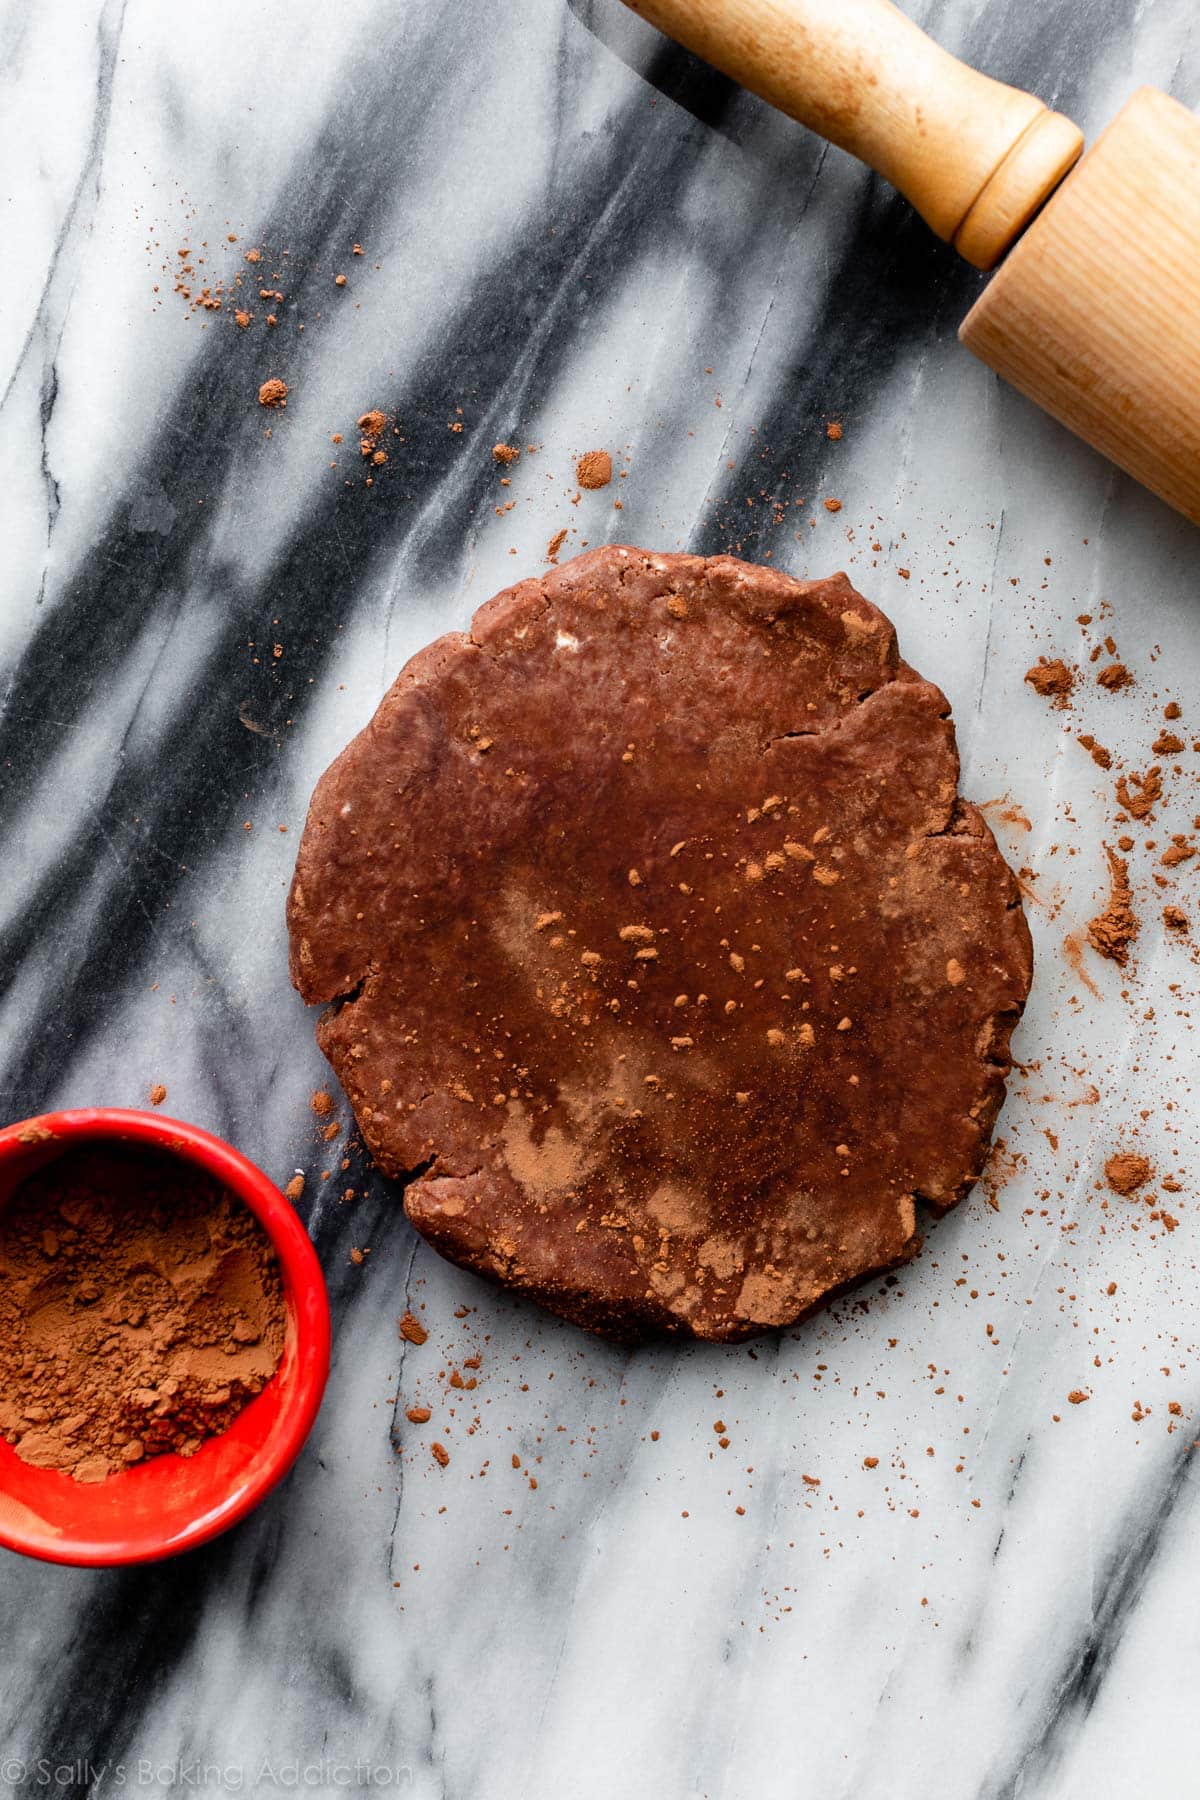
Roll out each chilled disc into a 9×12-inch rectangle and use cocoa powder instead of flour to prevent the dough from sticking. Take your time with this because the dough is quite stiff.
Then cut each rectangle into 9 3×4-inch rectangles. You’ll have 18 rectangles, which makes 9 pop tarts. Here is just 1 so you have an idea what it looks like:
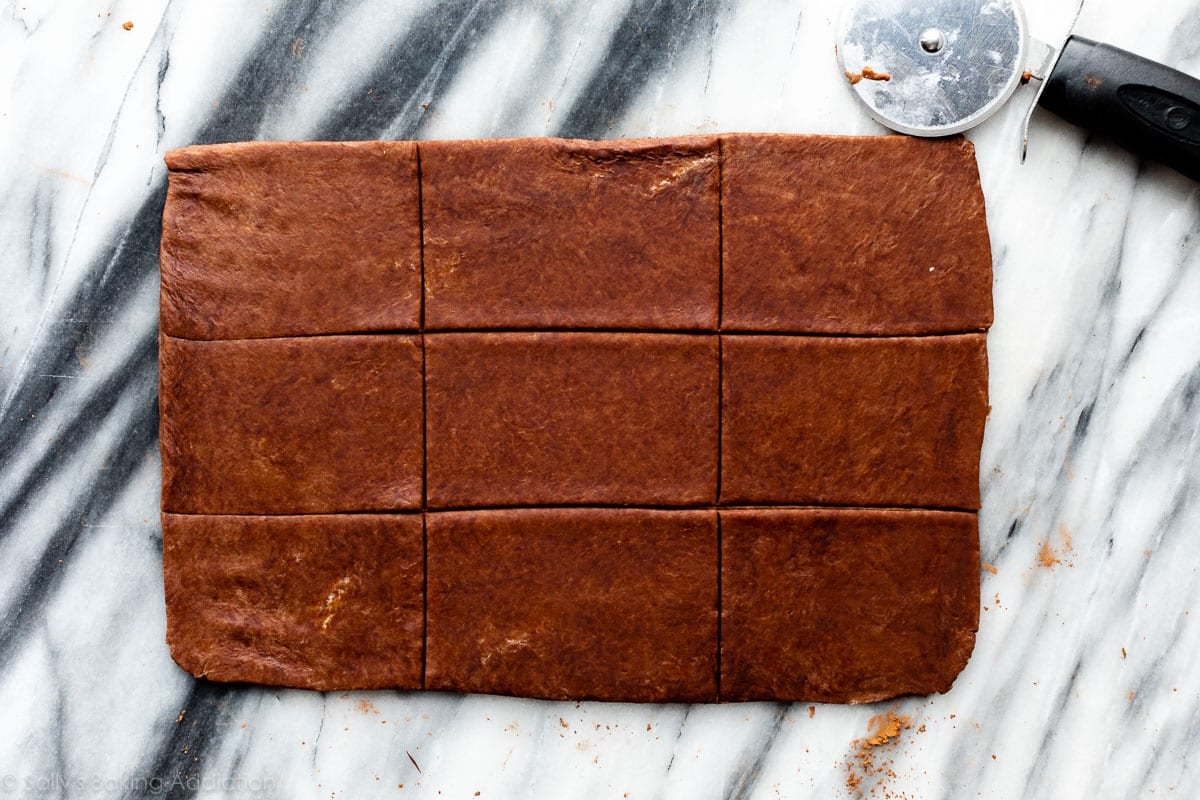
The shaped dough is ready to be filled and assembled. As instructed in the recipe below, have an egg wash handy because that’s the “glue” that adheres the top and bottom doughs together.
Fudge Filling
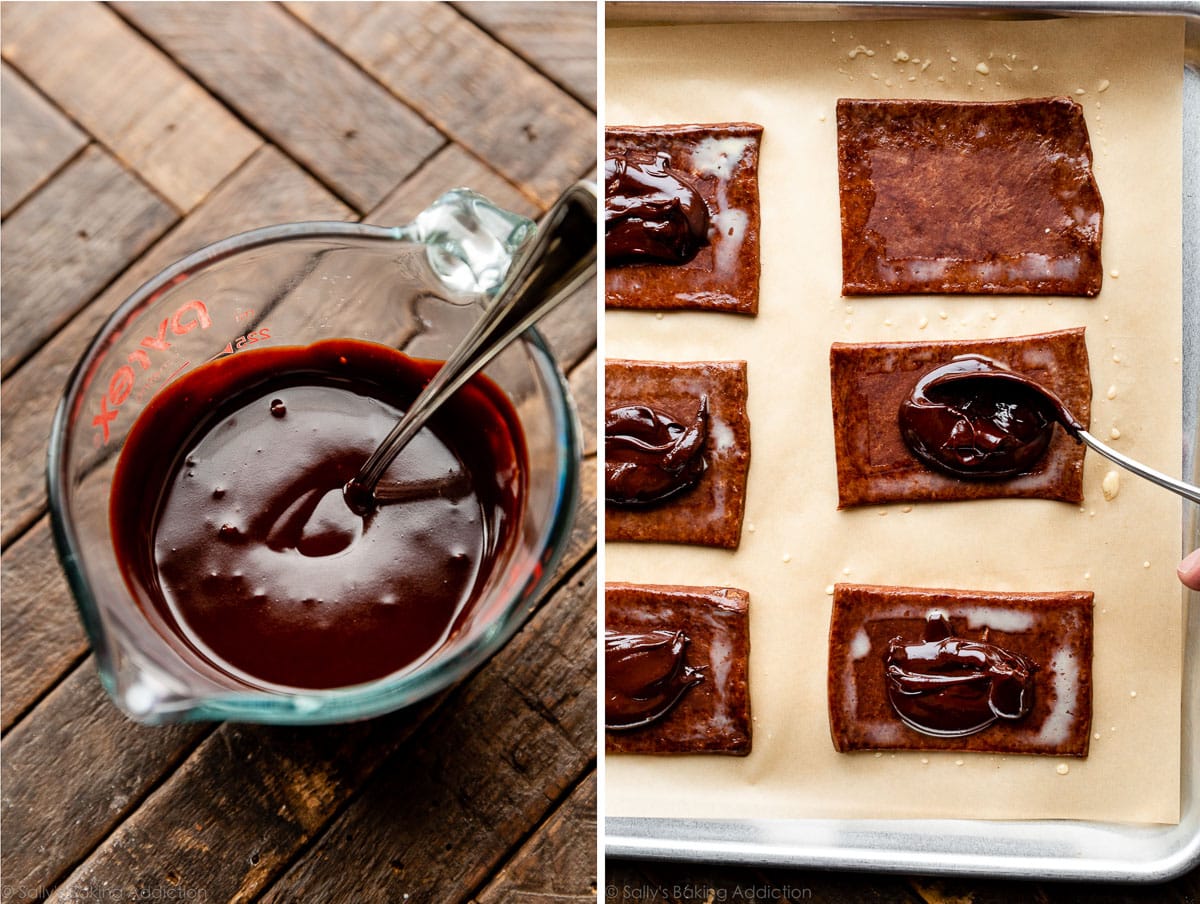
In my regular chocolate hands pies, we use chocolate ganache as the filling. In today’s recipe, we’re making a fudge filling that when baked and cooled—tastes like homemade brownies. My goal for the filling was to make a thicker, yet less rich chocolate ganache. It worked very well!
- Make the fudge filling immediately after you prepare the pie dough because it needs to cool and thicken before you assemble the pop tarts. You need chocolate, milk, sugar, butter, and vanilla extract. Most of the ingredients come together on the stove.
You end up with about 3/4 cup (180ml) fudge filling so each pop tart gets a heaping Tablespoon. Don’t forget the egg wash border around the bottoms.
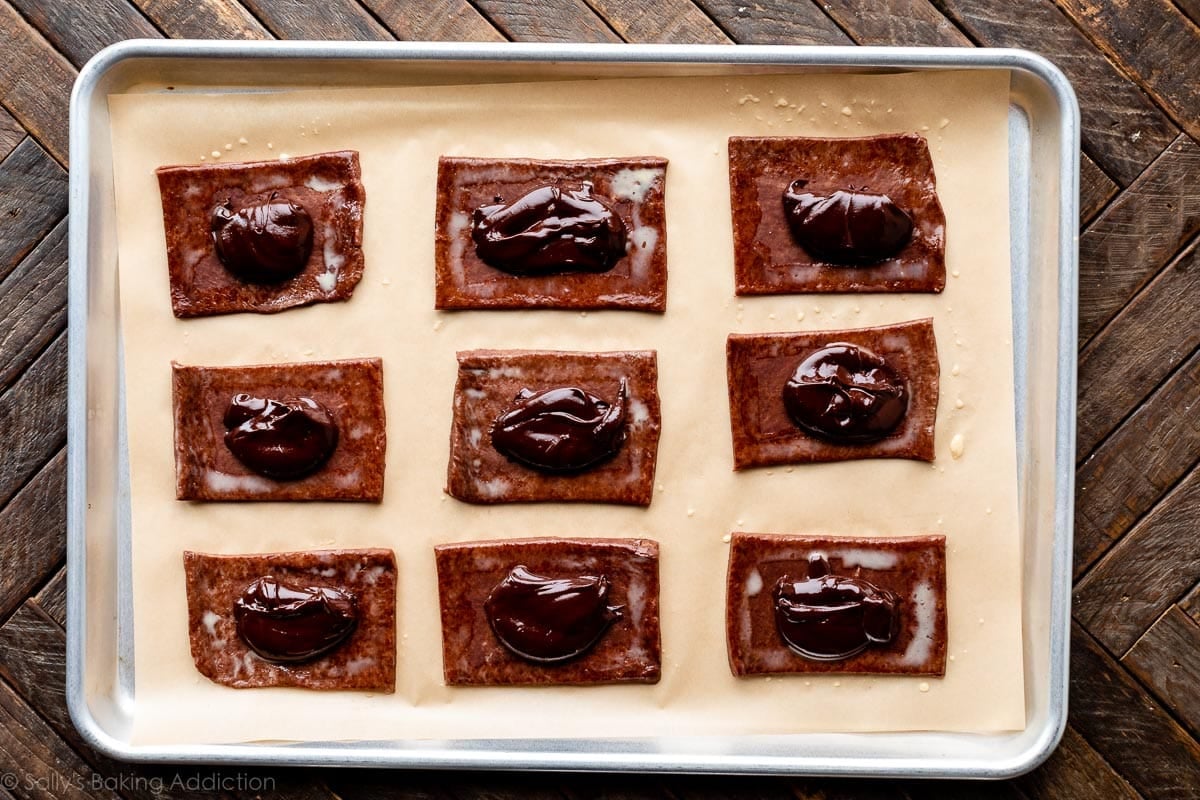
After spooning the fudge filling on the rectangles, lay the other set of pie dough rectangles on top of each and press your finger around the edges to slightly seal. Poke holes in the top pie crust with a fork or toothpick, which allows steam to escape.
To finish assembling, crimp the edges with a fork (just like when we crimp pie crust) to ensure no filling spills out (if it does, it’s not a big deal). Brush with egg wash which gives the baked tarts their glistening sheen.
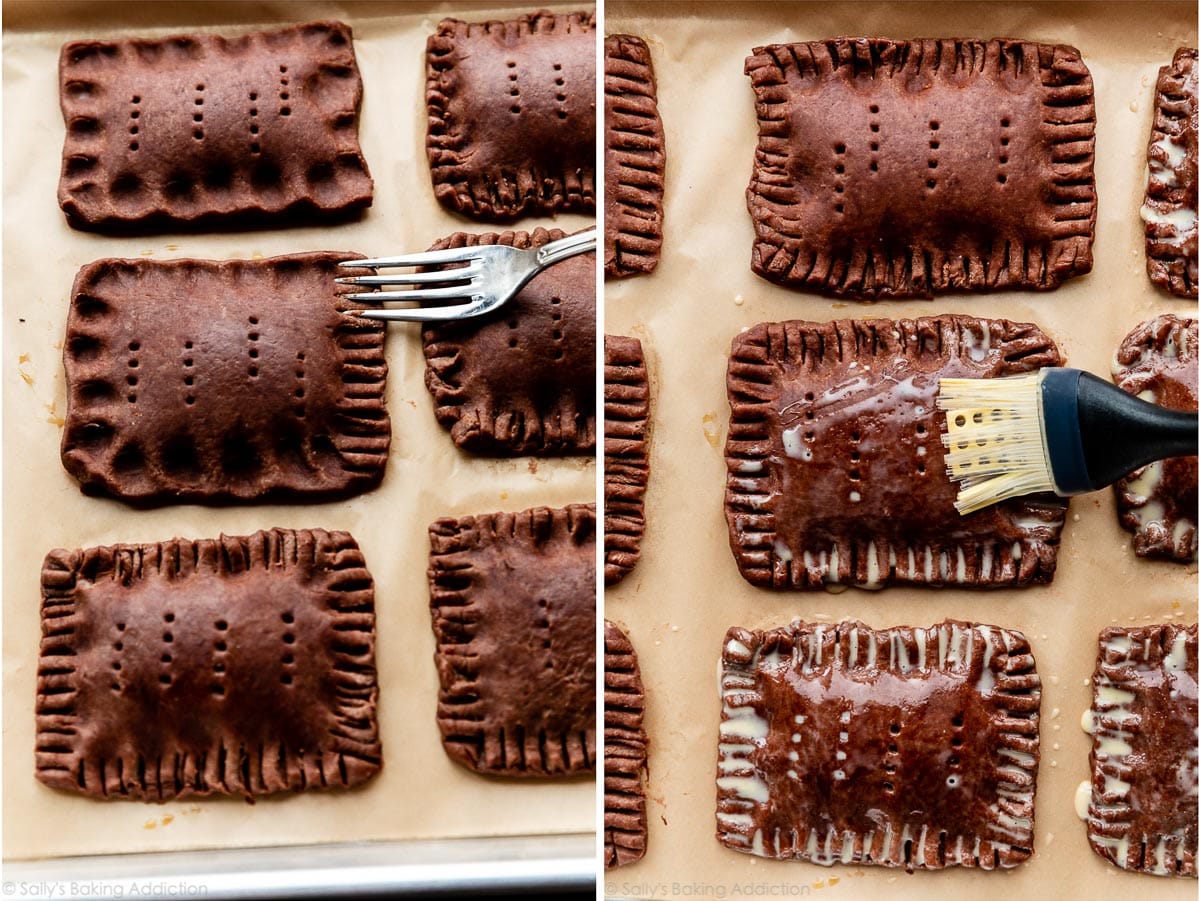
As the chocolate pastry pop tarts bake, make the icing. You’re almost done!
Cocoa Icing That Sets
After the chocolate pastry tarts bake and slightly cool, spoon chocolate icing on top. When testing this recipe, I often went back and forth about the icing. Did I want a chocolate version of royal icing or a simple drizzle of melted chocolate? I ultimately decided on a sweet cocoa icing that—thanks to the butter—eventually thickens and sets. You need melted butter, hot water, confectioners’ sugar, cocoa powder, and vanilla extract. You can use milk instead of water, but I find that version doesn’t set as nicely. Feel free to skip the icing if desired.
- This would be a lovely icing to use on chocolate sugar cookies, but I don’t recommend using a piping tip because it’s quite drippy. You could use it for glazed doughnuts, too!
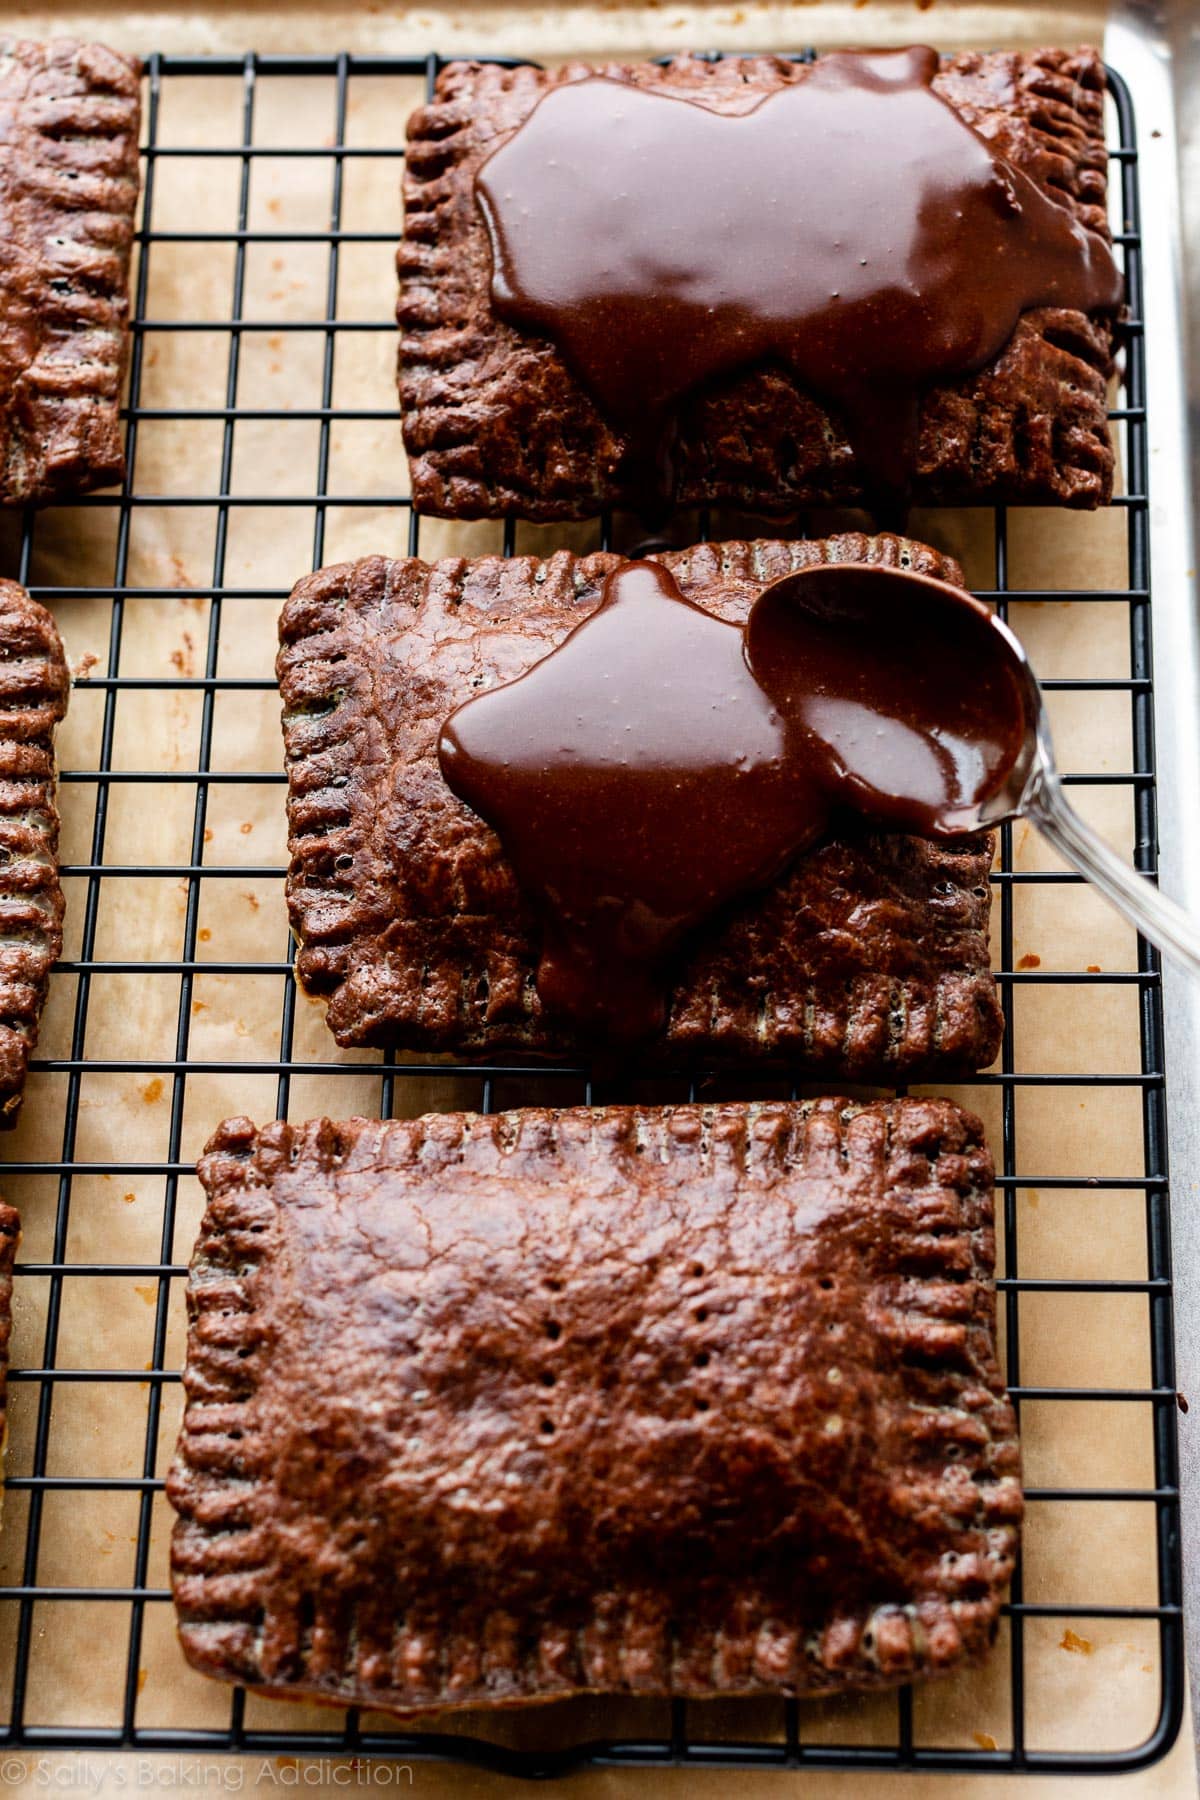
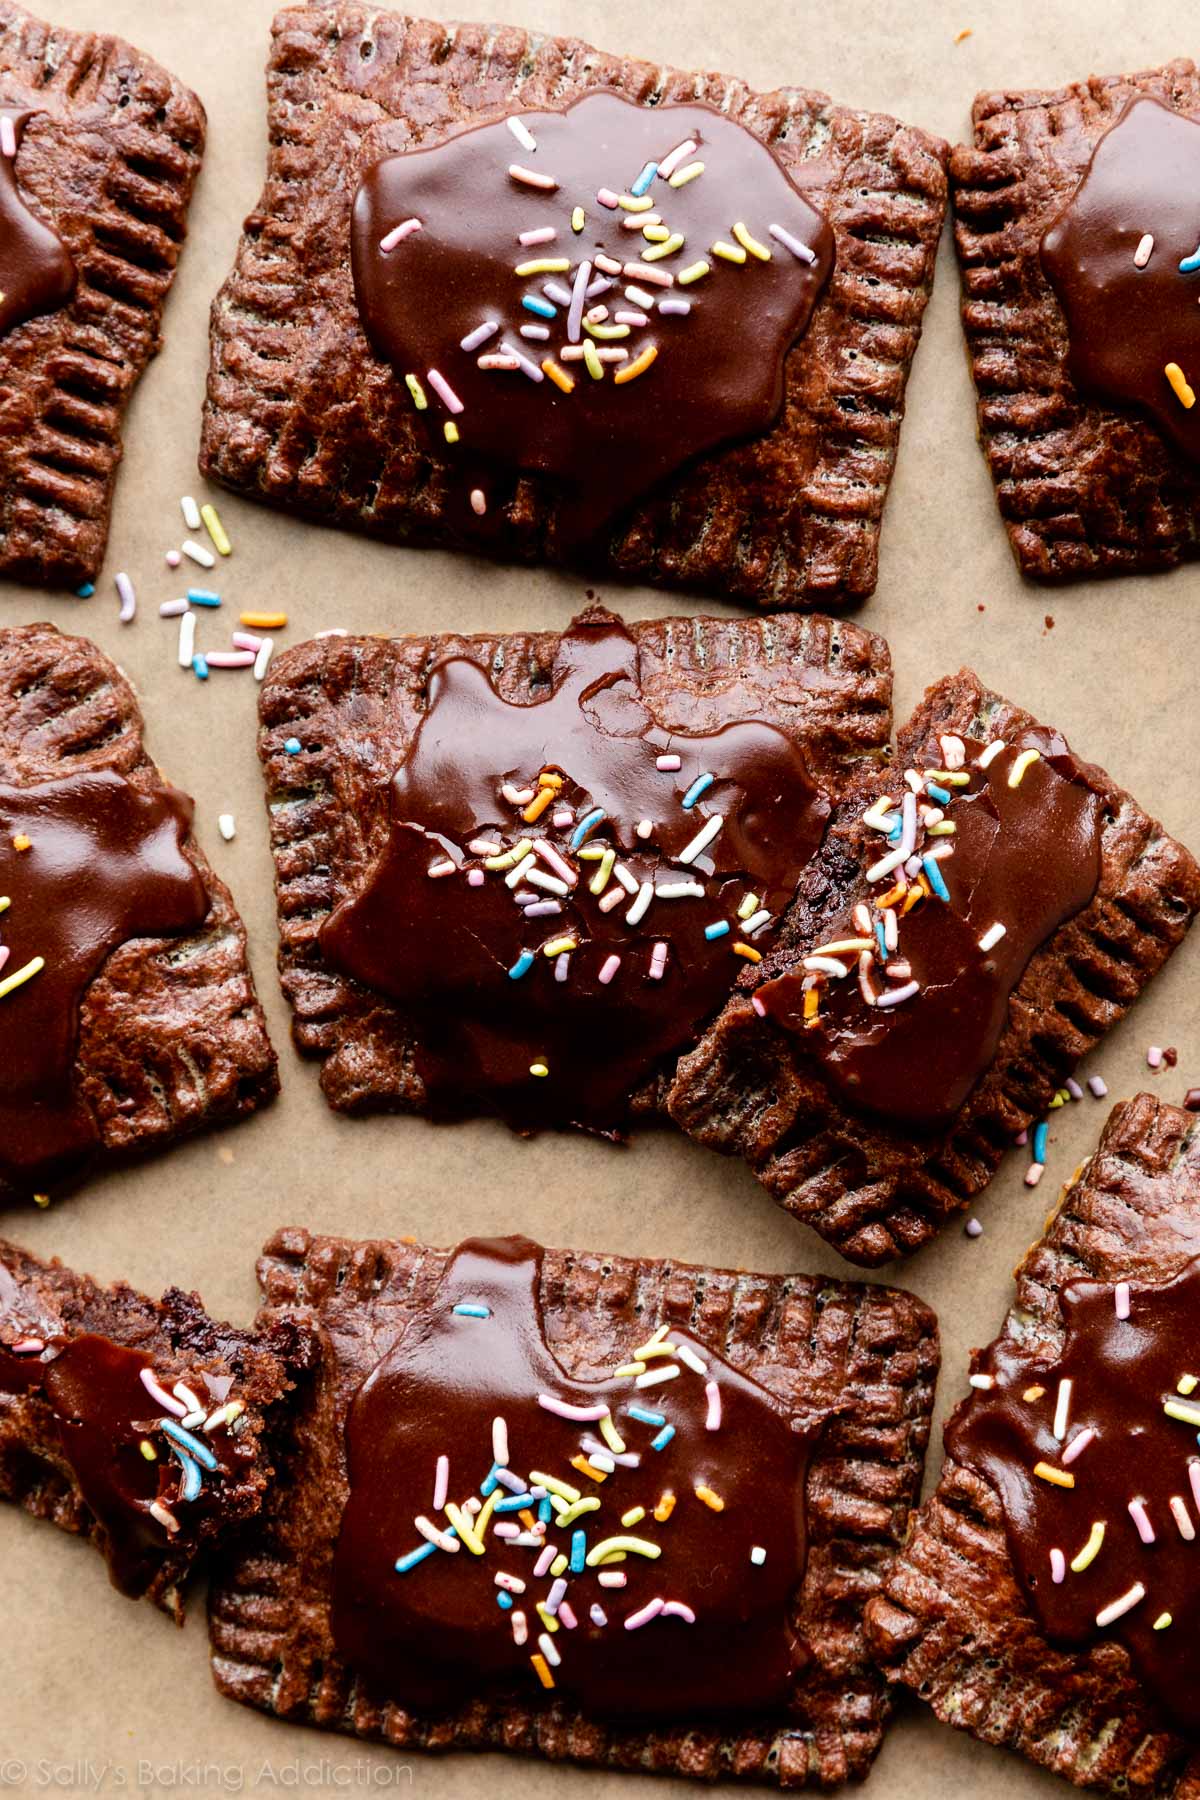
Sprinkles are the finishing touch, but you can skip them if desired. These pastry tarts are a homemade version of a fun childhood favorite and I hope you enjoy the process. (And end result!!!)
For more takes on classic childhood treats, try my rice krispie treats, cream-filled chocolate cupcakes, mini animal cracker cookies, and oatmeal creme pies.
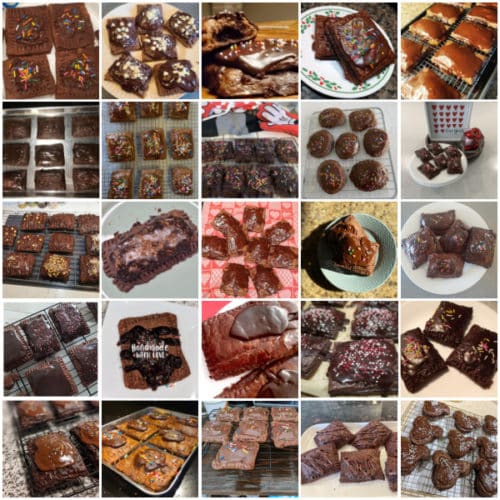
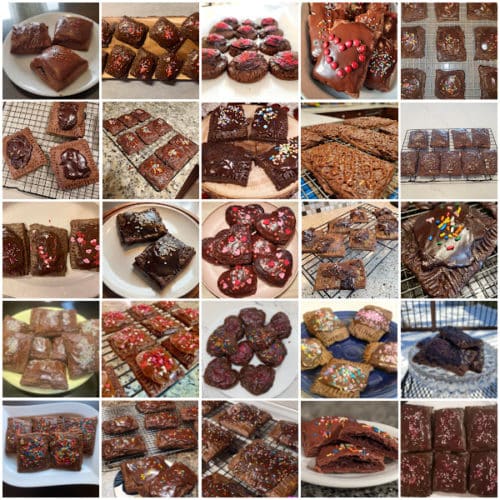
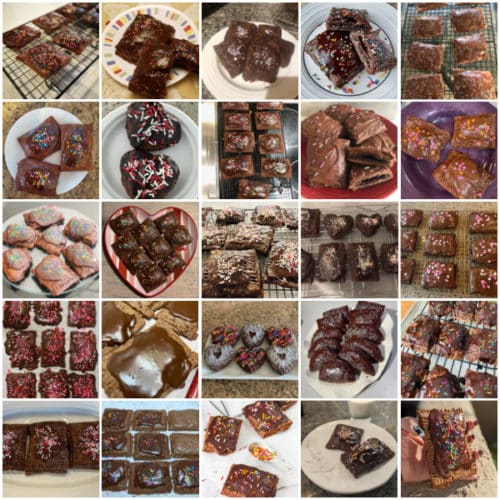
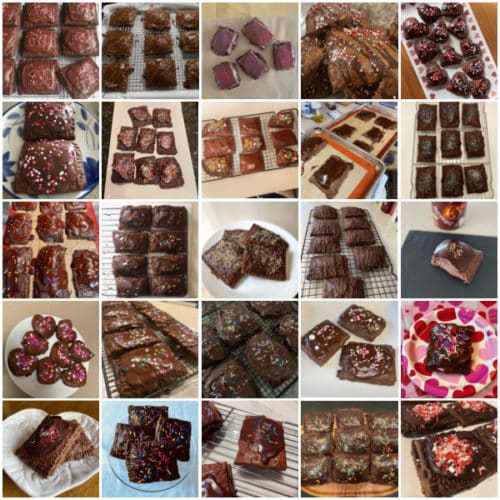
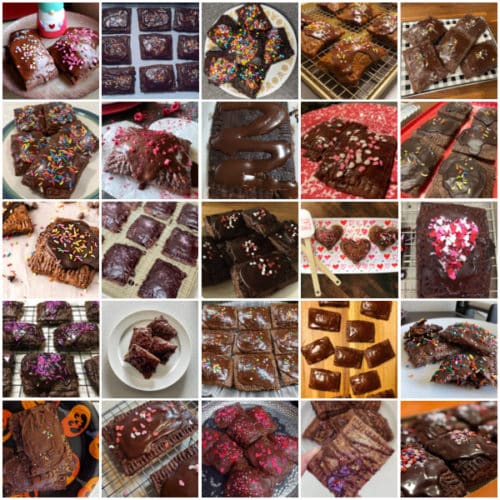
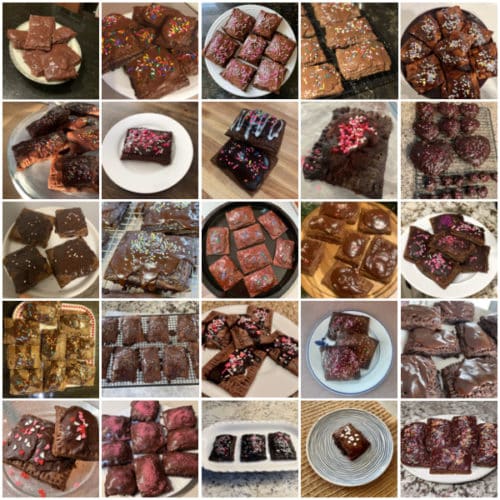
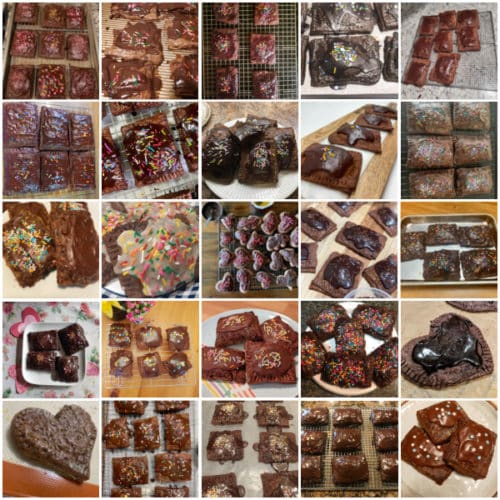
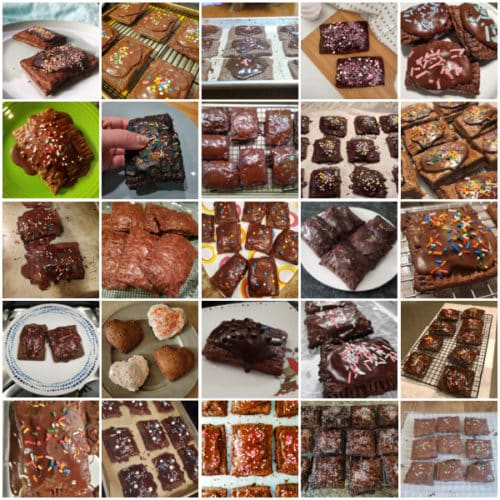
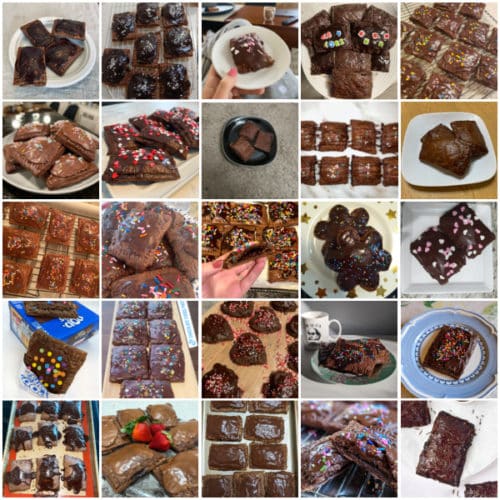
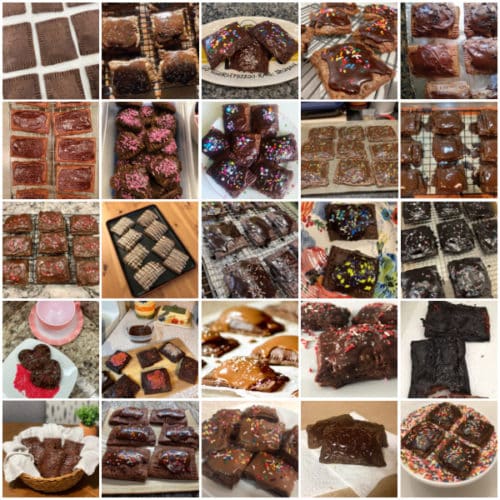
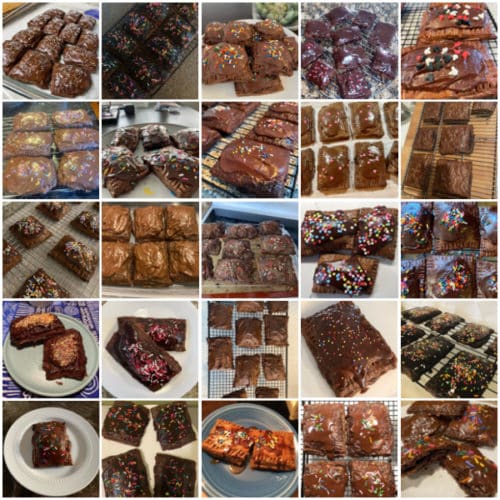
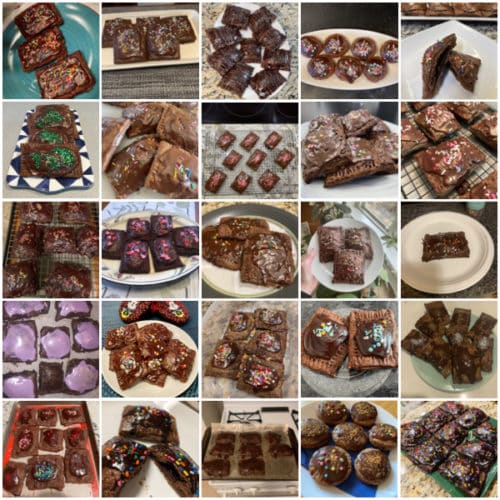
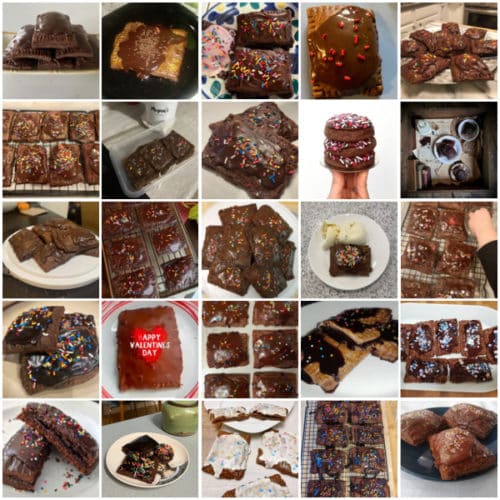
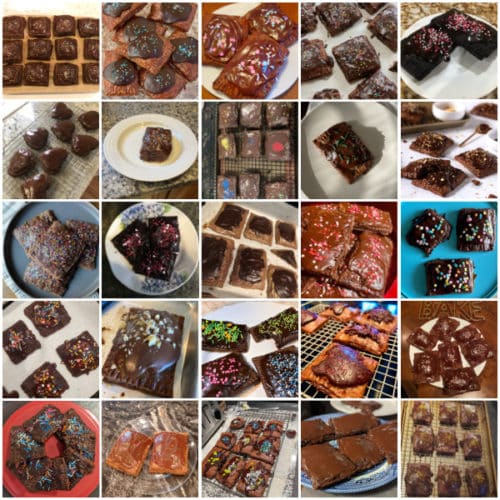
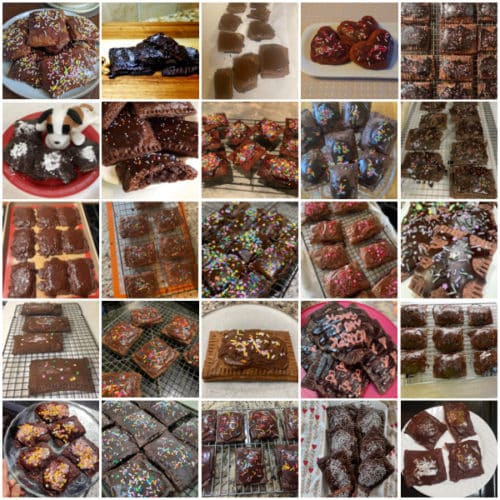
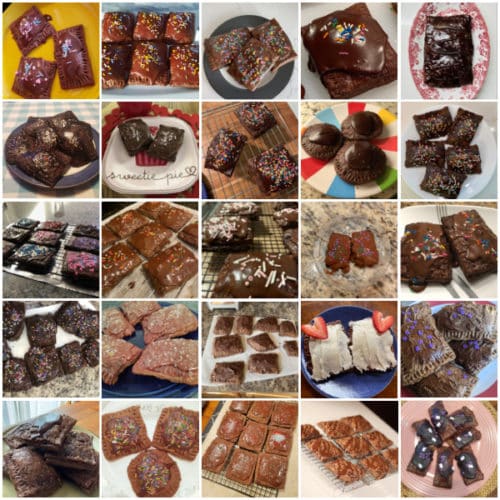
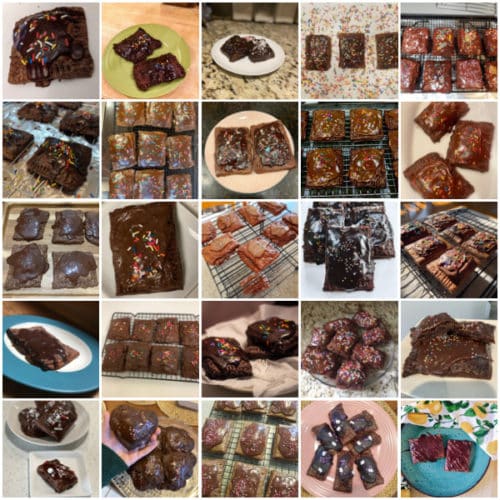
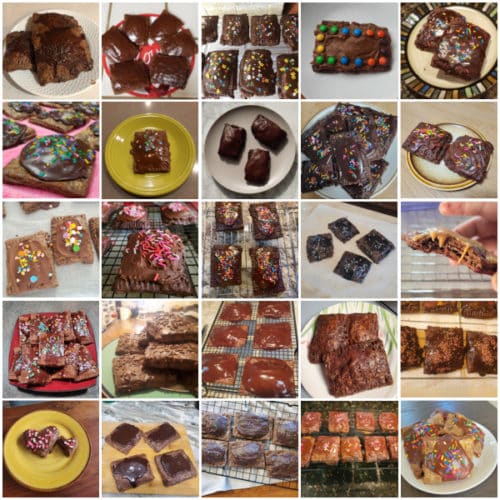
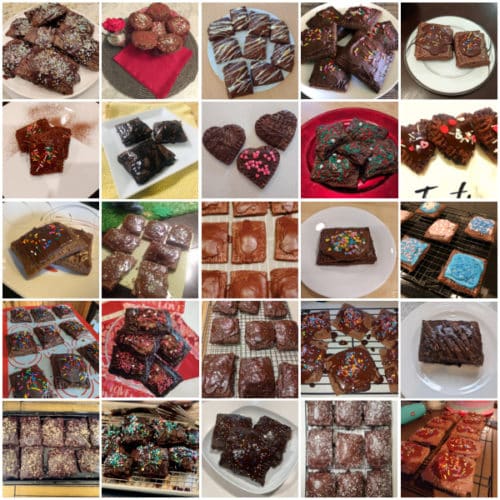
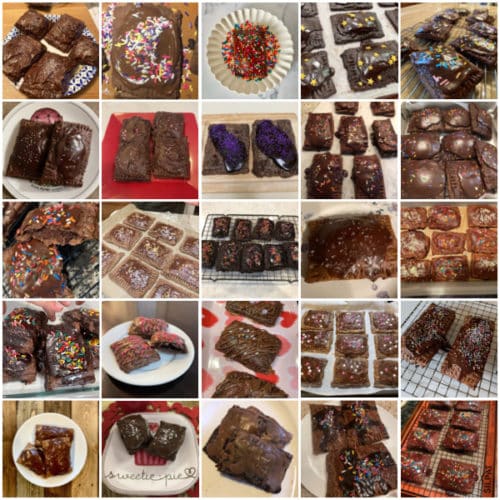
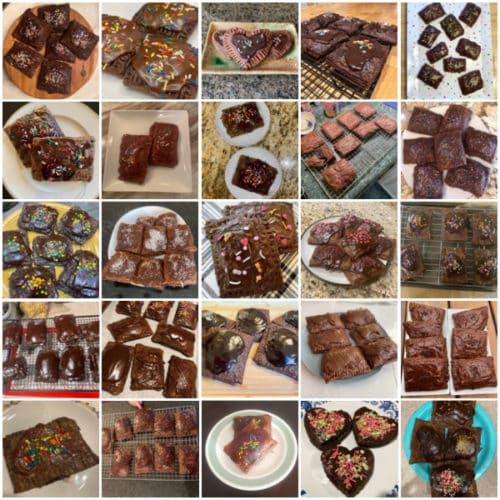
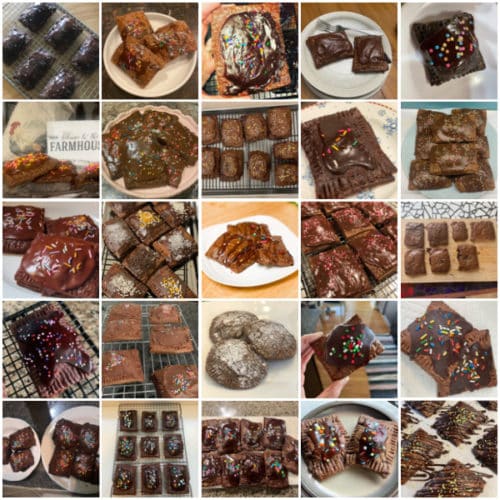
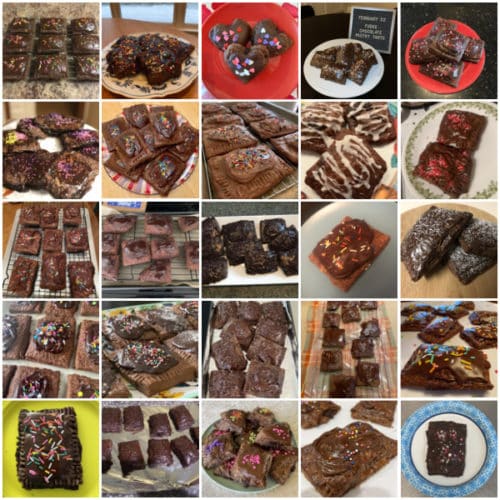
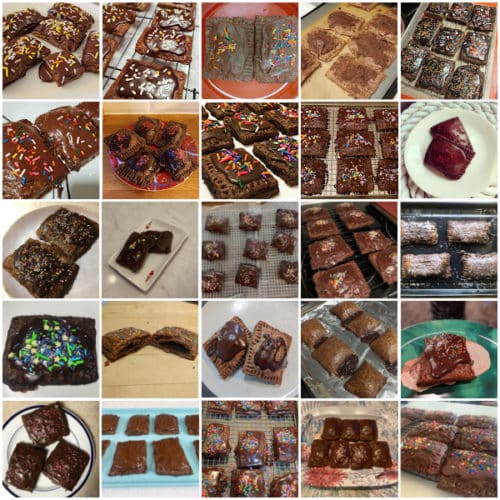
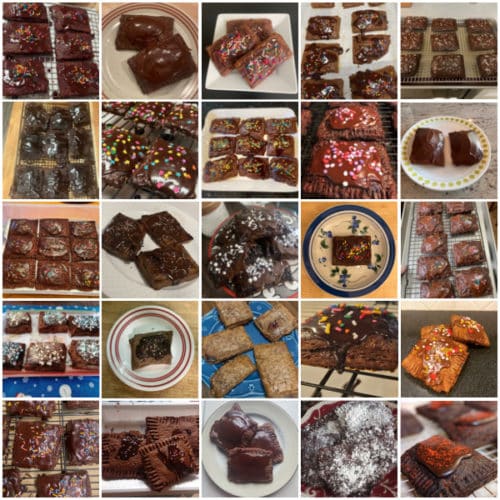
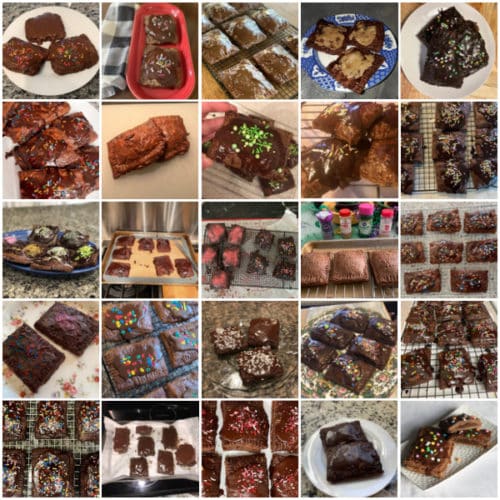
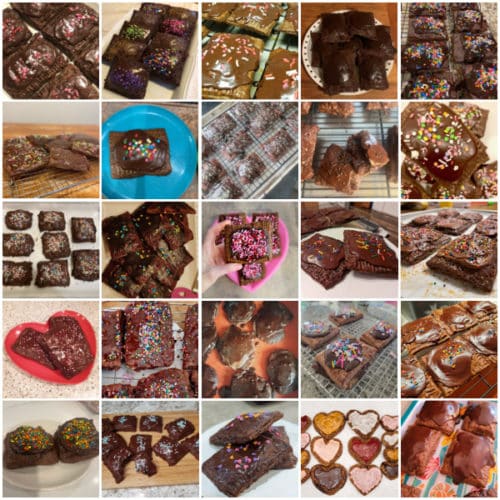
See Your Chocolate Pop Tarts!
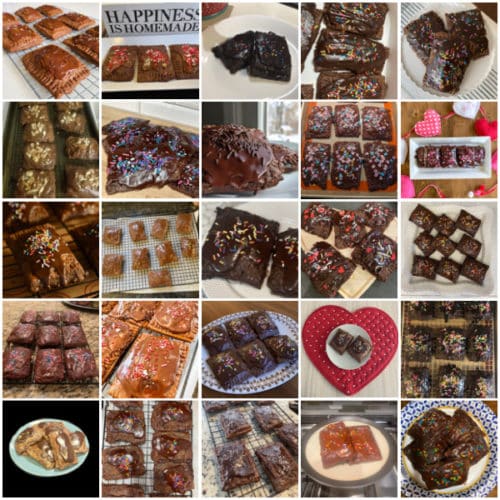
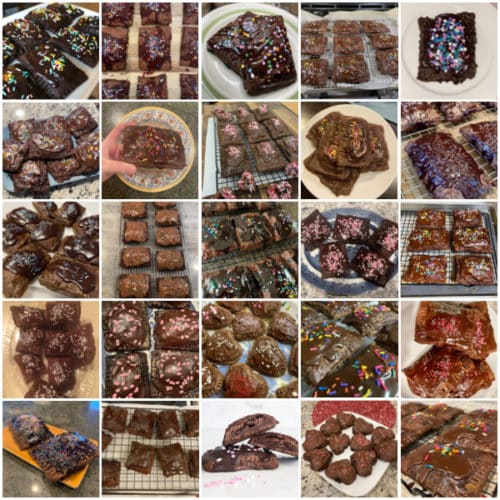
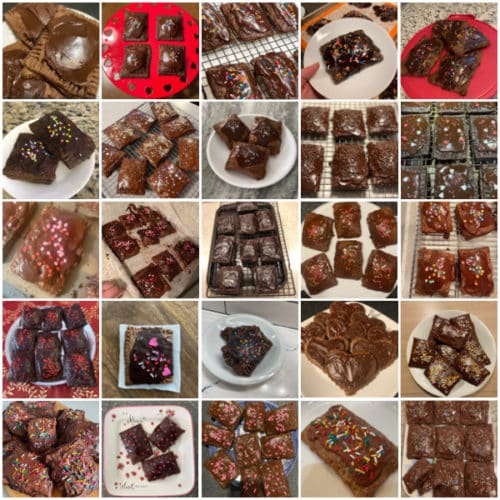
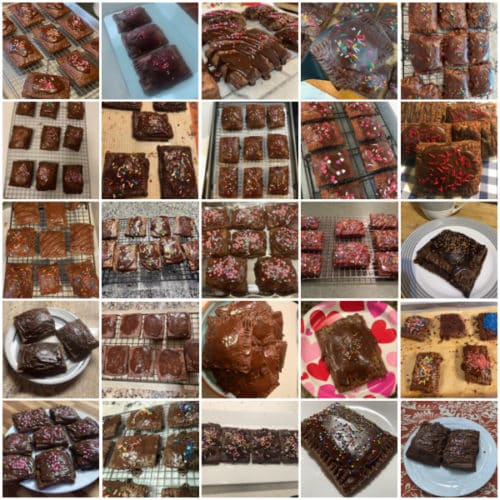
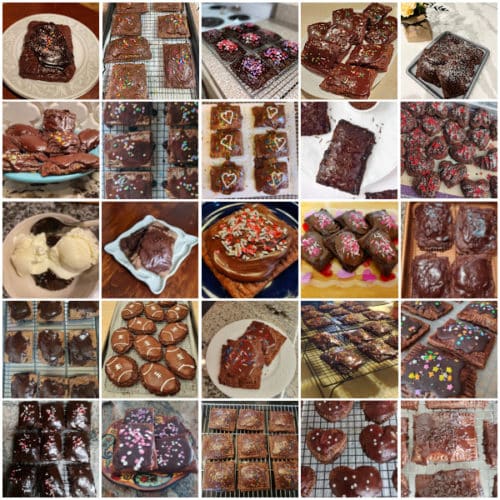
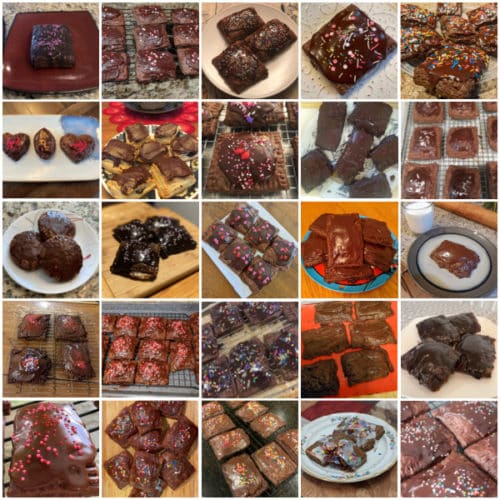
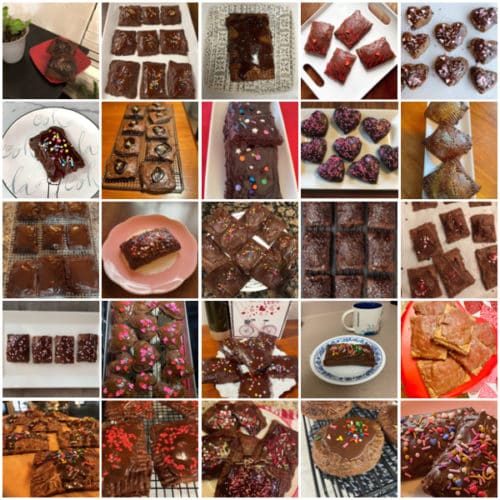
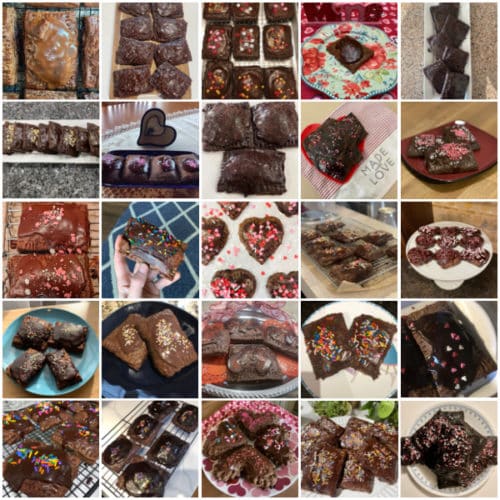
Many readers tried this recipe as part of a baking challenge! Feel free to email or share your recipe photos with us on social media. 🙂
Print
Homemade Fudge Chocolate Pop Tarts
- Prep Time: 3 hours, 30 minutes (includes dough chilling)
- Cook Time: 25 minutes
- Total Time: 4 hours, 10 minutes
- Yield: 9 pastry tarts
- Category: Dessert
- Method: Baking
- Cuisine: American
Description
Follow these thorough instructions to make a homemade version of store-bought chocolate pop tarts. These fudge chocolate pastry pies hold shape if they chill before baking (step 6) and taste best if they cool before you dig in!
Ingredients
Dough & Assembly
- 2 and 1/4 cups (281g) all-purpose flour (spooned & leveled)
- 1/4 cup (21g) unsweetened natural or dutch-process cocoa powder, plus more as needed for rolling
- 2 Tablespoons (24g) granulated sugar
- 1/2 teaspoon salt
- 1 cup (16 Tbsp; 226g) unsalted butter, very cold and cubed
- 1/2 cup (120ml) cold whole milk*
- egg wash: 1 egg beaten with 1 Tablespoon (15ml) milk
Fudge Filling
- 4 ounce (113g) semi-sweet chocolate bar, coarsely chopped*
- 1/4 cup (60ml) whole milk*
- 2 Tablespoons (25g) granulated sugar
- 1 Tablespoon (14g) unsalted butter, cold and cubed
- 1 teaspoon pure vanilla extract
Cocoa Icing
- 1 Tablespoon (14g) unsalted butter
- 2 Tablespoons (30ml) water
- 1 cup (120g) confectioners’ sugar
- 2 Tablespoons (10g) unsweetened natural or dutch-process cocoa powder
- 1 teaspoon pure vanilla extract
- optional: sprinkles for garnish
Instructions
- Make the dough first: Place the flour, cocoa powder, sugar, and salt into a large 8-cup capacity or higher food processor or, if you don’t have a food processor, in a large bowl. Pulse or whisk until combined. Add butter and pulse or use a pastry cutter to manually cut in until coarse pea-sized crumbs form. See photo above for a visual. In 3 additions, pour in the milk and pulse or stir after each addition. After all the milk is added, pulse or stir more until the dough clumps up and comes together. If it’s too dry, add 1 Tablespoon (15ml) of cold milk. Try not to overwork the dough. Pour onto a work surface lightly dusted with cocoa powder or all-purpose flour. Use your hands to form dough into a ball. Divide the dough in half and flatten each into 1-inch thick discs. Wrap each disc tightly in plastic wrap and refrigerate for 2 hours and up to 5 days.
- Make the fudge filling soon after you prepare the dough: The fudge filling needs to cool and thicken, so that is why I recommend making it soon after you put the pastry dough in the refrigerator. Place chocolate, milk, and sugar in a medium saucepan over medium heat. Stir frequently as chocolate melts and mixture combines. Once melted, remove from heat and stir in the butter and vanilla extract. Pour into a heatproof bowl, cover, and set aside at room temperature to cool and thicken. You want the consistency slightly thinner than peanut butter. Note: You can refrigerate the filling to thicken it, but it may become too thick and cold. If it’s too thick, reheat in the microwave for a few seconds.
- Line 1 large baking sheet with parchment paper or a silicone baking mat. Make sure there is enough room in your refrigerator for the baking sheet because the shaped pastry pop tarts must chill for 15 minutes before baking.
- Roll out the chilled pie dough: Remove 1 of the dough discs from the refrigerator and let it sit at room temperature for 10 minutes to slightly warm up because it will be quite solid. (Keep the other in the refrigerator until step 5.) Lightly dust a work surface, rolling pin, and your hands with cocoa powder or all-purpose flour. Using a rolling pin, roll the dough into a 9×12-inch rectangle. Use gentle force with your rolling pin and use your hands to help keep the edges straight. You can watch me roll out the dough in the video below if you need a visual (2:23 mark). Visible specks of butter and fat in the dough are perfectly normal and expected. Trim the edges of the rectangle to straighten if needed. Cut rectangle into 3 equal strips and cut those into thirds for a total of 9 3×4-inch rectangles. Use a ruler to help make this process easier and more accurate. Arrange the dough rectangles 2 inches apart on the prepared baking sheet and chill in the refrigerator as you roll out 2nd half of dough in the next step.
- Roll out the 2nd half of dough and cut into 9 3×4-inch rectangles like you did with the 1st half of dough in step 4.
- Assemble the pastry tarts: Remove 1st set of dough rectangles from the refrigerator. Using a pastry brush, brush edges of each of these 9 rectangles with egg wash. Spoon a heaping Tablespoon of filling into center of each. Lay the other set of pie dough rectangles on top of each and press your finger around the edges to slightly seal. Poke holes in the top pie crust with a fork or toothpick and then crimp with a fork to ensure no filling spills out (if it does, it’s not a big deal). Refrigerate the shaped pastries uncovered for at least 15 minutes and up to 3 hours. This firms up the pastry and helps set its shape. (After chilling, feel free to carefully transfer the pastries to a new lined baking sheet if you don’t want to bake them on the cold baking sheet.)
- Meanwhile, preheat oven to 375°F (191°C). And look ahead to step 9—you can make the icing as the pastries bake in step 8.
- Brush pastry tarts with egg wash and bake for 25-26 minutes or until edges appear set. Remove from the oven and allow pastries to cool for 5 minutes before transferring to a wire rack to cool completely. Pastries taste best after completely cooling—they are very soft and rich when warm.
- Make the icing: In a medium saucepan over low heat or in a medium heatproof bowl using the microwave, warm butter and water together until butter has melted. Whisk mixture with the remaining icing ingredients. Cool icing for 15 minutes before spooning onto pastries. You can add the icing when the pastries are still warm, but again, they taste best after completely cooling. Immediately top with sprinkles, if using. Note: The longer the icing cools, the thicker it gets. If you let it cool too long before spooning on the pastries, the surface will stiffen up—whisking will bring it back together though. You can also reheat on the stove or in the microwave to thin out if needed.
- Cover and store pastries at room temperature for up to 1 day or in the refrigerator for up to 1 week.
Notes
- Make Ahead & Freezing Instructions: You can make the pie dough up to 5 days in advance, see step 1. You can also make the fudge filling up to 1 day in advance. Cover and refrigerate and when ready to use, heat in the microwave for just a few seconds to slightly thin out. You can assemble and refrigerate the pastries for up to 3 hours, see step 6. Baked and cooled pastries (with or without glaze) freeze well for up to 3 months. Thaw and heat in the microwave if desired. Do not heat in a toaster.
- Special Tools (affiliate links): Food Processor (8 cup capacity or higher; in the video I use a super large 14-cup KitchenAid food processor) or Pastry Cutter | Glass Mixing Bowl | Rolling Pin | Sharp Knife or Pizza Cutter | Pastry Brush | Baking Sheet | Silicone Baking Mat or Parchment Paper
- Chocolate: For the best results, use a 4 ounce “baking chocolate” bar found in the baking aisle. I prefer Bakers or Ghirardelli brands. You can use semi-sweet or even milk chocolate. Bittersweet makes a VERY dark and rich filling, so keep that in mind if you use a very dark chocolate. We have not tested it with white chocolate, so we can’t guarantee results. You can also use chocolate chips and 2/3 cup (about 120g) would be the best amount to use.
- Milk: For best taste and texture, whole milk is ideal in the filling and pie crust. You can use lower fat or non dairy milk if needed, but avoid any milk that is fat free.






I have tried pie crust one other time and it was not very good, but these are amazing! The only thing I was lacking was more filling.
This was a fun baking project – the steps are simple but take some time so plan accordingly! I followed the recipe exactly and they turned out great. My edges weren’t as flat and nicely crimped as your photos but they were sealed and delicious. I love browsing your site and choosing new recipes to try 🙂
Hi Sally, can I make this dough without the filling? We are not into overly sweet desserts.
Any suggestion on how to bake the dough if like cut out cookies? Do I just cut out the shapes and bake or do I need any other adjustments?
Hi Ami, You could just bake the dough if you wish. The bake time would really depend on the size/shape that you cut them out so just keep you eye on them in the oven.
I made this today! I just changed the filling a bit mixed it with peanut butter and used a darker chocolate it came out wonderful. I love a strong cocoa flavor, the dough is very flakey kinda like pie dough.
Is there a way to make these into oreo pop tarts?
Thanks,
Cindy
Hi Cindy, We haven’t tested an Oreo flavor but let us know if you try anything!
Made these a few times and everyone loved them. Was just looking at the frosted brown sugar cinnamon ones and am looking forward to trying it. I recently went apple picking so was thinking of maybe making apple pie filling and using that. What do you think? This site is my go-to site for baking.
Hi Stuart, sounds like a great idea! For an apple filling you can use the quantities we use for these apple hand pies. Let us know if you give it a try!
Sally has done it again – this is a FANTASTIC recipe! You have to make time for each step and chill, chill, chill, but the chocolate-y deliciousness is worth it. Set aside some time and make these!
Would it be possible to make these into mini tarts? I’m looking for a fun treat to make for my son’s birthday to share with his classmates at school.
Hi Suzanna, You can certainly cut these into mini tarts – the bake time will be less but we are unsure of exactly how long they will take.
Another excellent recipe! The dough was flaky and the fudge filling was delicious. This is a time consuming recipe. And the chocolate dough is tricky to work with. But the results are amazing! Instead of chocolate icing I made strawberry icing. I took some freeze dried strawberries and blended them into a powder. Then I used that in place of the cocoa powder. Incredible!
these were fantastic! My husband and I liked them more than my kids as they seemed more “dark chocolatey” than the milk chocolate super sweet stuff the kids are used to. They liked them but we loved them. Simple recipe as long as you plan ahead. The individual steps are easy but it does take time. I made them over the course of a rainy day.
My tart filling leaked all out while they baked. I followed the recipe, used a scale for the ingredients, chilled the dough, chilled them after filling, etc. I used chocolate chips for the filling and even chilled the filling. It was set/solid but still pliable. What did I do wrong?
Hi Connie, were the edges of the pastries sealed? Some may seep out, but it shouldn’t leak all of the filling. Be sure to seal it tight around the edges with your fingers and then with a fork.
. I think I used too much egg wash and they didn’t seal tightly last time. I made them again making sure I had a better seal and they hardly leaked at all.
This was soooo good to make. I loved having it warmed up in the microwave some with a glass of milk!!
Hi Sally,
The flavor of these was spot-on, but I had trouble with the edges. Mine came out of the oven with like an inch of flaky layers on the edge instead of a nice flat edge like yours. I did crimp them with a fork, but it seems the edges still wanted to puff up. Thankfully not too much filling leaked out, so they at least sealed. Anyway, if you have any suggestions, I’d love to hear. Thanks so much!
These were so delicious! It was quite a bit of effort to make, but worth it for a special occasion. I used half vanilla and half almond extract, and a pinch of salt in each chocolate step, and it added a nice depth of flavor.
These tarts were terrific! The pastry was flakey and the filling divine. Even though my assembly of the tarts wasn’t very pretty, they still turned out great!
Hi Sally! I have a question… I made these tarts, but my fudge filling was too thin. It was leaking off of the tarts while I was putting it on, so I couldn’t even seal the two dough pieces properly, and then while baking, the filling completely leaked out. I used 3/4 cup of semi-sweet chocolate chips, 1/4 cup milk, and 2 TBSP of sugar, and heated them on the stove until it melted. I put the filling in the fridge for the whole 2 hours while my dough was refrigerating, but it was still way too thin. Any suggestions?
Thanks!
-Taylor
Hi Taylor! I’m so sorry you had trouble with the filling– it’s strange that it never solidified. What brand of chocolate chips did you use? I wonder if there was an issue with the specific chocolate. If you ever try the recipe again, reducing the milk down to 2 or 3 Tbsp will definitely help.
Hi Sally! Thank you so much for your reply. I used Nestle Semi-Sweet Chocolate Chips. Yes, I will definitely try this recipe again, and when I do I’ll be sure to reduce the milk. Thank you!
This recipe was AMAZING!!! I made this recipe yesterday for the February Baking Challenge, and my whole family LOVED them!!!! I didn’t even have to store them, because they didn’t last that long! My family gobbled them up within a few hours! My little brother (who doesn’t even like chocolate!) had TWO! I’m happy to announce that I’ll be making another batch tomorrow! Thank you Sally for posting these amazing recipes!
I am looking at making these for a friend’s birthday and she loves the combination of fruit and chocolate. Would it be possible to incorporate finely chopped berries into the fudge filling? Or make a jam and skip the fudge filling altogether? I know some berries contain more water, so I’d love to know which ones may or may not work well. Thank you!
We tested this exact dough with a heaping Tbsp of raspberry jam as the filling and it was wonderful!
That’s funny because this recipe was very and I mean very time consuming and fussy but it was worth it. I kept thinking to myself this should be part of a baking challenge lol and here you are saying it was on for February. : )
This wasn’t as flaky as I might have expected, and they were a little buttery. I’m not sure why, if I should have food processed it more, I’m not sure. But it was delicious anyway. I used some leftover buttercream frosting from the Oreo buttercream brownies, and heated it up instead of the icing, but they went well together.
I had a great time baking this recipe, I was down for the challenge. It was a lot of work, but so worth it! The chocolate pastry was amazingly good, not too sweet but sweet enough. Everyone loved it and I can’t wait to make more. Thank you for the pastry lesson!
So much easier than I thought! I used milk chocolate, and now I’m interested in trying different flavors, especially with fillings. Sally never fails to provide fool proof instructions!
Great! Very rich and fudgy!!
I made these for the February baking challenge.
I used fresh ground whole spelt flour and it worked great! They were delicious even after waiting three days to eat them. Will definitely make them again.
These were so fun to make! I was a little hesitate how it would all taste together, but it was so divine! The filling tasted like brownie batter, and the pastry was perfectly flakey. Thank you, Sally!
This was an awesome recipe! My kids helped make them and we all loved them. The pastry is so light and flaky. And the filling and icing are perfect! Made this as part of the baking challenge and I am so glad to try something new!
Very good recipe, but a lot of work! It was fun to make but not something I would make very often. The icing on top is really delicious.
This recipe is totally worth the time and effort it requires! They’re flaky, chewy, and delicious. Way better than their store-bought counterparts. Pairs well with vanilla ice cream! 😀
I loved this recipe so much! The recipe was easy to follow and the poptarts weren’t too chocolatey! Highly recommend!
I really liked this recipe. It was much easier to make than I expected and it wasn’t too sweet, which I loved.
I liked creating these tarts. I loved the filling and the icing more than the pastry itself. I did find the pastry flaky and appreciated the instructions. Not something I would have made, so love having the challenge to encourage something new.