
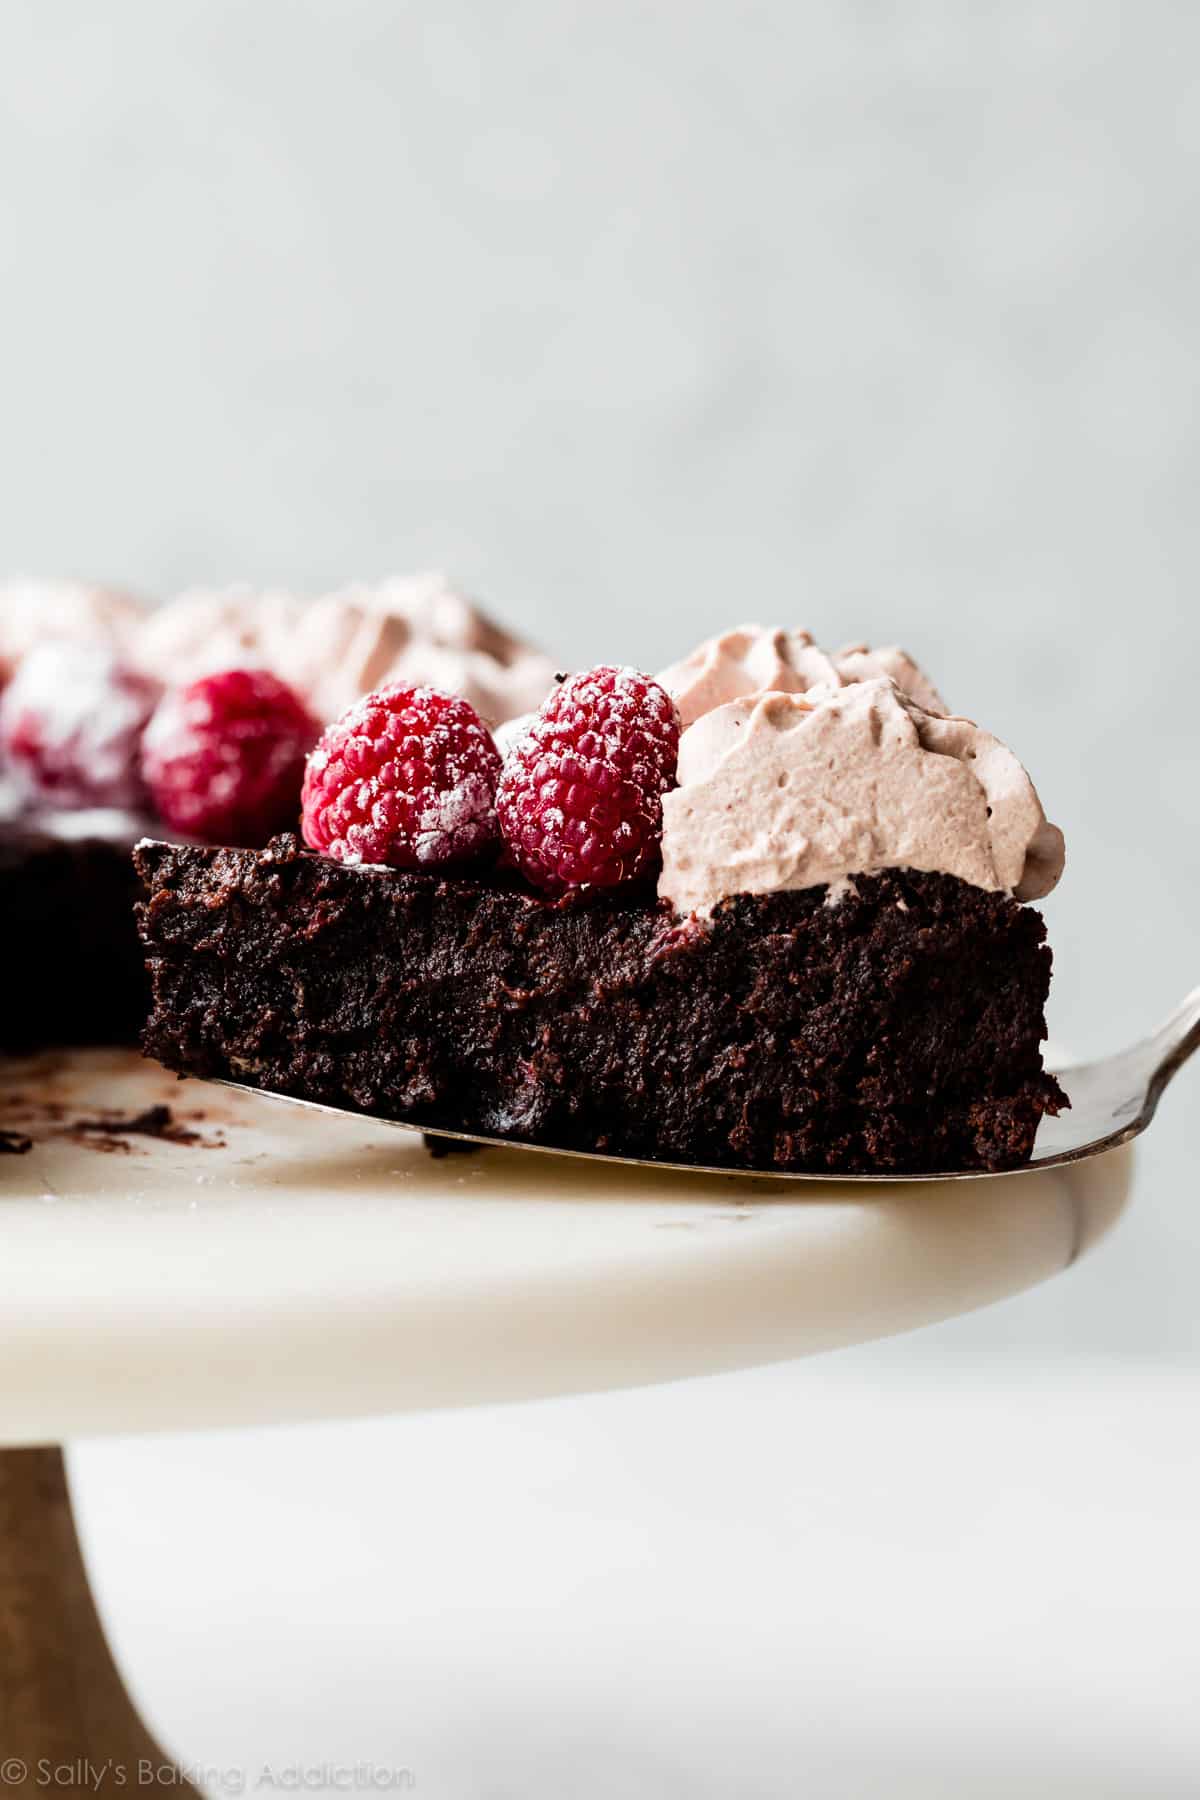
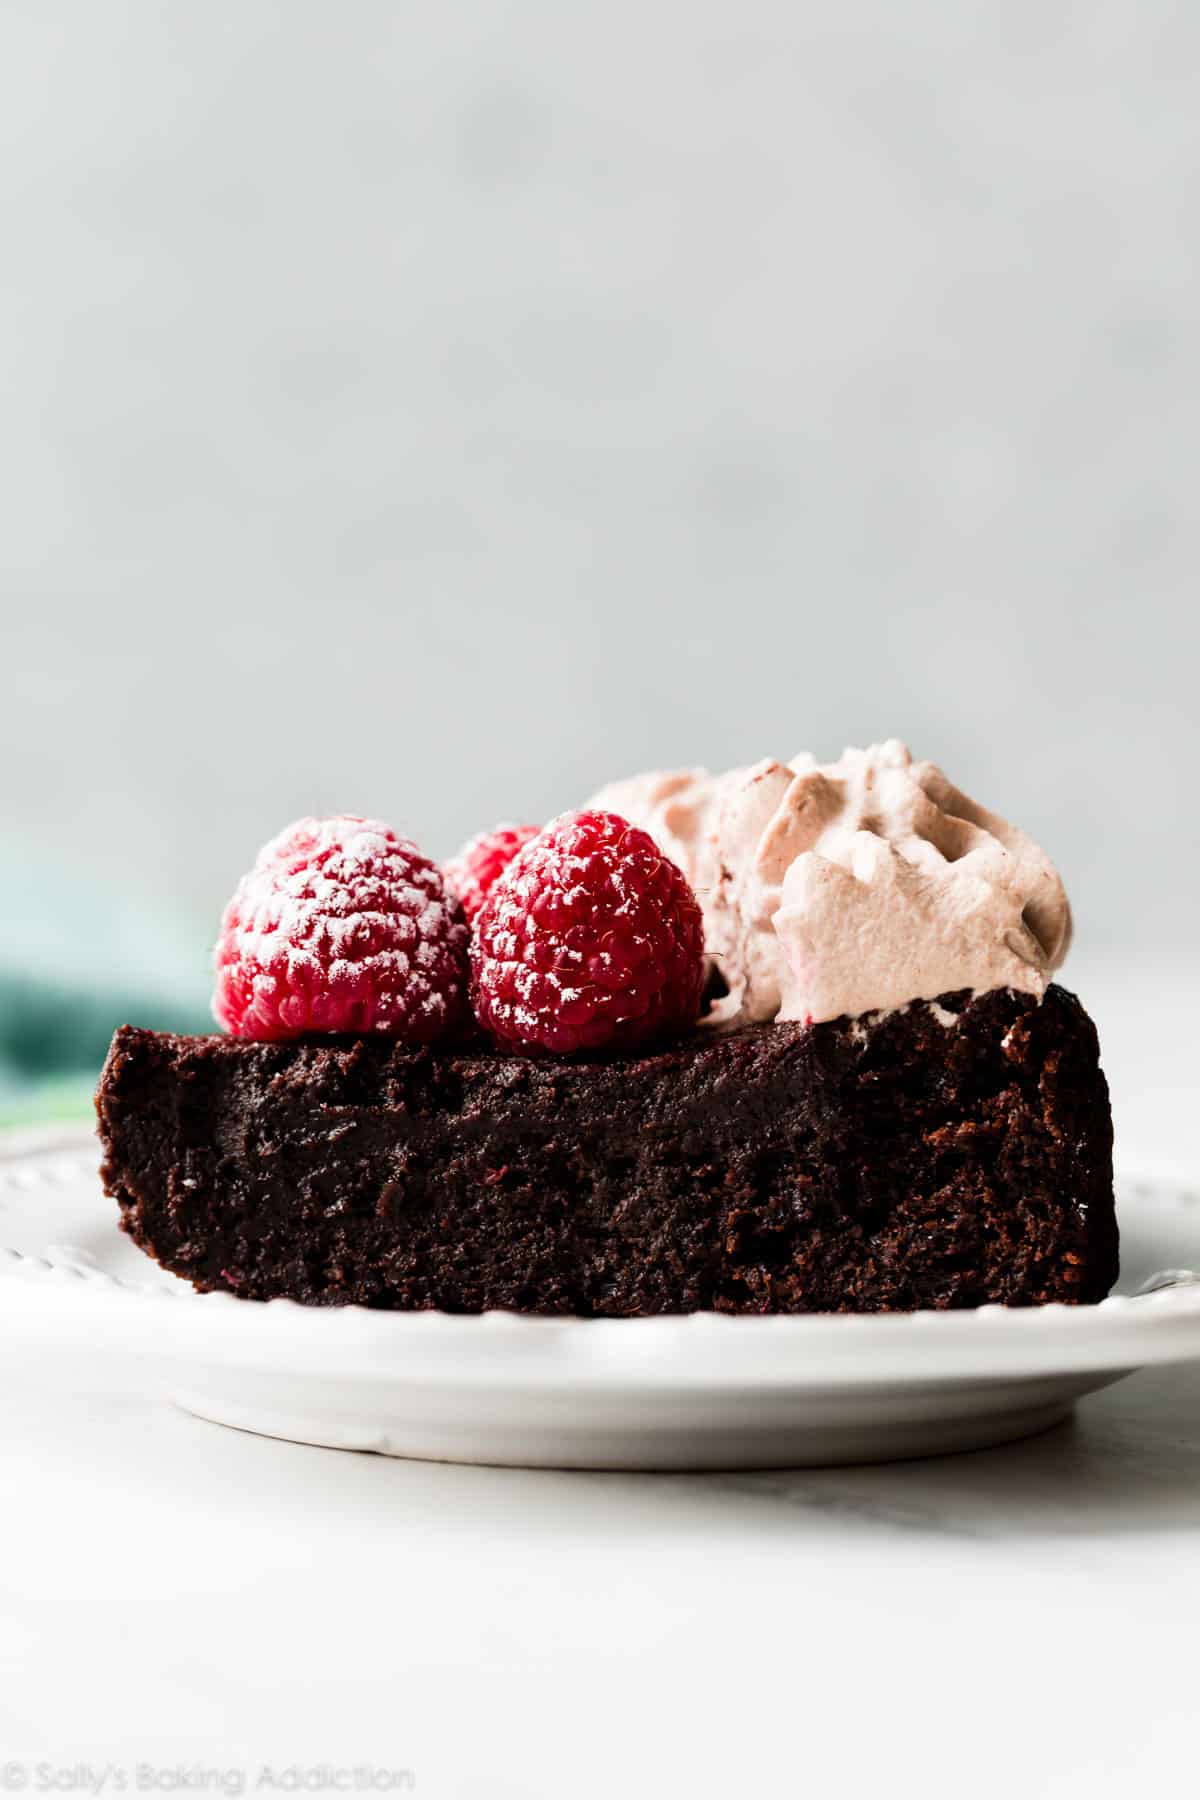
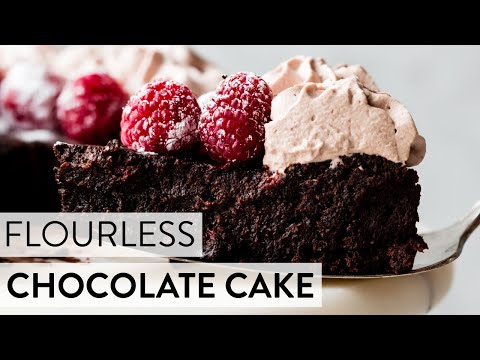
This dark, rich, and deliciously moist flourless chocolate cake is naturally gluten free. A 1-bowl cake recipe without any special tools, decorating, or assembly required, this is chocolate cake MADE EASY. With its fudge-like texture, it satisfies even the biggest chocolate craving. Top however you’d like or with my favorite mocha whipped cream.
Is this chocolate cake or is this fudge masquerading as cake? Only one way for you to find out. I promise you’ll be satisfied with the verdict.
If you like chocolate, you definitely don’t want to miss this recipe.
Why You’ll Love This Flourless Chocolate Cake
- Easy 1 bowl cake recipe
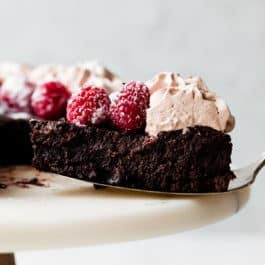
- Dense like homemade brownies
- Mind-blowing rich and chocolatey
- Tastes like fudge you eat with a fork
- Moister than others I’ve tried (use my oven trick explained below)
- Naturally gluten free, making it a favorite among all my gluten free dessert recipes
- No crazy decorating, layering, or assembling required
- A billion ways to top it
- Leavener is optional (zero leavening without it)
Plus, I’m teaching you how to make mocha whipped cream. Take my whipped cream and add espresso powder/water and cocoa powder. It’s lightly sweetened and oh-so-simple. It’s also phenomenal on top of this mocha chocolate pudding pie or as a filling for homemade eclairs.
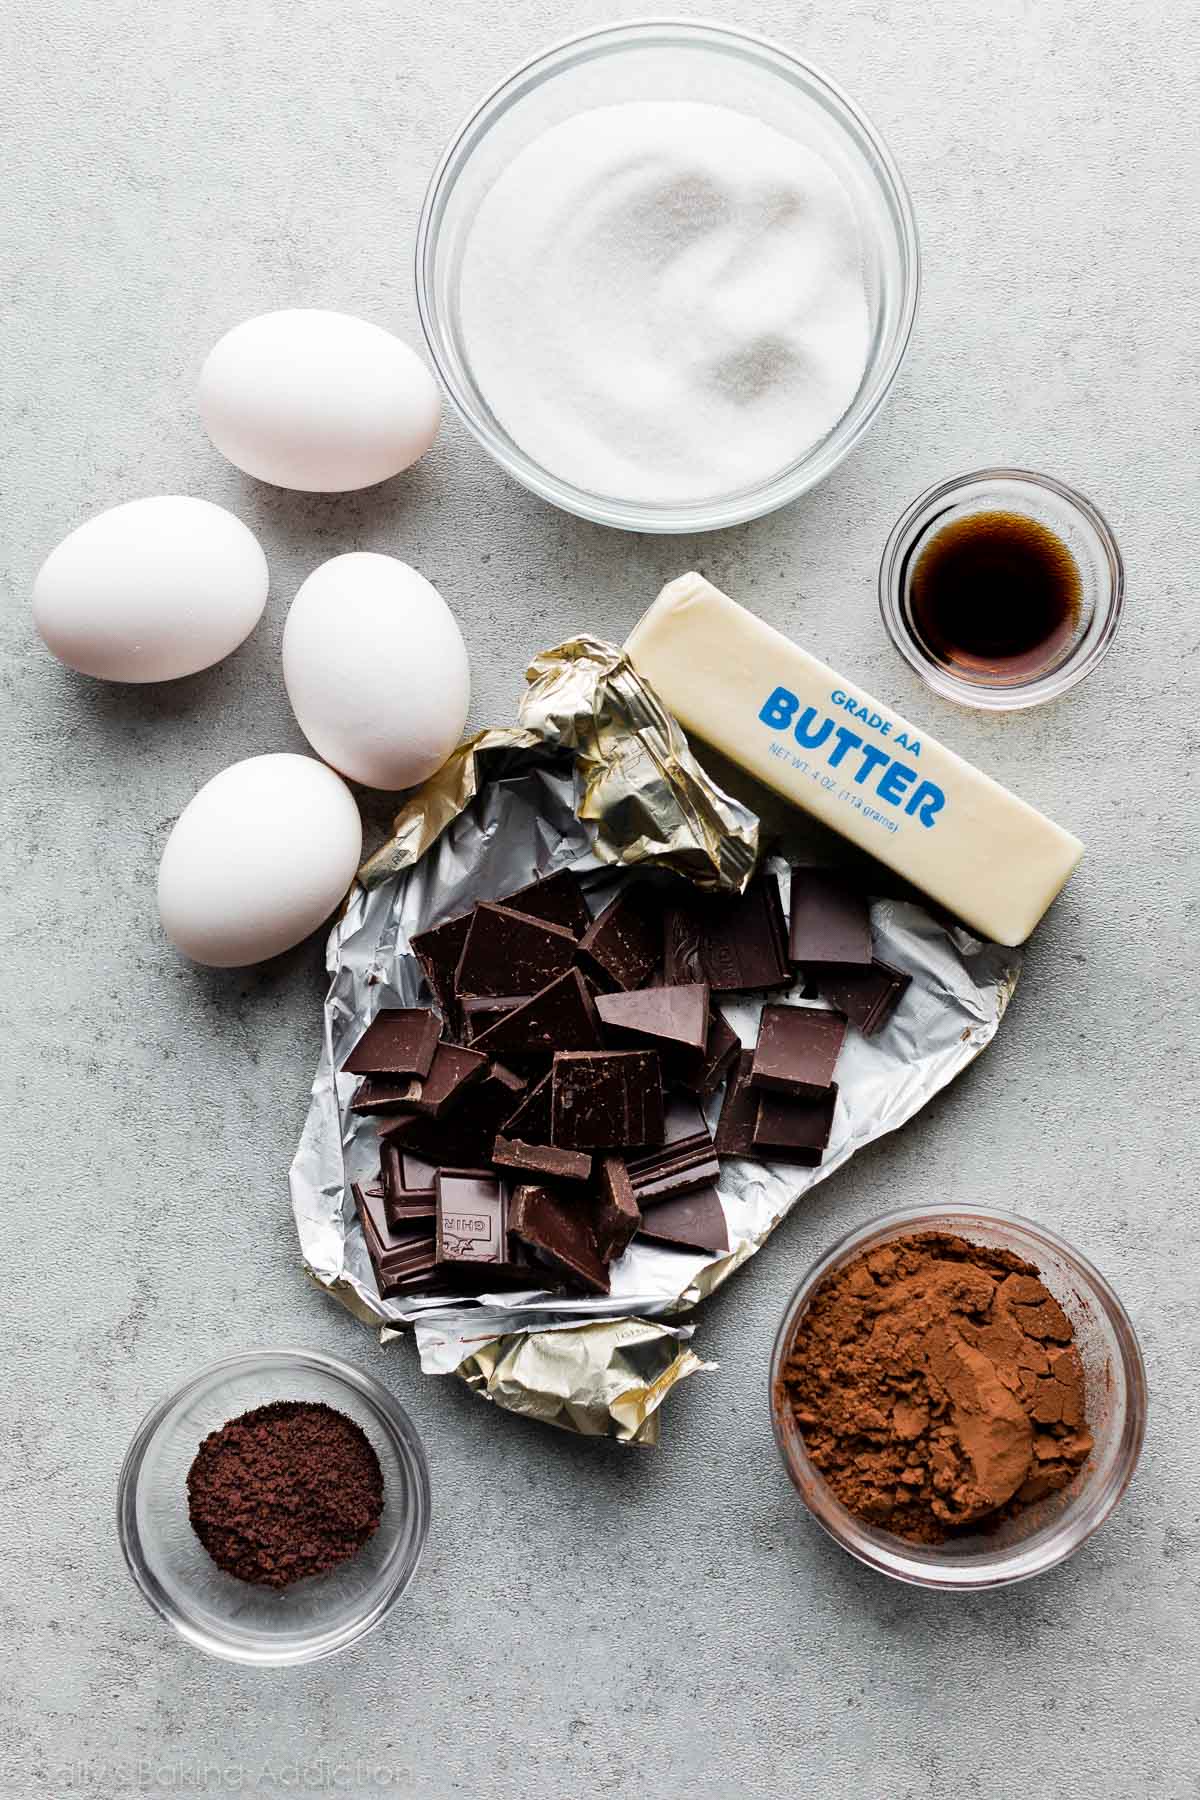
Flourless Chocolate Cake Ingredients
“Where’s the flour?!” you might be asking. So you can understand how this recipe works, let me explain each ingredient you DO need.
- Chocolate & Butter: This recipe starts like my chocolate lava cakes: melt butter and chocolate together. It’s important to use pure baking chocolate, not chocolate chips. Chocolate chips contain stabilizers preventing them from melting into the silky consistency we need. Instead, pick up two 4-ounce semi-sweet chocolate baking bars from the baking aisle– I prefer Ghirardelli or Baker’s brands. You need 6 ounces for this recipe. (Reserve the remaining 2 ounces for another time.)
- Eggs: Eggs have 3 main jobs in this recipe. First, they help take the place of flour. And like they do in homemade brownies, eggs create the bulk of this cake’s moist, fudgy texture. Finally, they help the cake rise too.
- Sugar, Vanilla Extract, & Salt: Sweetens/adds flavor. Adapted from King Arthur Flour, I reduced the sugar in the cake. (I also found the cake a little dry, so I reduced the cocoa powder and added another egg, more vanilla, and used baking chocolate.)
- Espresso Powder: Just like in my regular chocolate cake, chocolate cake roll, and marble loaf cake recipes, espresso powder deepens the chocolate flavor. This cake DOES NOT taste like coffee. Find espresso powder in the coffee aisle of the grocery store or online. You’ll be surprised how much you’ll use it in baking: see all my recipes using espresso powder.
- Unsweetened Cocoa Powder: Because we’re not using baking soda, you can use either dutch-process cocoa powder or natural cocoa powder in this recipe. Cocoa powder also helps take the place of flour.
- Baking Powder (OPTIONAL): In my recipe testing, I found a touch baking powder added *a little* extra lift to this normally flat cake. (It’s still pretty flat even with it though!) If you want to skip the leavening, leave it out. The cake tastes the same!
How to Make Flourless Chocolate Cake
Even though this is a simple cake recipe, its preparation is very unique to traditional chocolate cake recipes. To ensure success, I encourage you to read through the following section, as well as the written recipe below.
- Prepare an 8-inch round cake pan. (A 9-inch cake pan works, but the cake is thinner.) Always line your round pans with parchment paper rounds before adding the batter. Grease the pan, line with a parchment paper round, then grease the parchment paper. Parchment paper helps the cake release seamlessly from the pan. This cake WILL stick if you don’t use greased parchment. Sadly, I know from experience.
- Melt chocolate and butter together.
- Whisk in the sugar, espresso powder, and vanilla then whisk in the eggs.
- Whisk in the dry ingredients and pour batter into cake pan.
- Create a steamy oven. This is an egg heavy cake and, like cheesecake, it needs a moist environment to prevent it from drying out. (Trust me on this one—not many recipes call for this but it makes all the difference!) We don’t need a water bath, instead place a large metal roasting pan on the bottom oven rack. Fill with hot water. Place cake on the center rack. Quickly shut the oven door trapping steam inside.
- Bake in the steamy oven. Takes about 30 minutes.
- Cool the cake for only 10 minutes, then invert it onto your serving plate. This is important! Run a sharp knife around the edges of the warm cake to help release it.
- Cool completely. Just stick it in the refrigerator for 1-2 hours. Decorate and serve!
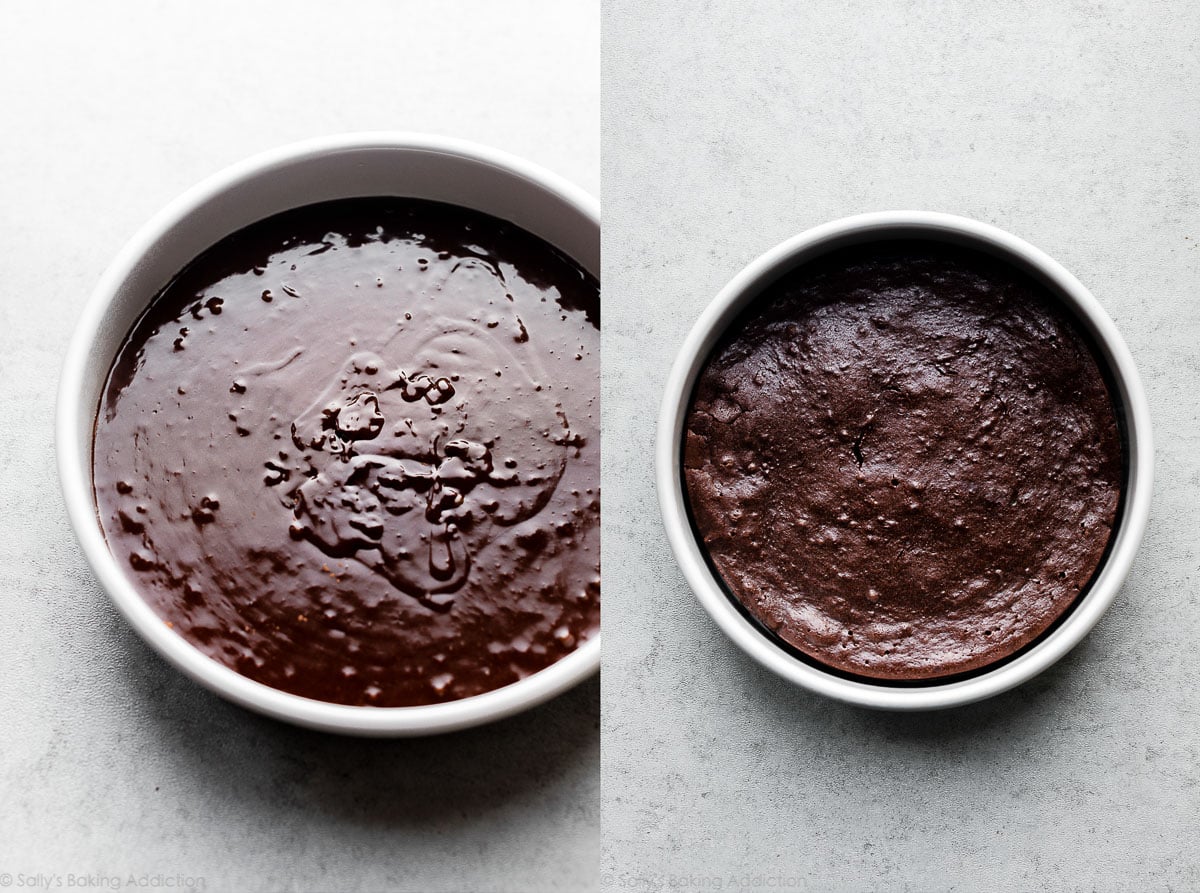
Warning: Your cake may awkwardly rise around part of the edges. At one point, it looked like one of my test recipes would over-flow on one side! It won’t, as long as you’re using the correct cake pan and following the recipe below.
As the cake cools upside down, any lumps on the top (which is now the bottom!) flatten out.
3 Success Tips (Don’t Skip These)
- For a fudge-like flourless chocolate cake, don’t over-bake it. You’ll walk a thin line between moist flourless chocolate cake and dry flourless chocolate cake. All of my test recipes took 30 minutes. Test the center with a toothpick. If it comes out clean, it’s done. Even if it comes out with just a couple moist (not wet) crumbs, it’s done.
- Use my steamy oven trick. Again, this is an egg-heavy cake. To prevent the eggs from drying out, bake the cake in a moist oven as explained in the breakdown of the steps above. Not many recipes call for this, but I’m certain that’s why this one is so unbelievably fudge-like and moist.
- Follow the recipe as written. Sometimes it’s ok to play around with a recipe. But this is a very precise one. Without traditional butter/sugar creaming, flour, a lot of leavening, or milk, the other ingredients in this recipe have A LOT of weight to carry and jobs to do. For best taste, texture, and so you don’t waste your time (and money!), I do not recommend any ingredient substitutions.
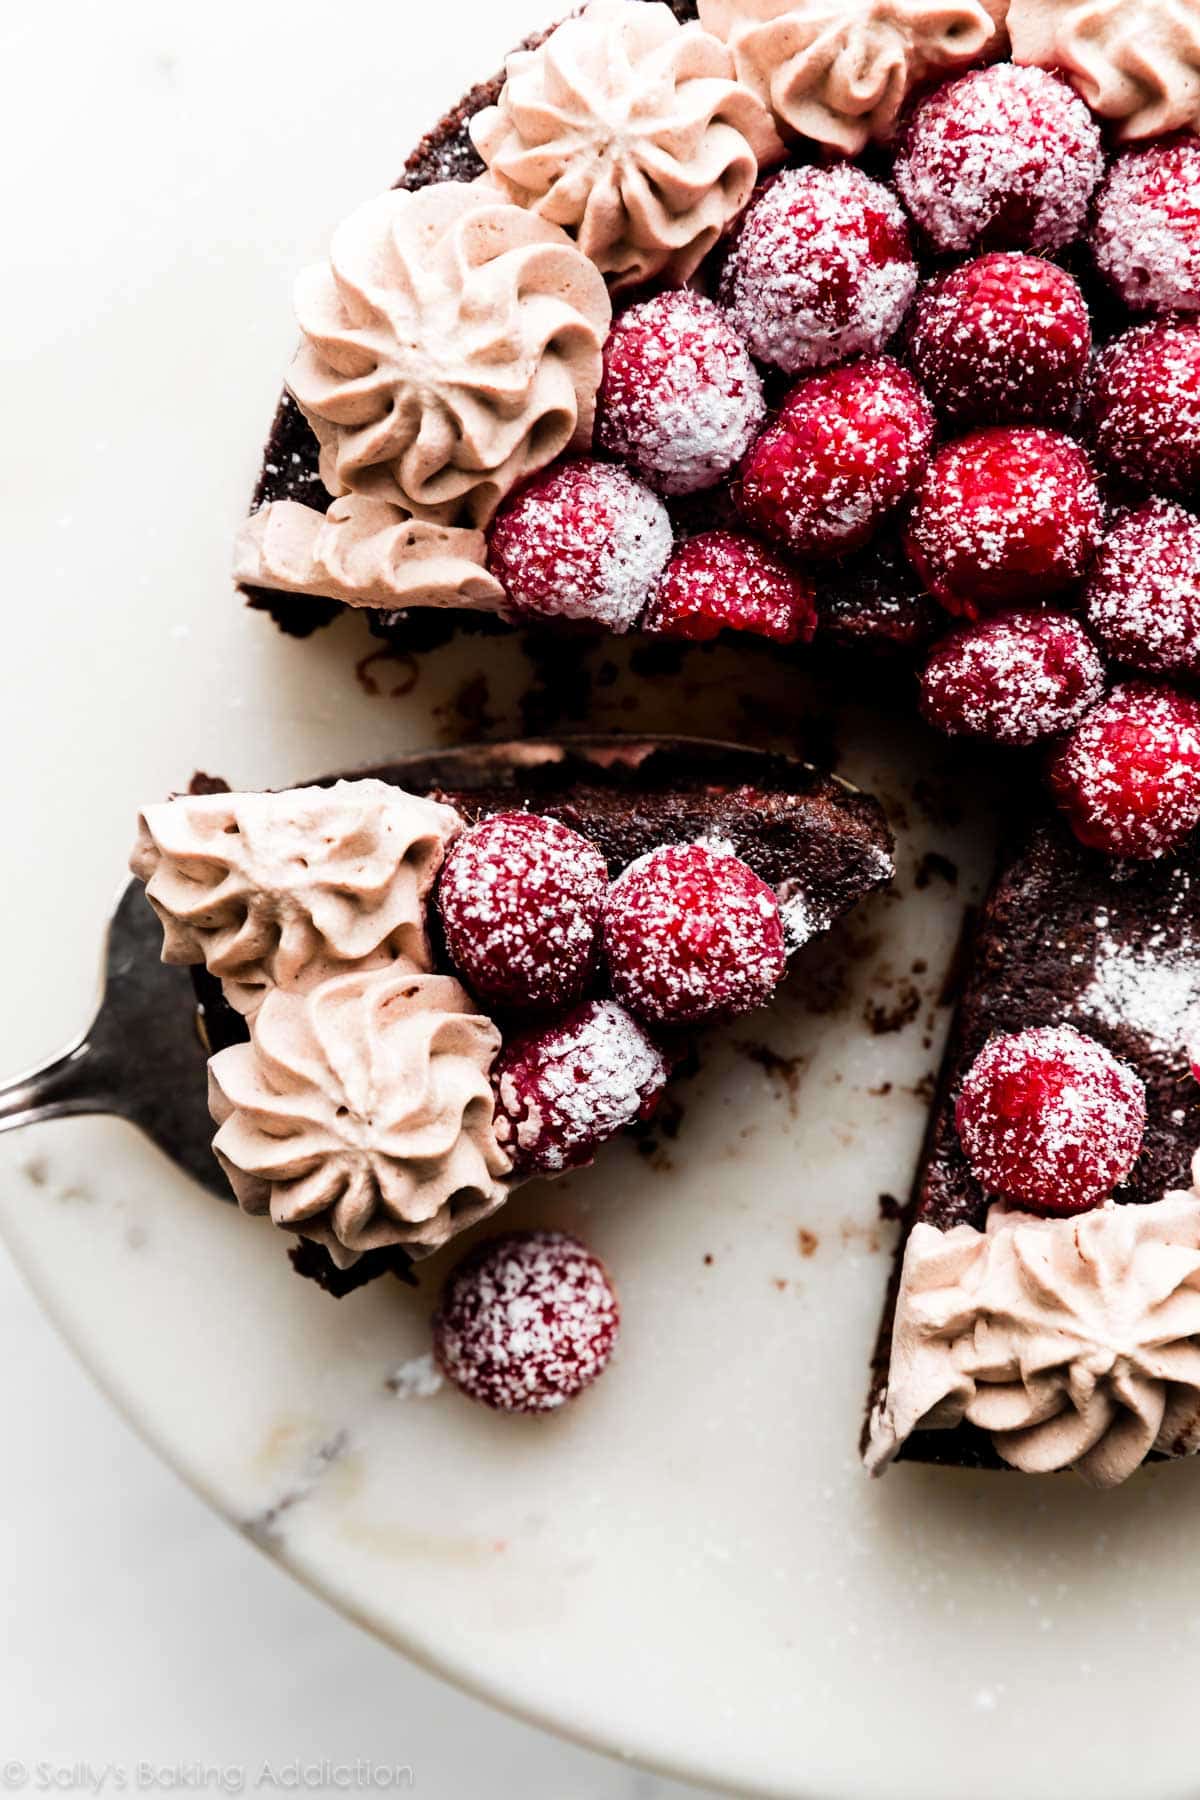
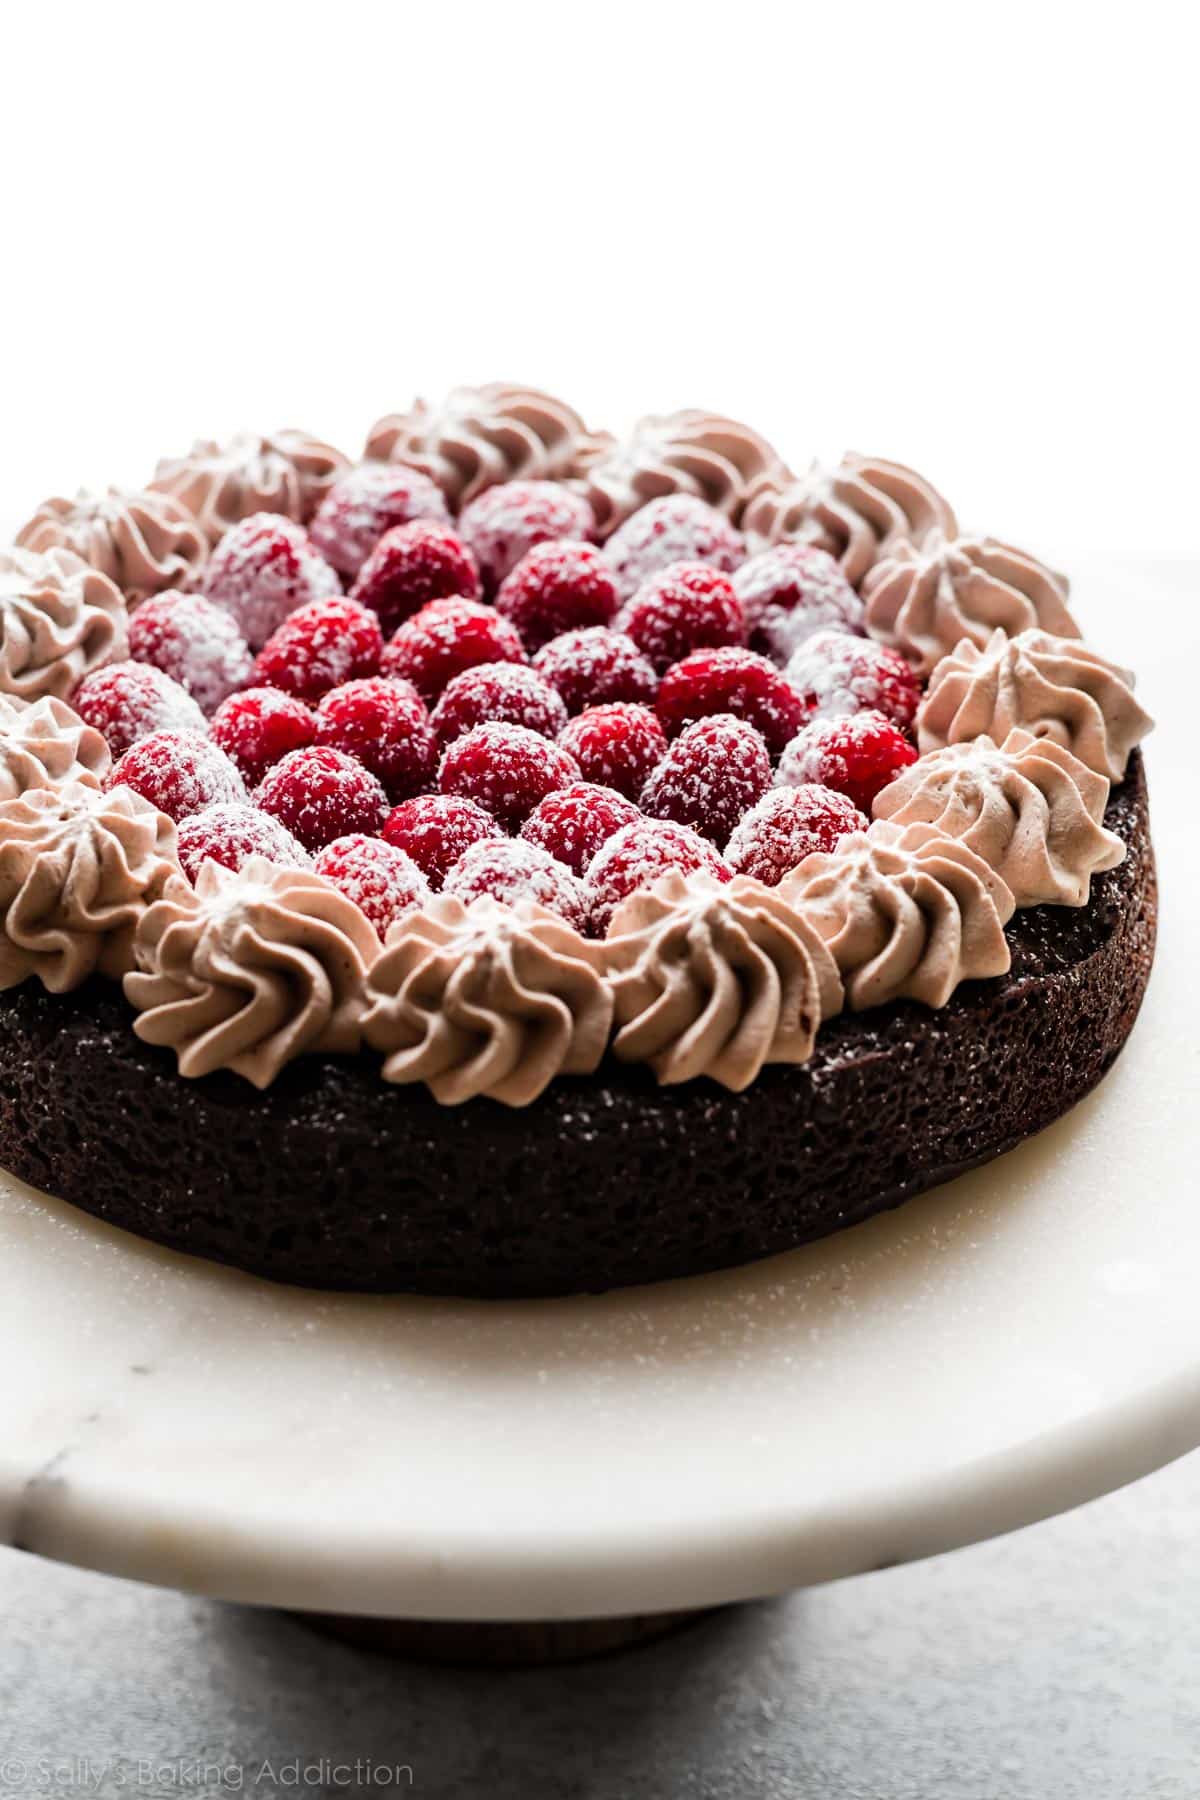
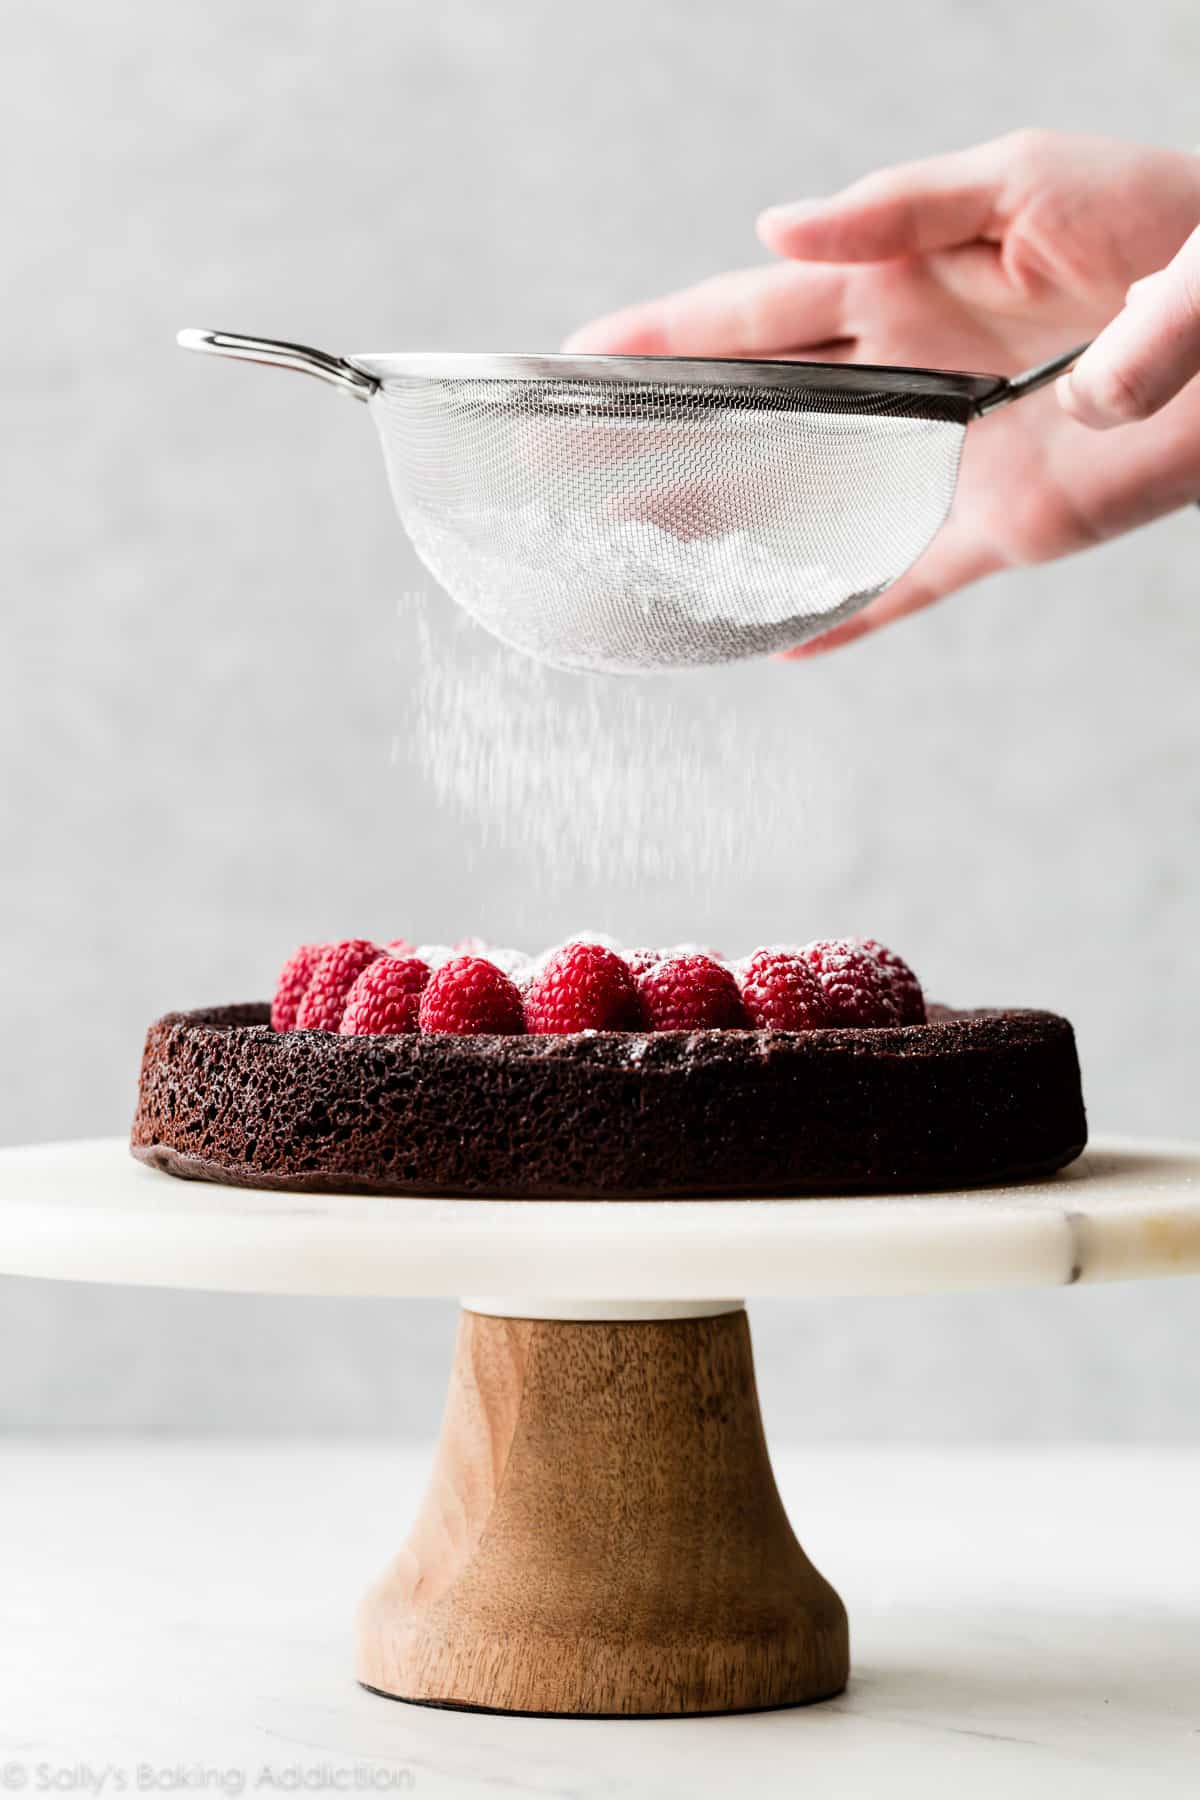
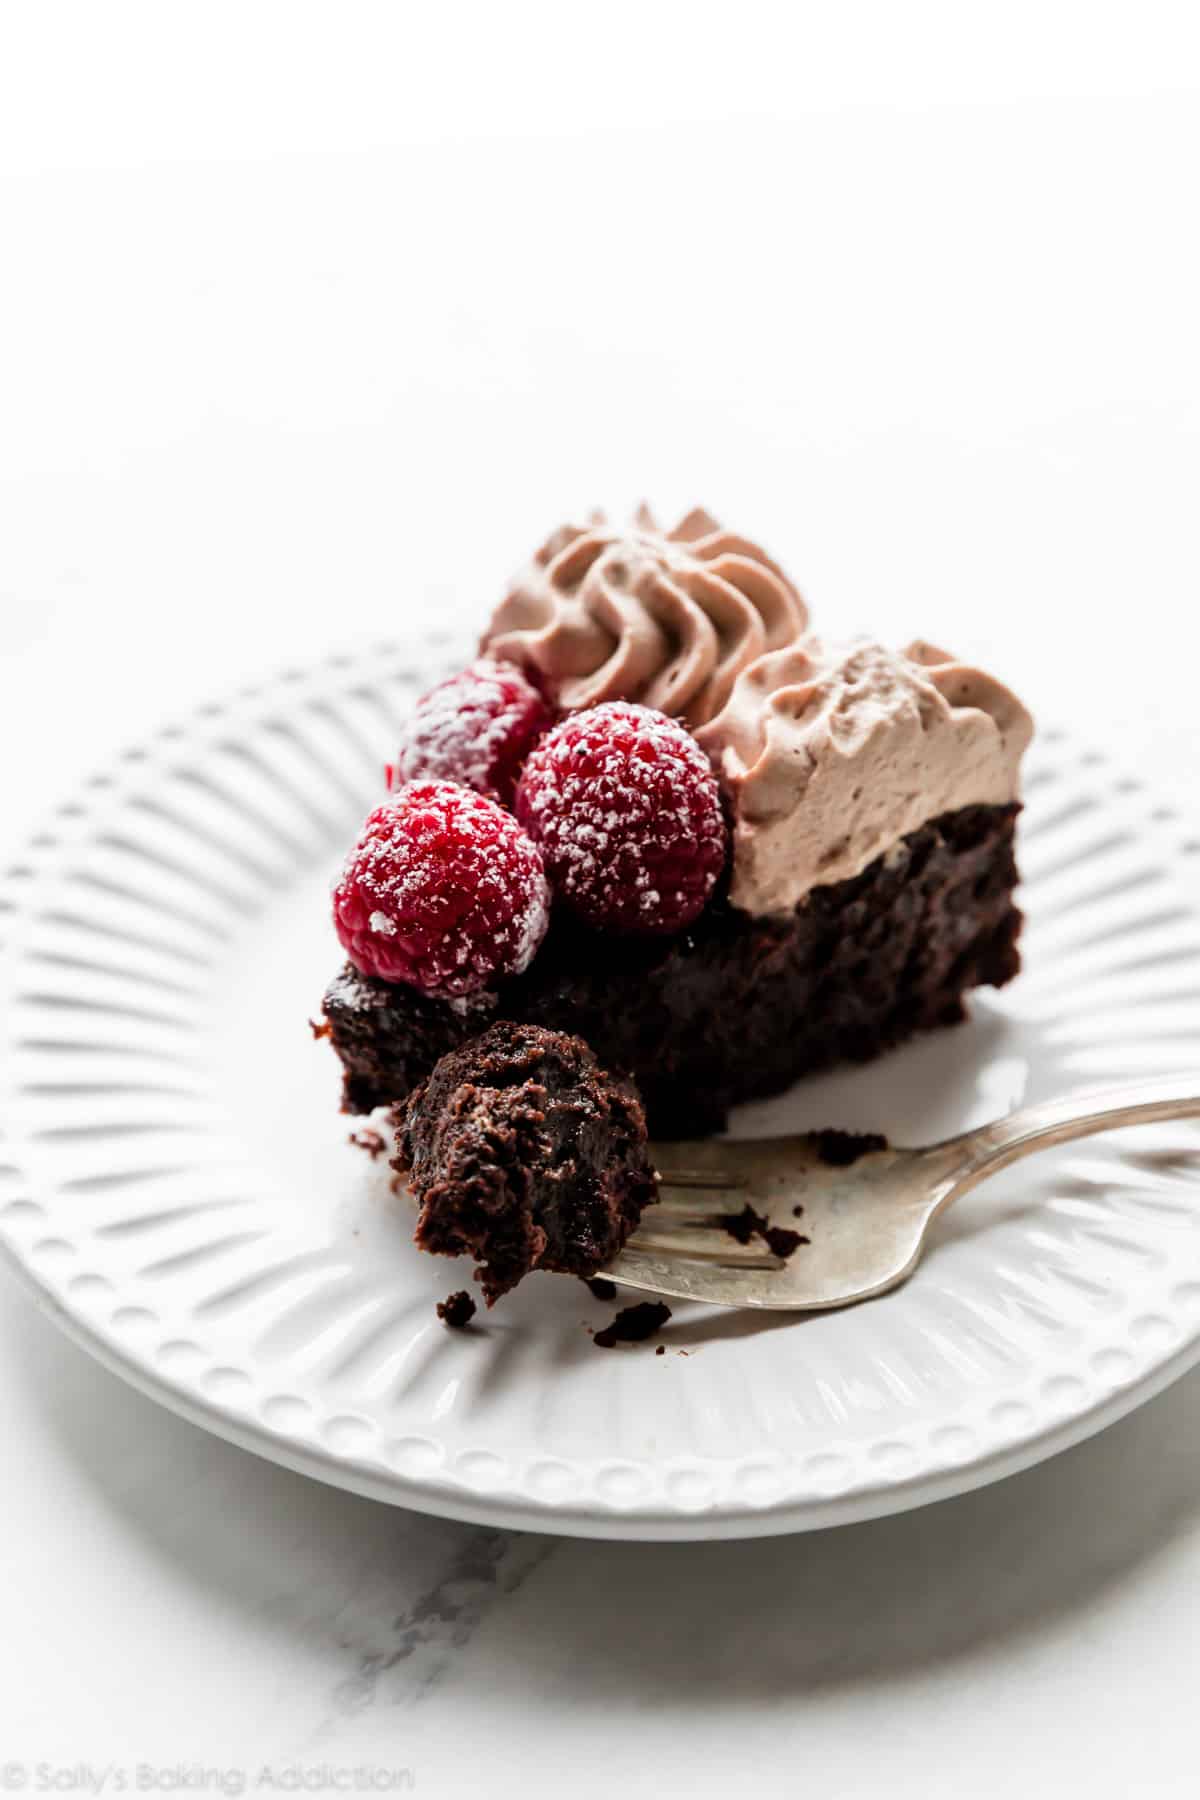
Flourless Chocolate Cake Toppings
I opted for homemade mocha whipped cream, fresh raspberries, and a dusting of confectioners’ sugar. Isn’t it pretty? You don’t need to go all out like I did. 😉 A simple dusting of confectioners’ sugar will do or any of the following:
- top with hot fudge sauce, chocolate ganache or even my red wine chocolate ganache
- drizzle with salted caramel or pipe salted caramel frosting
- decorate with fresh berries
- pipe strawberry buttercream frosting or vanilla buttercream
- serve with homemade strawberry sauce or raspberry sauce
- add a dollop of regular whipped cream
- drizzle with melted peanut butter (DO IT!)
Flourless Chocolate Cake
- Prep Time: 15 minutes
- Cook Time: 30 minutes
- Total Time: 3 hours (includes cooling)
- Yield: serves 8
- Category: Dessert
- Method: Baking
- Cuisine: American
Description
A 1 bowl recipe, this naturally gluten free flourless chocolate cake is indulgently rich, moist, and fudge-like. For best taste, texture, and so you don’t waste your time (and money!), I do not recommend any ingredient substitutions.
Ingredients
- 1/2 cup (8 Tbsp; 113g) unsalted butter
- 6 ounces (170g) high quality semi-sweet chocolate, finely chopped*
- 2/3 cup (135g) granulated sugar
- 2 teaspoons espresso powder
- 1 and 1/2 teaspoons pure vanilla extract
- 4 large eggs, at room temperature
- 1/3 cup (27g) unsweetened natural or dutch-process cocoa powder
- 1/8 teaspoon salt
- optional: 1/2 teaspoon baking powder*
Mocha Whipped Cream
- 1 teaspoon espresso powder
- 1 teaspoon warm water
- 1 cup (240ml) cold heavy cream or heavy whipping cream
- 3 Tablespoons (22g) confectioners’ sugar (see note)
- 1 Tablespoon (6g) unsweetened natural or dutch-process cocoa powder
- optional: raspberries and a dusting of confectioners’ sugar
Instructions
- Preheat oven to 350°F (177°C). Make sure you have a bottom oven rack and a center oven rack in place for step 5. Grease an 8-inch round cake pan, line with parchment paper rounds, then grease the parchment paper. Parchment paper helps the cakes seamlessly release from the pans. (If it’s helpful, see this parchment paper rounds for cakes video & post.) The cake WILL stick unless it’s lined and generously greased. (Trust me!)
- Cut the butter into pieces so it melts evenly. Place in a large heat-proof bowl. Add chopped chocolate. Melt in 20 second increments in the microwave, stirring after each increment until completely melted and smooth. Let cool for 2-3 minutes. You can use a double boiler for this step if desired.
- Whisk the sugar, espresso powder, and vanilla extract into the chocolate mixture. Whisk in the eggs until smooth. The mixture will be heavy and tacky, like brownie batter. Whisk in the cocoa powder, salt, and baking powder (if using).
- Pour and spread batter into prepared cake pan.
- Prepare the steamy oven: Place a large metal roasting pan or baking dish on the bottom oven rack. Do not use glass. Pour boiling water about 2 inches up the sides of the pan. (I just boil a kettle of water.) Quickly place the cake on the center rack and shut the oven door, trapping steam inside. The steamy oven helps guarantee an extra moist cake.
- Bake for 30 minutes until the edges are set. The cake is done when a toothpick inserted into the center of the cake comes out clean OR comes out with just a few moist crumbs. It’s important to not over-bake this cake, which dries it out. Begin checking it at 25 minutes. Don’t be alarmed if the cake rises extra tall around some of the edges and slightly cracks—this is normal (it’s the eggs expanding) and will flatten out as it cools.
- Remove from the oven, place cake on a cooling rack, and cool for only 10 minutes in the cake pan. Run a sharp knife around the edges to help release the warm cake, then quickly invert it onto a serving plate or cake stand. (If it cools completely in the pan, it’s very difficult to release from the pan.) Cake will be a little crumbly on the edges. Cool completely. I usually stick it in the refrigerator for 1-2 hours.
- Once the cake is cool, top with your choice of toppings. My suggestions are listed above this recipe. I love it with my mocha whipped cream.
- Mocha Whipped Cream: Using a fork, mix the espresso powder and warm water together in a very small bowl. Cool down for a few minutes. Using a hand mixer or a stand mixer fitted with a whisk attachment, whip the heavy cream, sugar, cocoa powder, and espresso mixture on medium-high speed until medium peaks form, about 3-4 minutes. Medium peaks are between soft/loose peaks and stiff peaks and are the perfect consistency for topping and piping on desserts. Serve cake with whipped cream or pipe it on top. I used Ateco 849 piping tip. Decorate with raspberries and a dusting of confectioners’ sugar, if desired.
- Cover and store leftover cake in the refrigerator for up to 5 days.
Notes
- Make-Ahead & Freezing Instructions: Prepare recipe through step 4 up to 1 day in advance. Cover and store in the refrigerator until ready to bake. Continue with step 5. Since it’s cold, the cake batter will take a few extra minutes to bake. To freeze—invert and cool cake as directed. Wrap with 2 layers of plastic wrap and 1 layer of aluminum foil. Freeze for up to 3 months. When ready, thaw overnight in the refrigerator, then bring to room temperature before decorating/serving. See how to freeze cakes for detailed instructions on freezing cakes.
- Special Tools (affiliate links): 8-inch Round Pan | Glass Mixing Bowls | Whisk | Double Boiler (optional) | Electric Mixer (Handheld or Stand) | Cooling Rack | Piping Bag (Reusable or Disposable) | Ateco 849 Piping Tip | Fine Mesh Sieve | Espresso Powder
- Chocolate: Use 6 ounces of “baking chocolate” bars found in the baking aisle. They’re sold in 4 ounce bars, so you’ll need 2. (You’ll have 2 ounces leftover for another use.) I prefer Bakers or Ghirardelli brands. Do not use candy melts, chocolate dipping wafers, or chocolate chips—all contain stabilizers or added ingredients which prevent them from melting into the same silky consistency needed for the base of this cake. Feel free to use bittersweet chocolate for a darker chocolate flavor. I don’t recommend white chocolate or unsweetened chocolate.
- Espresso Powder: I highly recommend this addition to help deepen the chocolate flavor, though you can leave it out if necessary. Espresso powder is like instant espresso, found in the coffee aisle or online. You can also use instant coffee granules. (Not ground coffee.)
- Baking Powder: This is an optional ingredient. In my recipe testing, I found a touch baking powder added *a little* extra lift to this normally flat cake. (It’s still pretty flat even with it though!) If you want to skip the leavening, leave it out.
- Confectioners’ Sugar: If you prefer a sweeter whipped cream, increase confectioners’ sugar to 1/4 cup (4 Tbsp; 30g).
- 8 Inch Cake Pan: I recommend an 8-inch cake pan. A 9-inch cake pan works, but the cake is thinner. The bake time will be a couple minutes shorter in a 9-inch cake pan.
Adapted from King Arthur Flour


Reader Comments and Reviews
Thanks for the recipe ,I am trying it today but ty can’t find express can omit it?
Hi Cristina, we highly recommend this addition to help deepen the chocolate flavor, though you can leave it out if necessary. Espresso powder is like instant espresso, found in the coffee aisle or online. You can also use instant coffee granules. (Not ground coffee.)