This is a full page dedicated to homemade individual no-bake cheesecake jars! Use this simple no-bake recipe when you need a quick and crowd-pleasing 30 minute dessert. Have fun with different flavors and toppings, too!
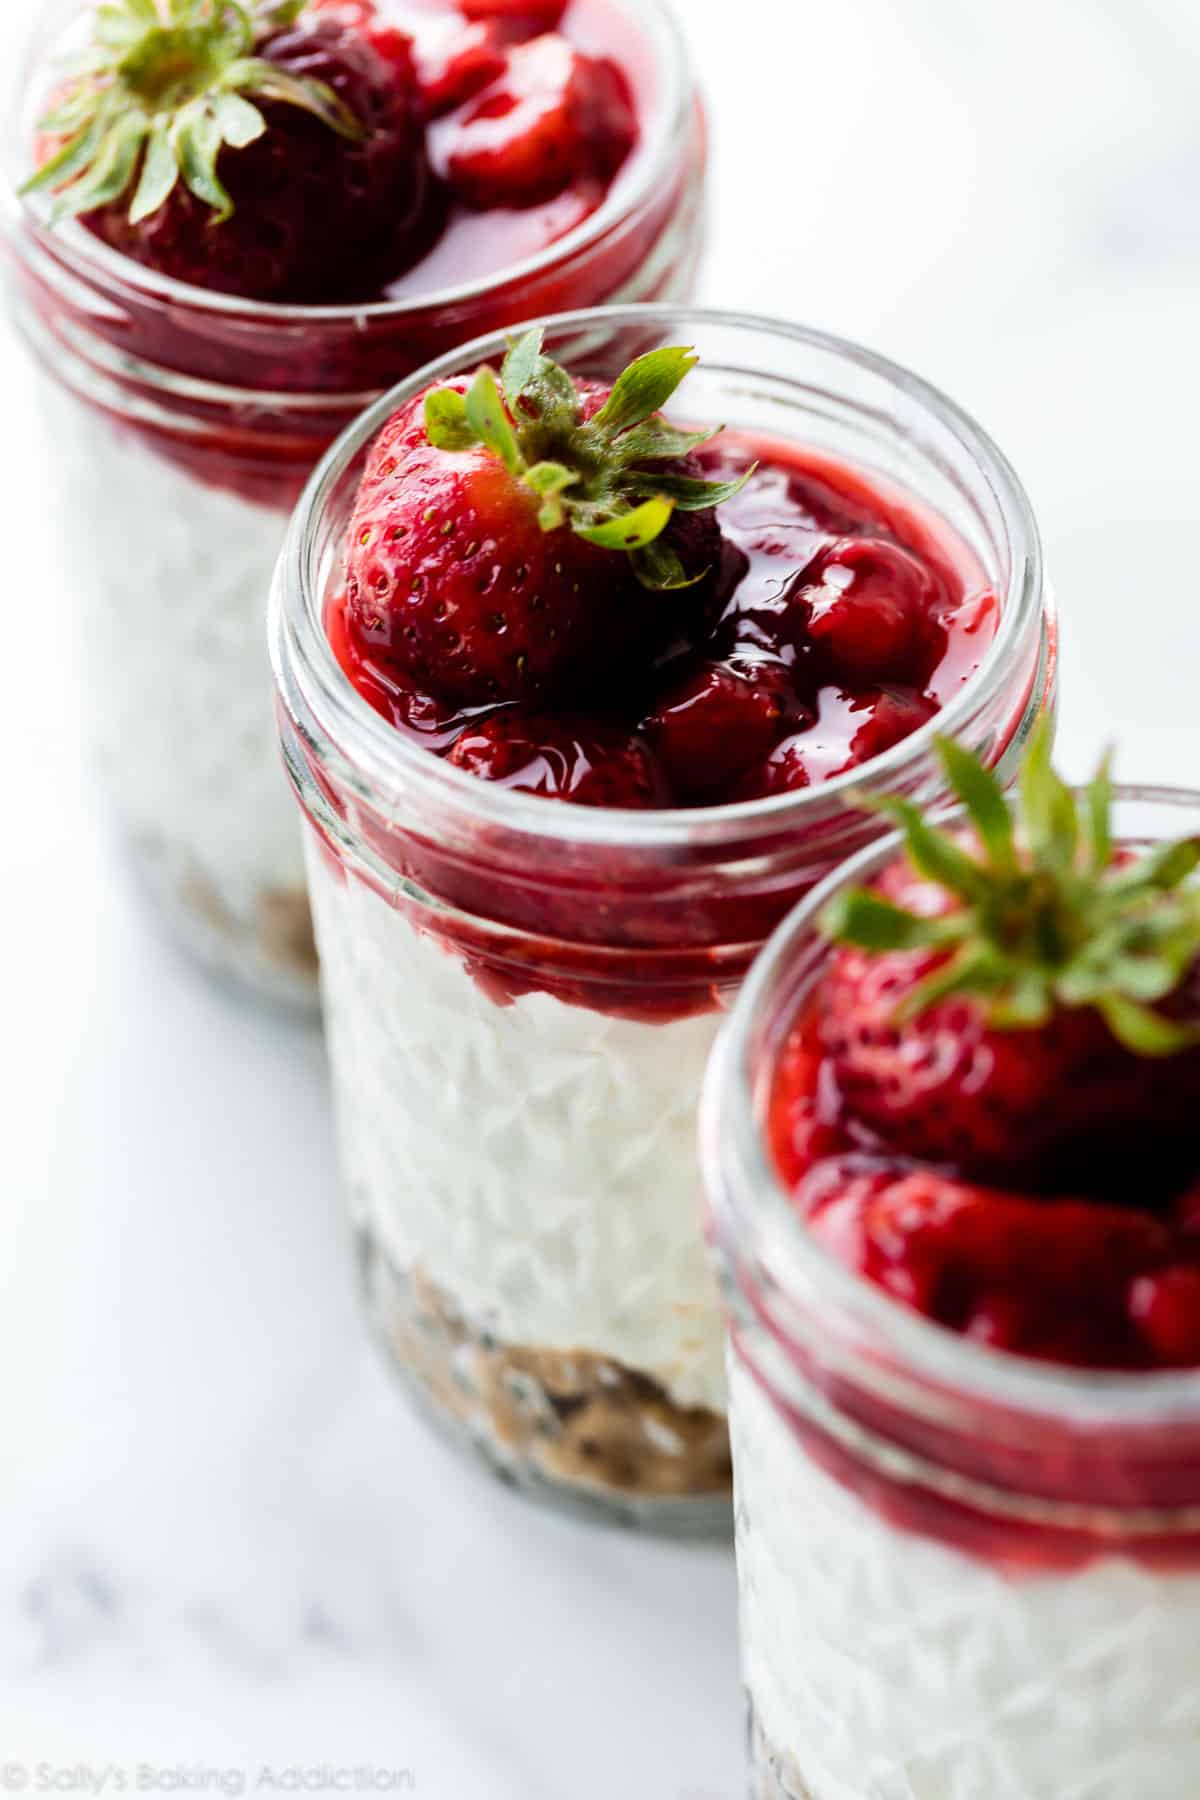
No bake cheesecake jars are a fun individual dessert to serve when you’re short on time and don’t feel like turning on the oven. There’s literally no baking involved and the entire dessert takes around 30 minutes. You only need a handful of familiar ingredients and some cute little jars. Individual desserts have been all the rage the past several years and this mason jar dessert trend isn’t disappearing any time soon.
I’ve published no-bake cheesecake, classic baked cheesecake recipe, and even an easy cheesecake pie on my blog, all of which take hours to either bake, cool, and/or chill. Shortcut cheesecake, here we come!
Why You’ll Love Individual No-Bake Cheesecake Jars
If you’ve ever enjoyed my no-bake cheesecake recipe or mini no-bake cheesecakes, you know you’re in for a real treat with this jar version. You see, no-bake cheesecake (either served as a whole or in jars) is a lot easier than baked cheesecake. Without eggs and baking, there’s no way to mess up this dessert. You can’t over-bake it, you can’t over-whip the eggs, and there’s no cheesecake water bath involved. It’s easier and quicker than strawberry cream cheese pie, with all of the flavor and texture. If summer was a dessert, it would be no-bake cheesecake jars.
Here’s what I appreciate and know you will too:
- Easy recipe
- Creamiest cheesecake filling
- Few tools required—just a mixer and a couple bowls
- Ready in 30 minutes
- Unlimited flavors & topping options
- Convenient to transport to parties, BBQs, baby showers, & other events
- Did I mention no baking?
Video Tutorial: No Bake Cheesecake Jars
Before we get to the written out recipe, let’s review each layer. Even though this is a simple dessert, it’s important you familiarize yourself with the process before starting.
3 Layers in No-Bake Cheesecake Jars
- Buttery Graham Cracker Crust
- No-Bake Cheesecake Filling
- Topping
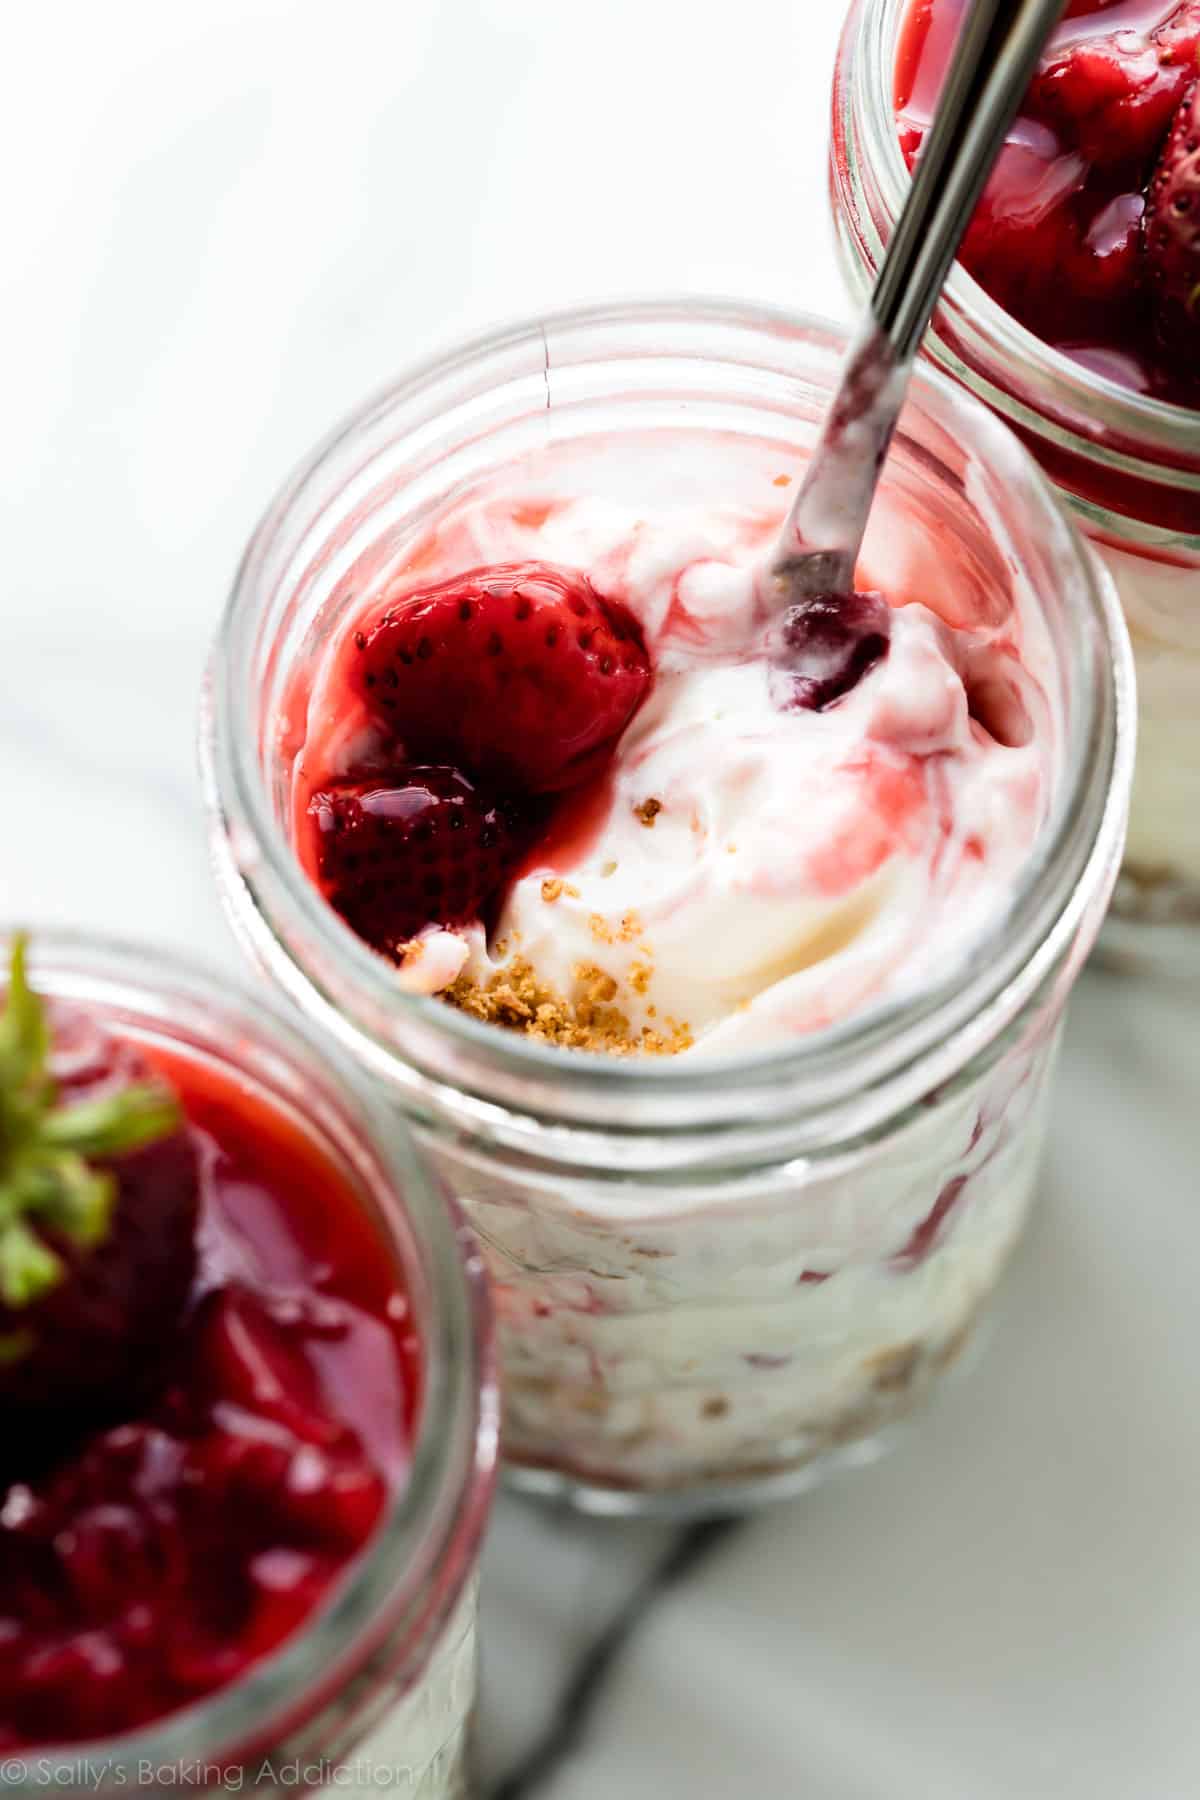
The graham cracker crust doesn’t need much explanation. You only need graham cracker crumbs and melted butter. Mix the two together, then layer into the individual jars. Again, there is NO BAKING so you do not need to pre-bake this graham cracker crust.
If you use certified gluten free graham crackers, you can add these cheesecake jars to your list of go-to gluten free dessert recipes, too.
2 Parts to Cheesecake Filling
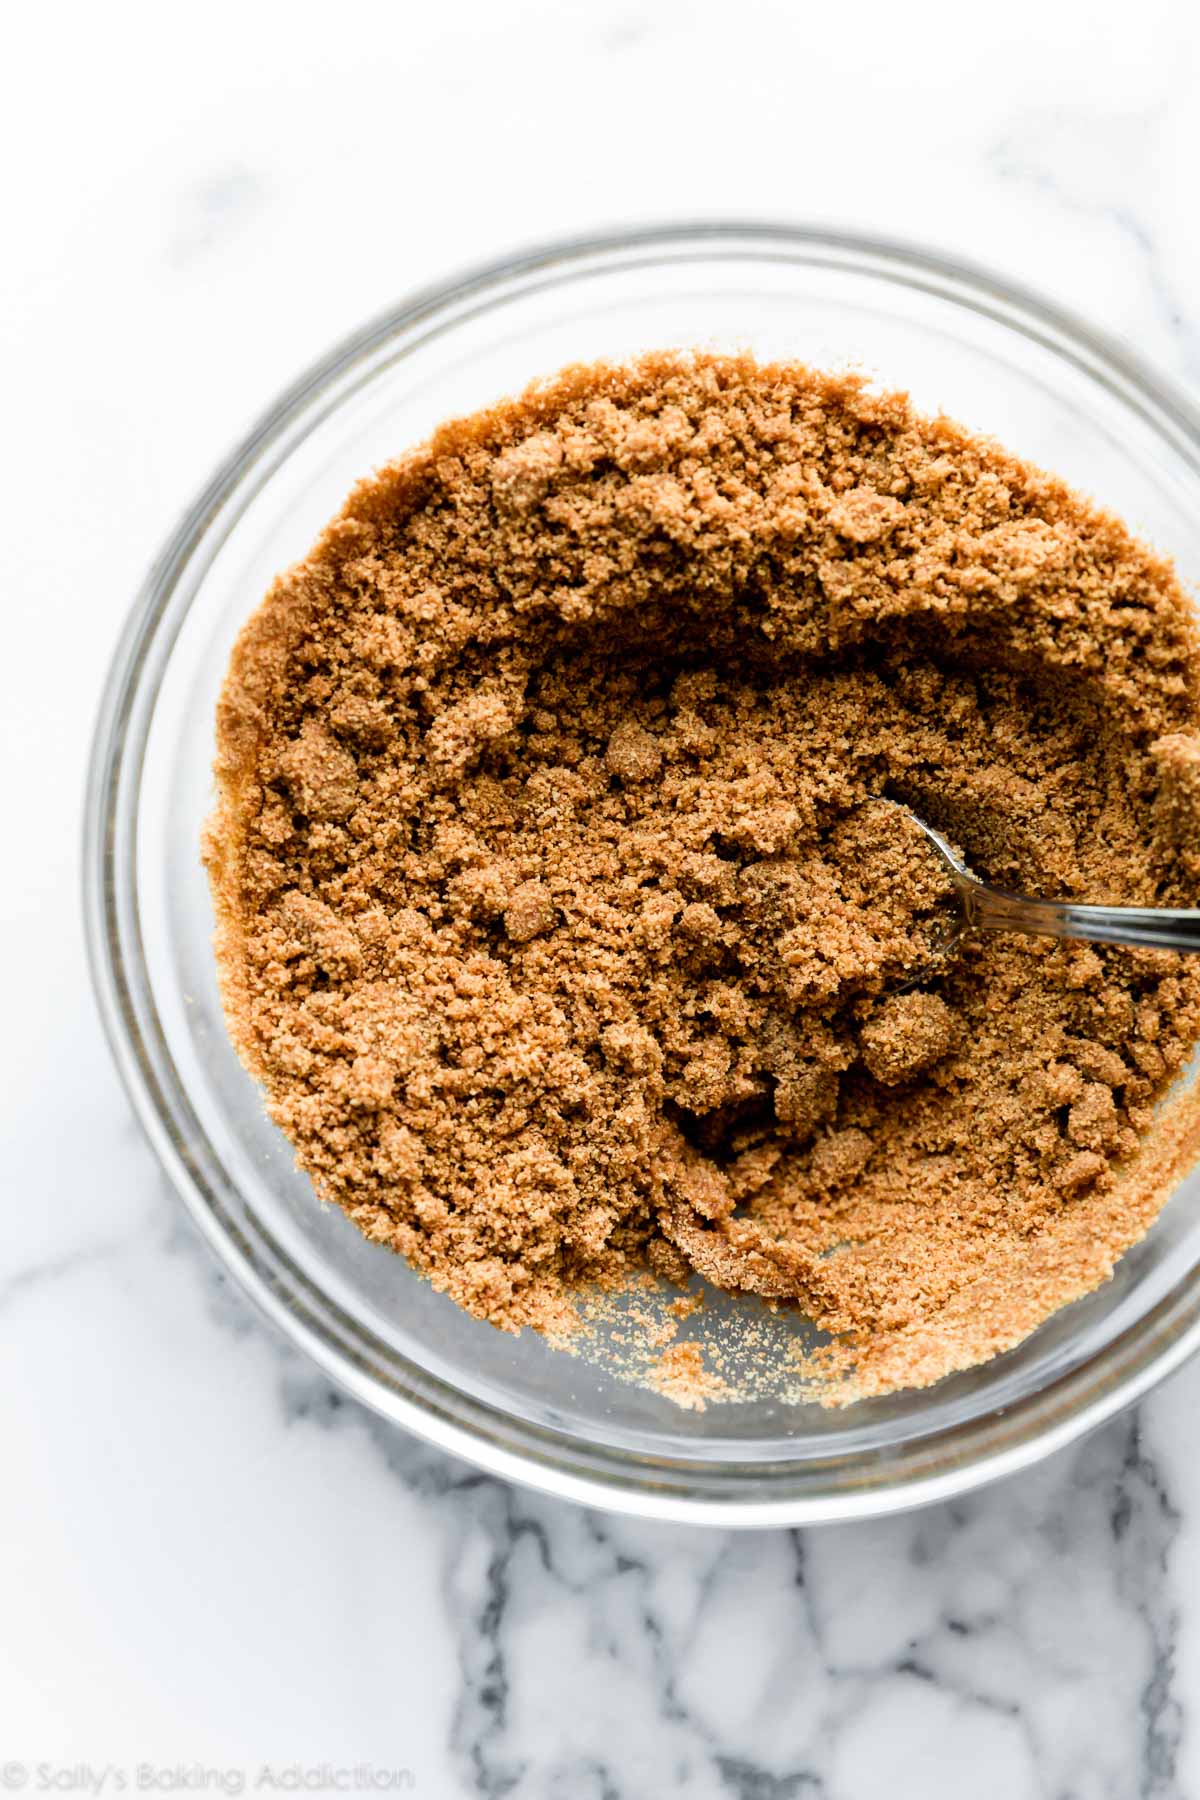
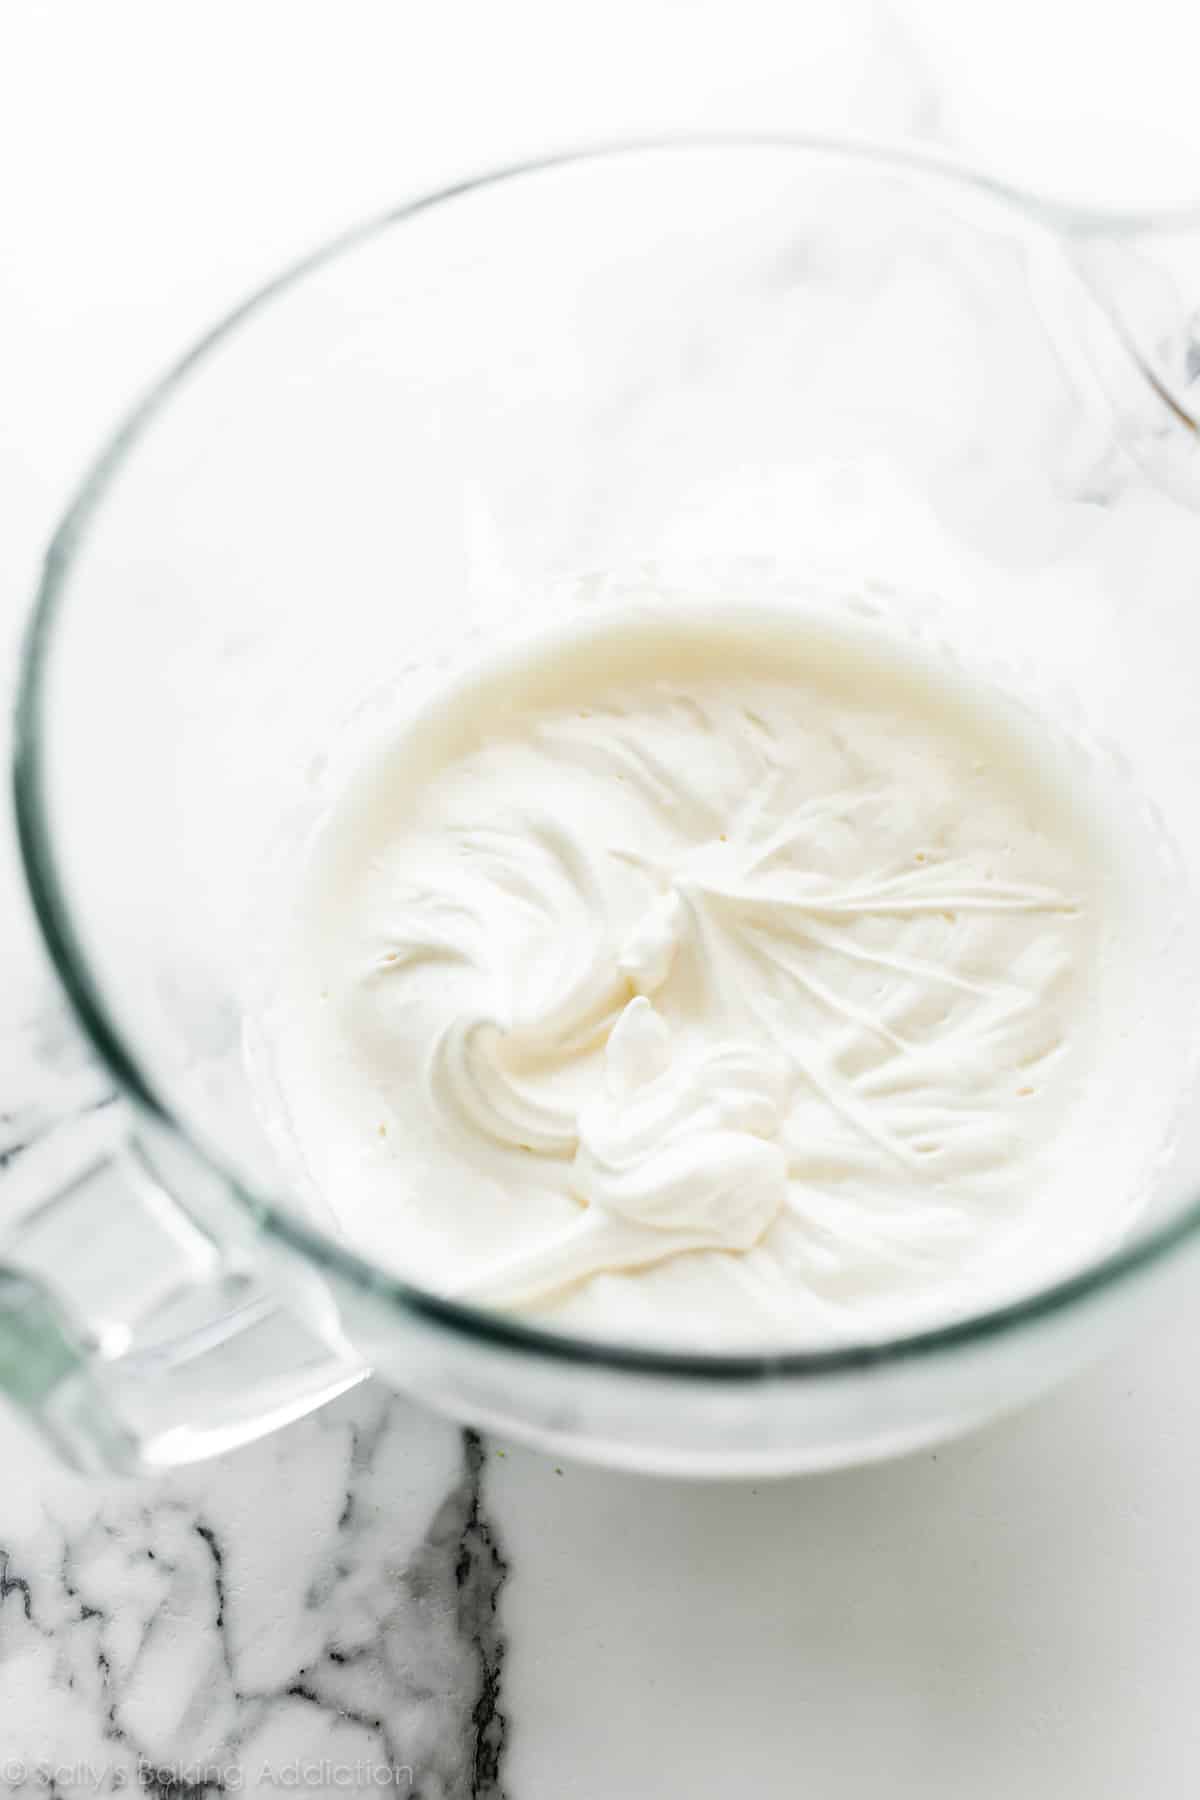
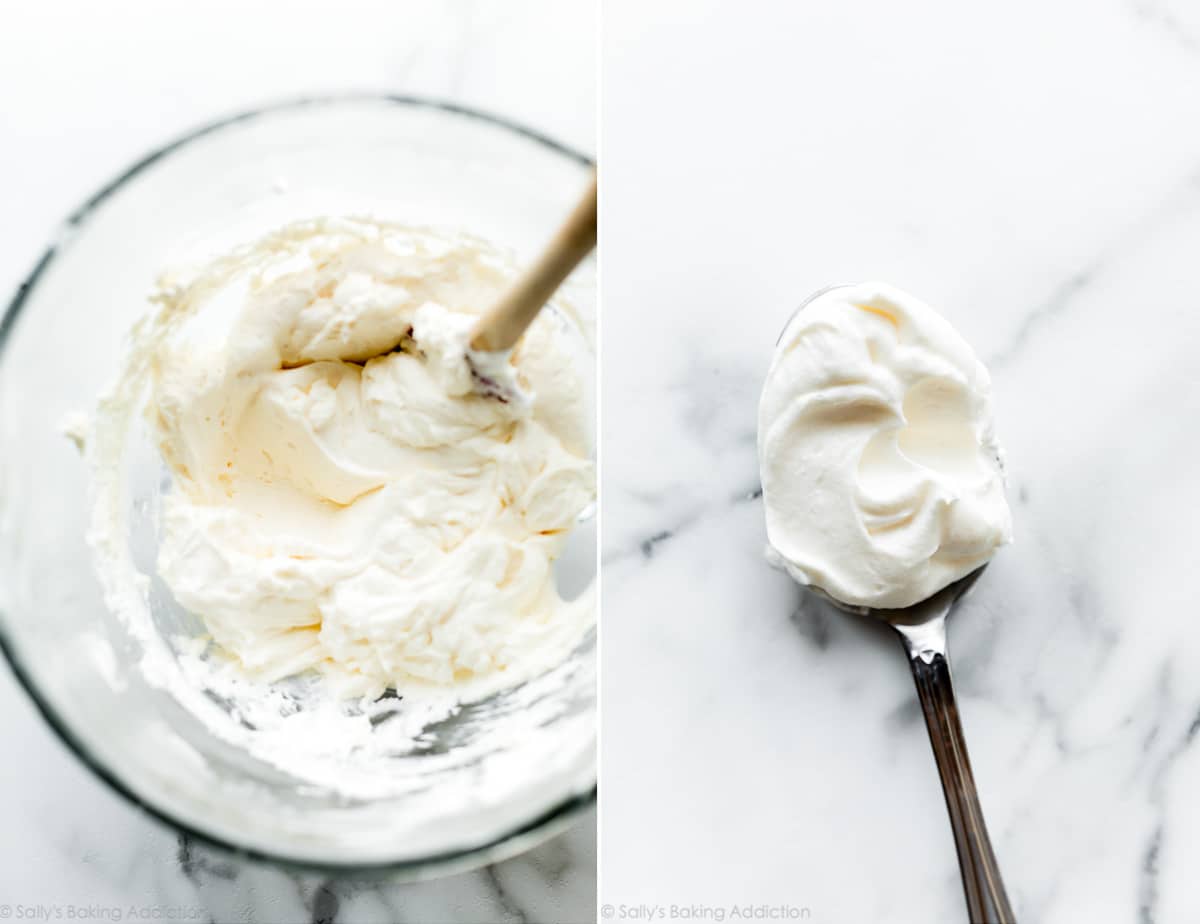
There are 2 parts to the cheesecake filling. First, whip heavy cream into stiff peaks. You’re essentially making whipped cream without sugar or flavor. Set that aside. Then beat the remaining cheesecake filling ingredients together. Finally, fold in the whipped cream. Whipping the cream 1st is imperative because it supplies all the deliciously fluffy and creamy texture. This no-bake cheesecake jar filling almost tastes like cheesecake mousse—it’s so light—and we have the whipped cream to thank for that. 🙂
Cheesecake Jar Filling Ingredients
- Heavy Cream: Whip into stiff peaks. Set aside.
- Brick Cream Cheese: Use full-fat brick cream cheese, not cream cheese spread. I recommend this for all of my no-bake and baked cheesecake recipes, including mini cheesecakes and white chocolate raspberry cheesecake bars.
- Sugar: Sugar sweetens the cheesecake jars. This is a lightly sweetened dessert, so you only need 1/3 cup of sugar in the entire filling.
- Sour Cream: Sour cream is a must-have ingredient in this recipe. Even though you only need 2 Tablespoons, it promises a tangy cheesecake flavor and ultra creamy texture. In fact, I don’t make regular cheesecake without it.
- Vanilla Extract: Vanilla extract adds flavor.
- Fresh Lemon Juice: Lemon juice adds a little brightness and slight flavor.
Here’s the heavy cream beaten into stiff peaks:
Here’s the cheesecake filling after you fold in the whipped cream. It’s airy, light, and fluffy:
Filling Flavors
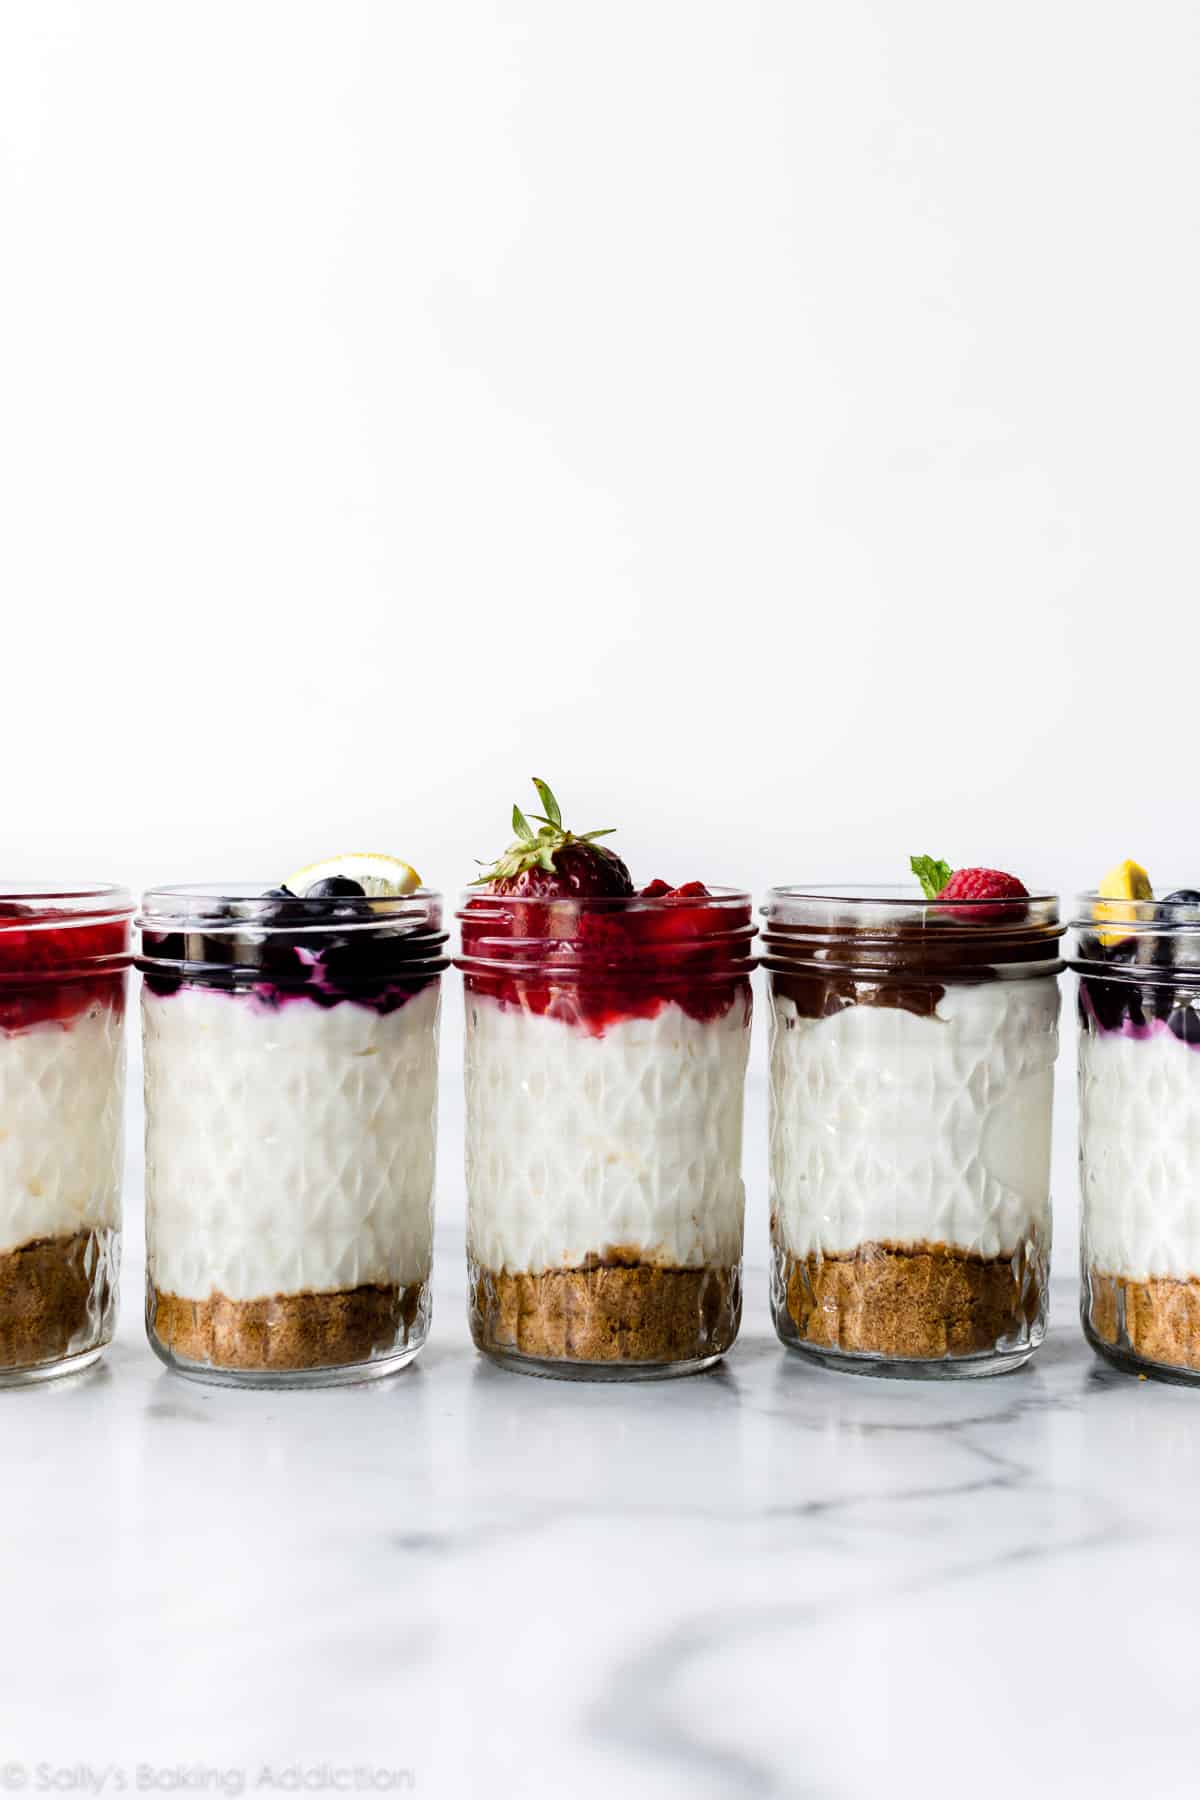
The pictured no bake cheesecake jars are plain, but you can definitely add some flavor! Add these ingredients when you beat the cream cheese, sugar, sour cream, and vanilla extract together. I recommend leaving out the lemon juice if making the peanut butter, Nutella, chocolate, or coconut variations.
- Peanut Butter: 1/3 cup creamy peanut butter
- Nutella: 1/3 cup Nutella
- Lemon: 2 extra teaspoons lemon juice + 1 teaspoon lemon zest
- Raspberry: 1 and 1/2 Tablespoons raspberry preserves
- Chocolate: 1 and 1/2 Tablespoons unsweetened cocoa powder or chocolate ganache and replace graham crackers with Oreos or chocolate graham crackers
- Coconut: 1 teaspoon coconut extract
- Key Lime: replace lemon juice with lime juice and add 2 more teaspoons of lime juice, plus 1 teaspoon lime zest
Toppings
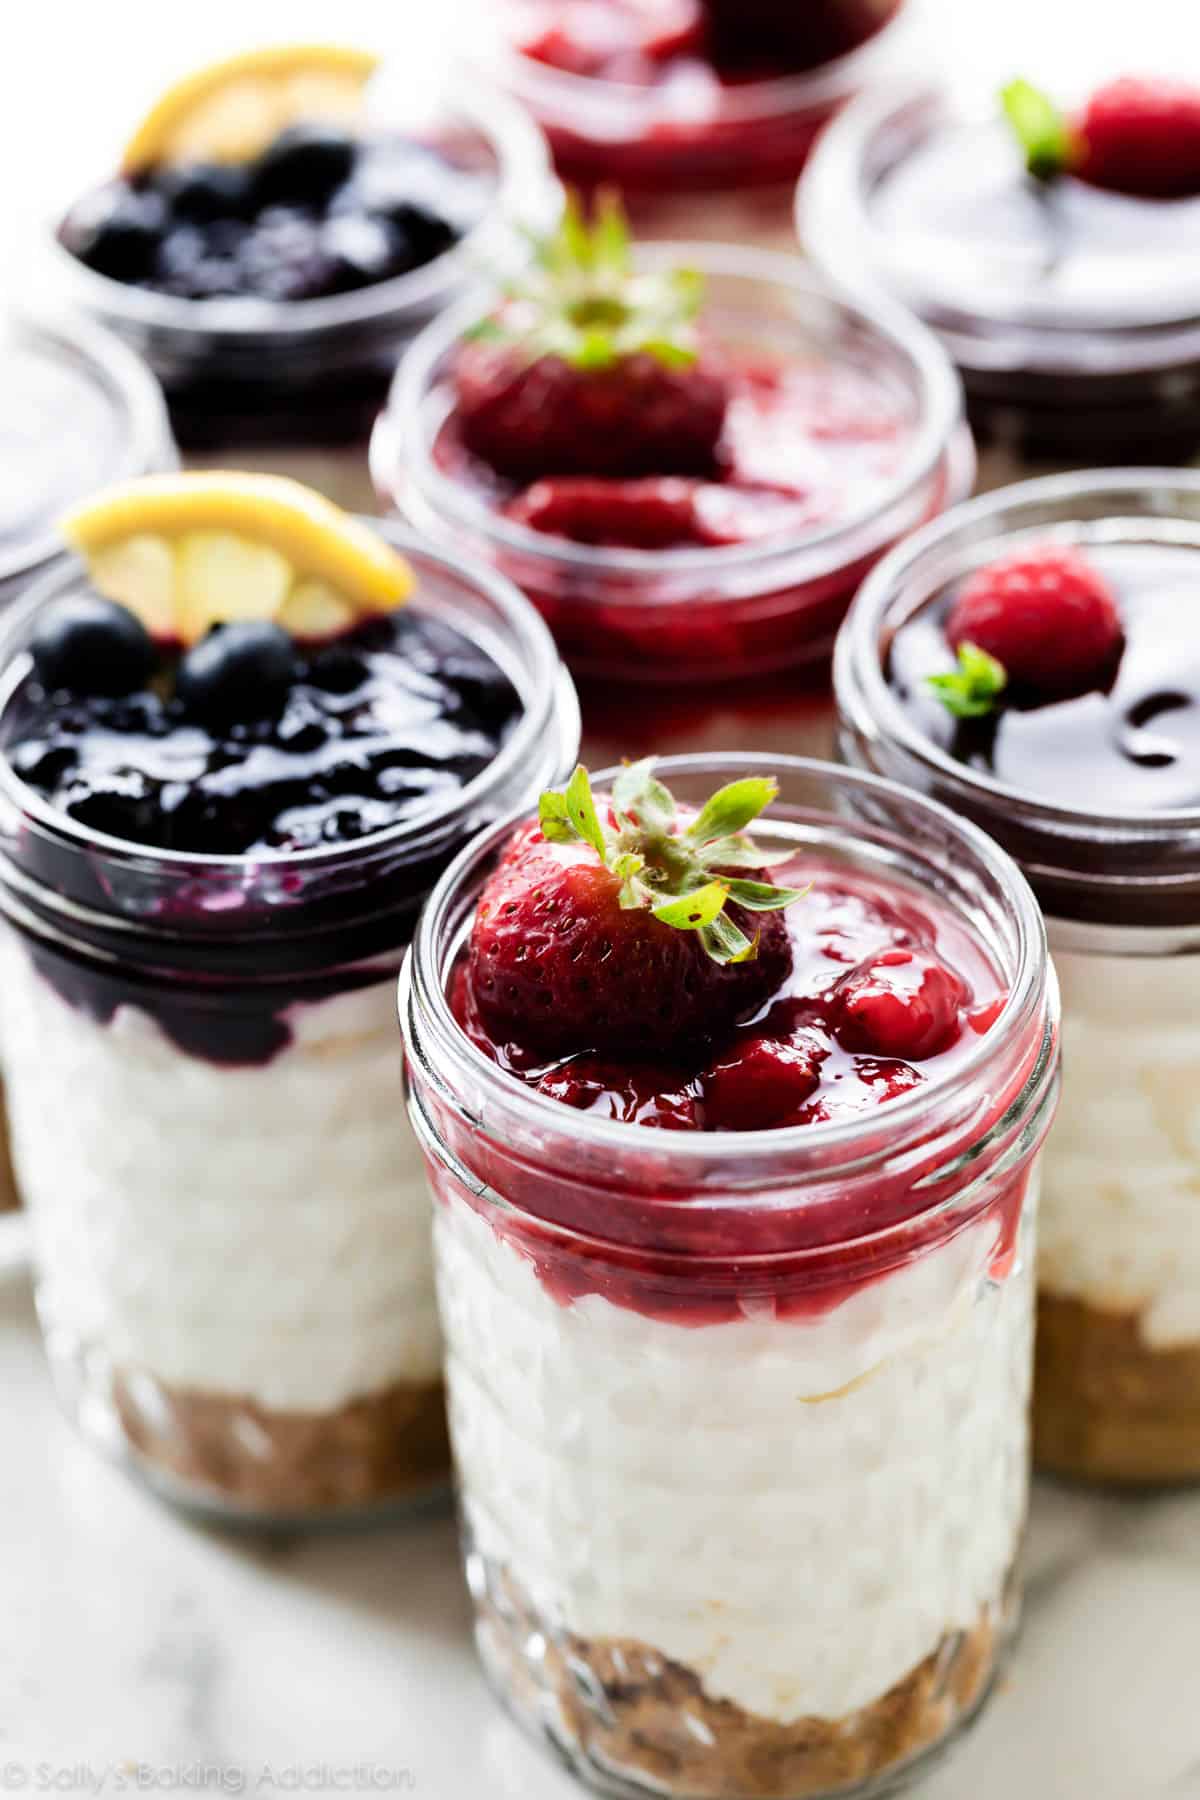
Last layer! Finish the no-bake cheesecake jars with your favorite toppings. This recipe yields about 6 8-ounce cheesecake jars, so you can layer each with a different topping.
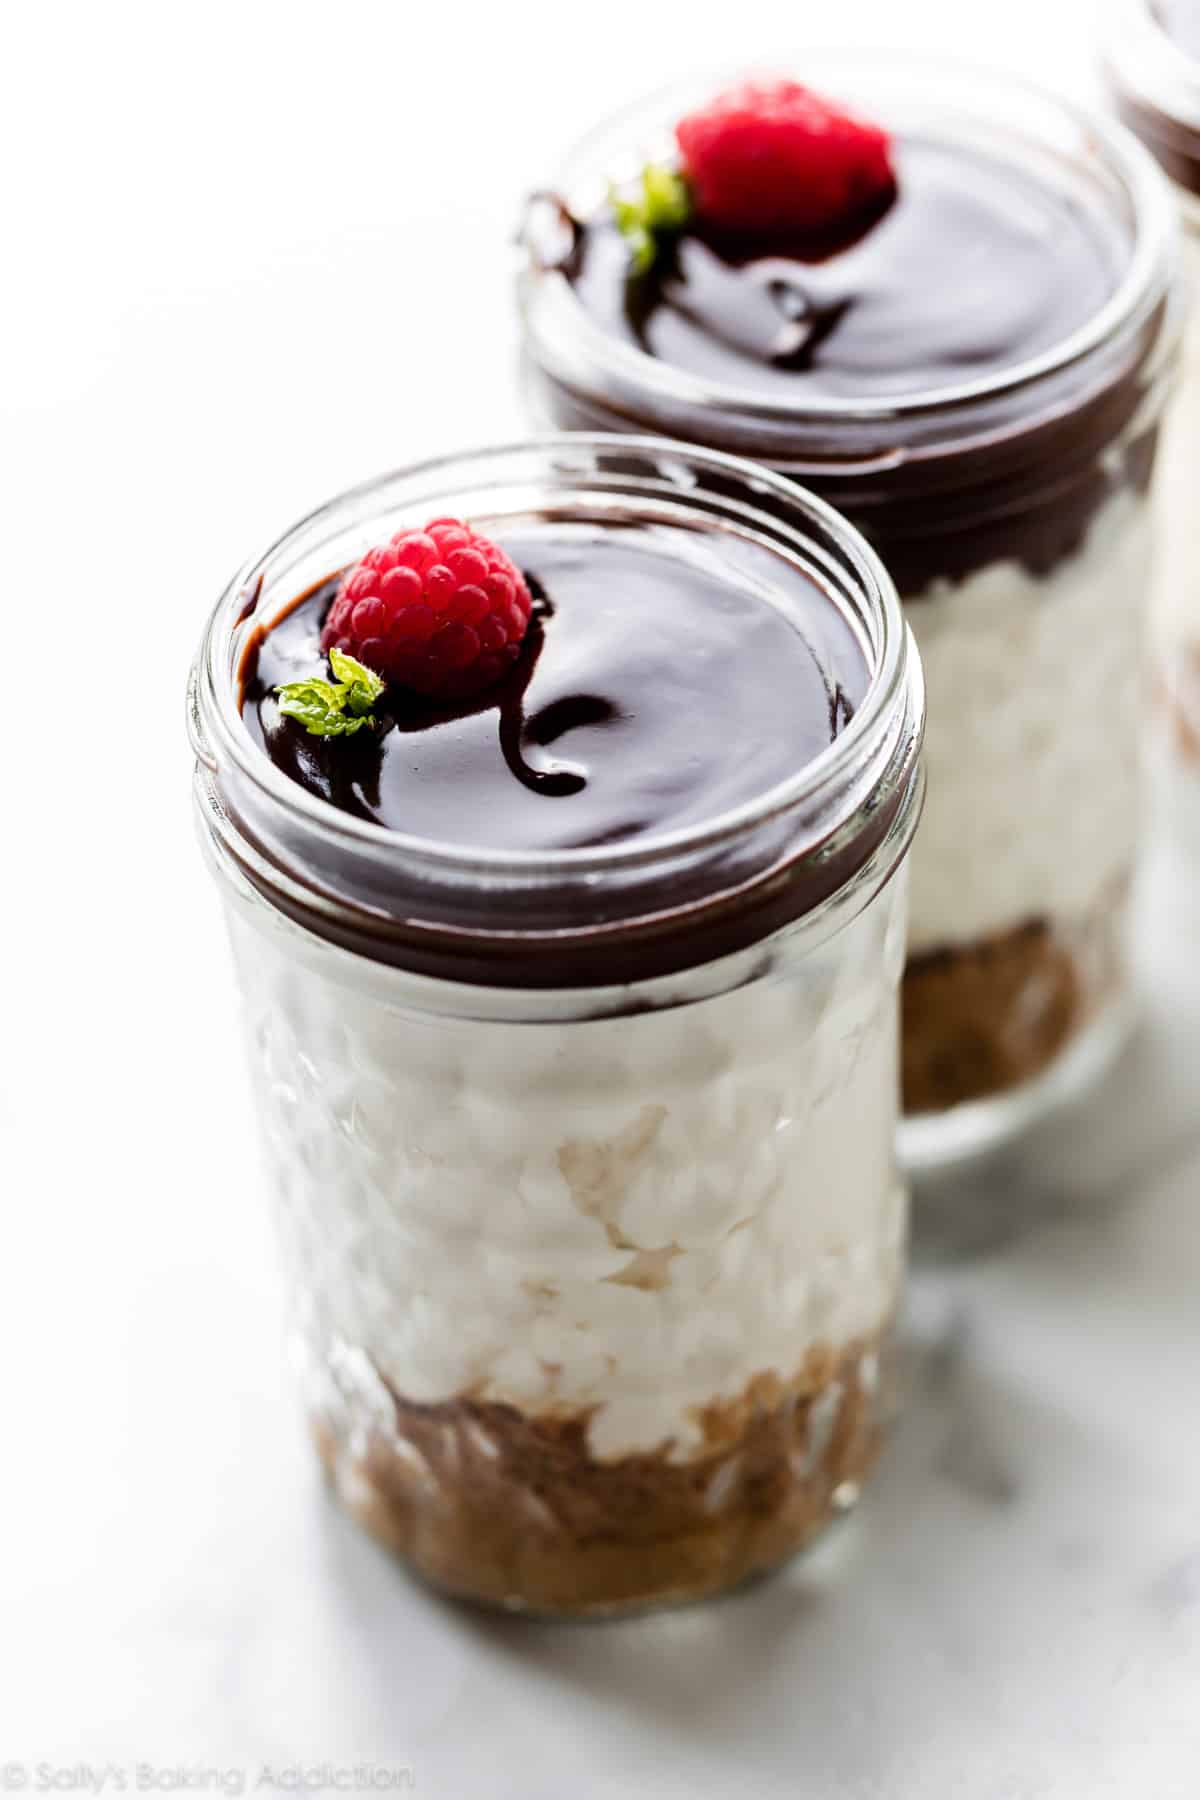
- Chocolate Ganache (pictured with raspberries & mint)
- Strawberry Topping (pictured)
- Blueberry Sauce Topping (pictured with fresh blueberries and lemon slice)
- Whipped Cream
- Hot Fudge Sauce
- Lemon Curd
- Salted Caramel
And let’s not forget garnishes like sprinkles, berries, lemons, mint, etc!
Jars for No-Bake Cheesecake Jars
8 ounce jars, as pictured, are a pretty generous serving size. Feel free to use smaller jars like we do for homemade dirt pudding, or even use this recipe as a trifle. Whichever size jar, I highly recommend using wide mouthed jars so you can easily spoon the layers inside. These are all affiliate links.
- 8 ounce glass jars (pictured)
- 8 ounce glass jars (vintage fruit design)
- 6 ounce glass jars (hexagon shape)
- 6 ounce glass jars (smooth surface)
If you don’t have jars, use custard cups or bowls. Same taste, different delivery. This cheesecake filling also works in place of pastry cream in homemade mille-feuille. No matter how you serve it, these are always fun to serve at bridal showers, baby showers, for tea parties, Mother’s Day, Father’s Day, wedding celebrations, BBQs, graduation parties, and more. A crowdpleaser every time!
See Your No-Bake Cheesecake Jars!
Many readers tried this recipe as part of a baking challenge! Feel free to email or share your recipe photos with us on social media. 🙂
Print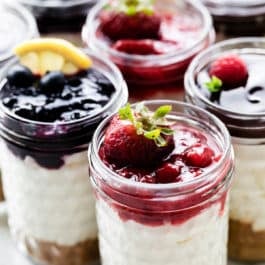
No Bake Cheesecake Jars
- Prep Time: 30 minutes
- Cook Time: 0 minutes
- Total Time: 30 minutes
- Yield: 6 8-ounce jars or 10 6-ounce jars
- Category: Dessert
- Method: Mixing
- Cuisine: American
Description
This jar dessert recipe combines a 2 ingredient graham cracker crust with an easy no-bake cheesecake filling. For best results, read through the recipe and watch the video tutorial above before beginning. See blog post for cheesecake filling flavors and see recipe notes or blog post for topping and garnish suggestions.
Ingredients
- 2 Tablespoons (28g) unsalted butter, melted
- 1 cup (100g) graham cracker crumbs (about 8 graham crackers)
- 1 cup (240ml) heavy cream or heavy whipping cream, cold
- 8 ounces (226g) full-fat brick cream cheese, softened to room temperature
- 1/3 cup (65g) granulated sugar
- 2 Tablespoons (30g) sour cream, at room temperature
- 1 teaspoon lemon juice
- 1/2 teaspoon pure vanilla extract
- toppings & garnishes (see note)
Instructions
- Have your jars ready to go and lined up. This recipe yields about 6 8-ounce jars or 10 6-ounce jars.
- Crust: Melt the butter in the microwave in a medium heat-proof bowl or use the stove. Stir in the graham cracker crumbs. The mixture will resemble wet sand. Spoon a generous spoonful into each jar, about 2 Tablespoons into the 8-ounce jars and 1 and 1/2 Tablespoons into the 6-ounce jars. If there’s any crust leftover, sprinkle into the jars to use up or discard. Set jars aside.
- Filling: Using a hand mixer or a stand mixer fitted with a whisk attachment, whip the cold heavy cream into stiff peaks on medium-high speed, about 3-4 minutes. Set aside.
- Using a hand mixer or a stand mixer fitted with a whisk or paddle attachment, beat the cream cheese, sugar, sour cream, lemon juice, and vanilla extract together on medium-high speed until smooth and creamy. Make sure there are no large lumps of cream cheese. If there are lumps, keep beating until smooth.
- Using your mixer on low speed or a silicone spatula, fold the whipped cream into the cheesecake filling until combined. This takes several turns of your silicone spatula. Combine slowly as you don’t want to deflate all the air in the whipped cream.
- Layer a couple large spoonfuls of filling on top of the crust in the jars. Use about 1/4 – 1/3 cup filling in the 8 ounce jars and 3 Tablespoons (or however much you can pack in!) into the 6 ounce jars. Make sure to leave room for the topping.
- The cheesecake jars are at room temperature at this point, but if you’d like to serve chilled, chill for at least 30 minutes and up to 3 days before adding the topping. (Cover if chilling for longer than 30 minutes.) I recommend adding the topping when serving or up to 2 hours in advance. The topping can seep down into the layers, so that’s why I recommend adding it soon before serving.
- Spoon topping and garnishes on top of filling, then serve.
- Cover and store leftover cheesecake jars in the refrigerator for up to 5 days.
Notes
- Make Ahead Instructions: These cheesecake jars can be made 1-3 days in advance. They can be refrigerated in step 7 for up to 3 days before serving. You can also make & layer the crust 1-2 days ahead of time. Another way to make these cheesecake jars ahead of time is to freeze them before adding the toppings. Seal jars with the lids and freeze up to 3 months. Thaw in the refrigerator before topping and serving. You can also freeze the cheesecake filling as a whole. Cover tightly and freeze up to 3 months. Thaw in the refrigerator before layering on top of crust.
- Special Tools (affiliate links): 8-ounce Glass Jars (pictured), 8-ounce Glass Jars (vintage fruit design), 6-ounce Glass Jars (hexagon shape), or 6-ounce Glass Jars (smooth surface) | Glass Mixing Bowls | Electric Mixer (Handheld or Stand) | Silicone Spatula
- Toppings: Chocolate Ganache, Strawberry Topping, Blueberry Sauce, Whipped Cream, Cherry Pie Filling, Lemon Curd, Salted Caramel, Hot Fudge Sauce
- Garnishes: Fresh berries, chopped fruit, nuts, chocolate chips, lemon slices, lime slices, shredded coconut, sprinkles, mint, or whatever you desire.
- More Cheesecake Jars: This recipe can easily be doubled, tripled, or quadrupled. Keep in mind the whipping and beating times will increase with the added volume.


Reader Comments and Reviews
Amazing simple recipe that is so delicious. I served it to my dinner guests as a trial for wedding desserts and they all raved about it. I don’t usually make dessert but this just worked perfectly.
I finally get to review this recipe. Awhile back I had some cream cheese in the fridge that I wanted to use up. I didn’t want to have a big cheesecake on hand because there are only two of us. I made these jars of cheesecake and tucked them away in the freezer. When we had an impromptu dinner, I was able to pull them out & voila, a delicious dessert! I had used several different toppings and everyone enjoyed them very much.
Absolutely decadent. Smooth and light and delicious. I topped it with fresh raspberry sauce and berries. I threw Oreos in the food processor and used the crumbs as the base. Chocolate was a perfect match and a nice surprise.