With a video tutorial and in-depth descriptions, learn about my top 10 baking tips and why each are crucial to the success of your next baking adventure.
With every baking recipe I publish, my goal is to help you become a better and more confident baker. Baking from scratch doesn’t have to be intimidating or difficult. Let’s reverse that connotation and put the FUN back into our kitchens. Dirty mixing bowls and all!
I’ve Made the Mistakes: As a cookbook author, home baker, and food blogger, I’ve made THOUSANDS of mistakes in the kitchen and here’s what I’ve learned along the way.
Top 10 Baking Tips
Let’s dive into the baking tips a little further.
1. Always Have the Correct Butter Consistency
Butter is the starting point for an immense amount of baked goods, so it’s important to have it prepped as the recipe suggests. The temperature of butter can dramatically affect the texture of baked goods. There are three different consistencies of butter that baking recipes typically call for: softened, chilled (or frozen like in scones), and melted.
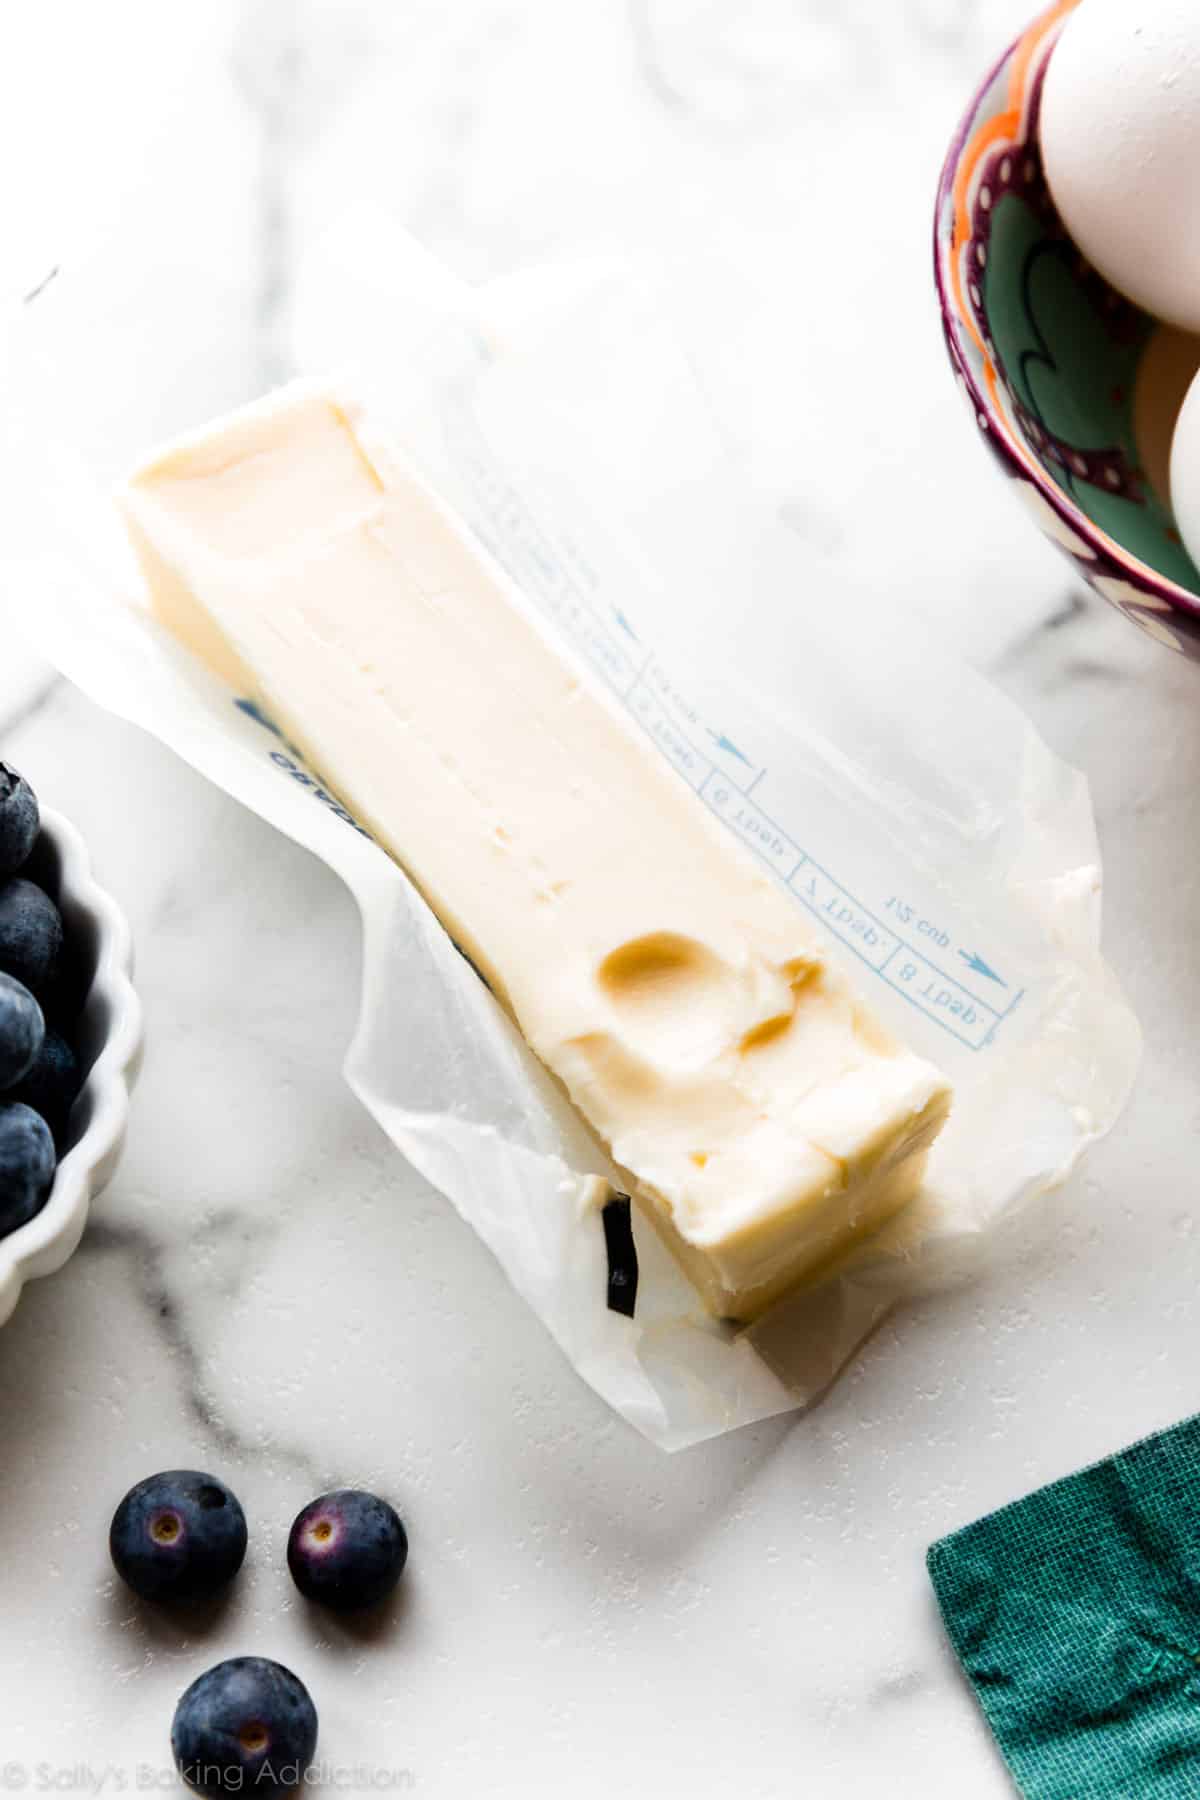
- Most recipes calling for butter call for room temperature/softened butter. Room temperature butter is actually cool to touch, not warm. When you press it, your finger will make an indent. Your finger won’t sink down into the butter, nor will your finger slide all around. To get that perfect consistency and temperature, leave butter out on the counter for around 1 hour prior to beginning your recipe. I prefer to use room temperature butter in favorites like peanut butter cookies and snickerdoodles.
- Chilled butter is butter that has been well chilled in the refrigerator or freezer so that it does not melt during mixing. This helps create flaky pockets in recipes like pie crust, scones, and biscuits.
- Unless otherwise noted, melted butter should be liquified and lukewarm. If melted butter is too hot, it can cook the eggs in your batter. I prefer to use melted butter in homemade brownies and my chewy chocolate chip cookies.
Short on time? Here’s my trick to soften butter quickly!
Further Reading: Here’s What Room Temperature Butter Really Means
2. Room Temperature is KEY
Speaking of temperature, if a recipe calls for room temperature eggs or any dairy ingredients such as milk or yogurt, make sure you follow suit. Recipes don’t just do that for fun—room temperature ingredients emulsify much easier into batter, which creates a uniform texture throughout your baked good. Think of cold, hard butter. It’s impossible to cream cold butter into a soft consistency necessary for some recipes. Same goes for eggs—they add much more volume to the batter when they’re at room temperature.
So yes, temperature is imperative. There’s legitimate science involved!
- Further Reading: Why Room Temperature Ingredients Make a Difference
3. Read the Recipe Before Beginning
I feel silly typing this, but I can’t tell you how many times I’ve had a complete recipe disaster because I didn’t realize a certain step was coming up. Reading ahead will help you know the how, why, where, and when of what you are about to do. It will take you 1-5 minutes and could save you from wasting your ingredients (and money!) on a failed recipe.
4. Always Have Ingredients Prepped
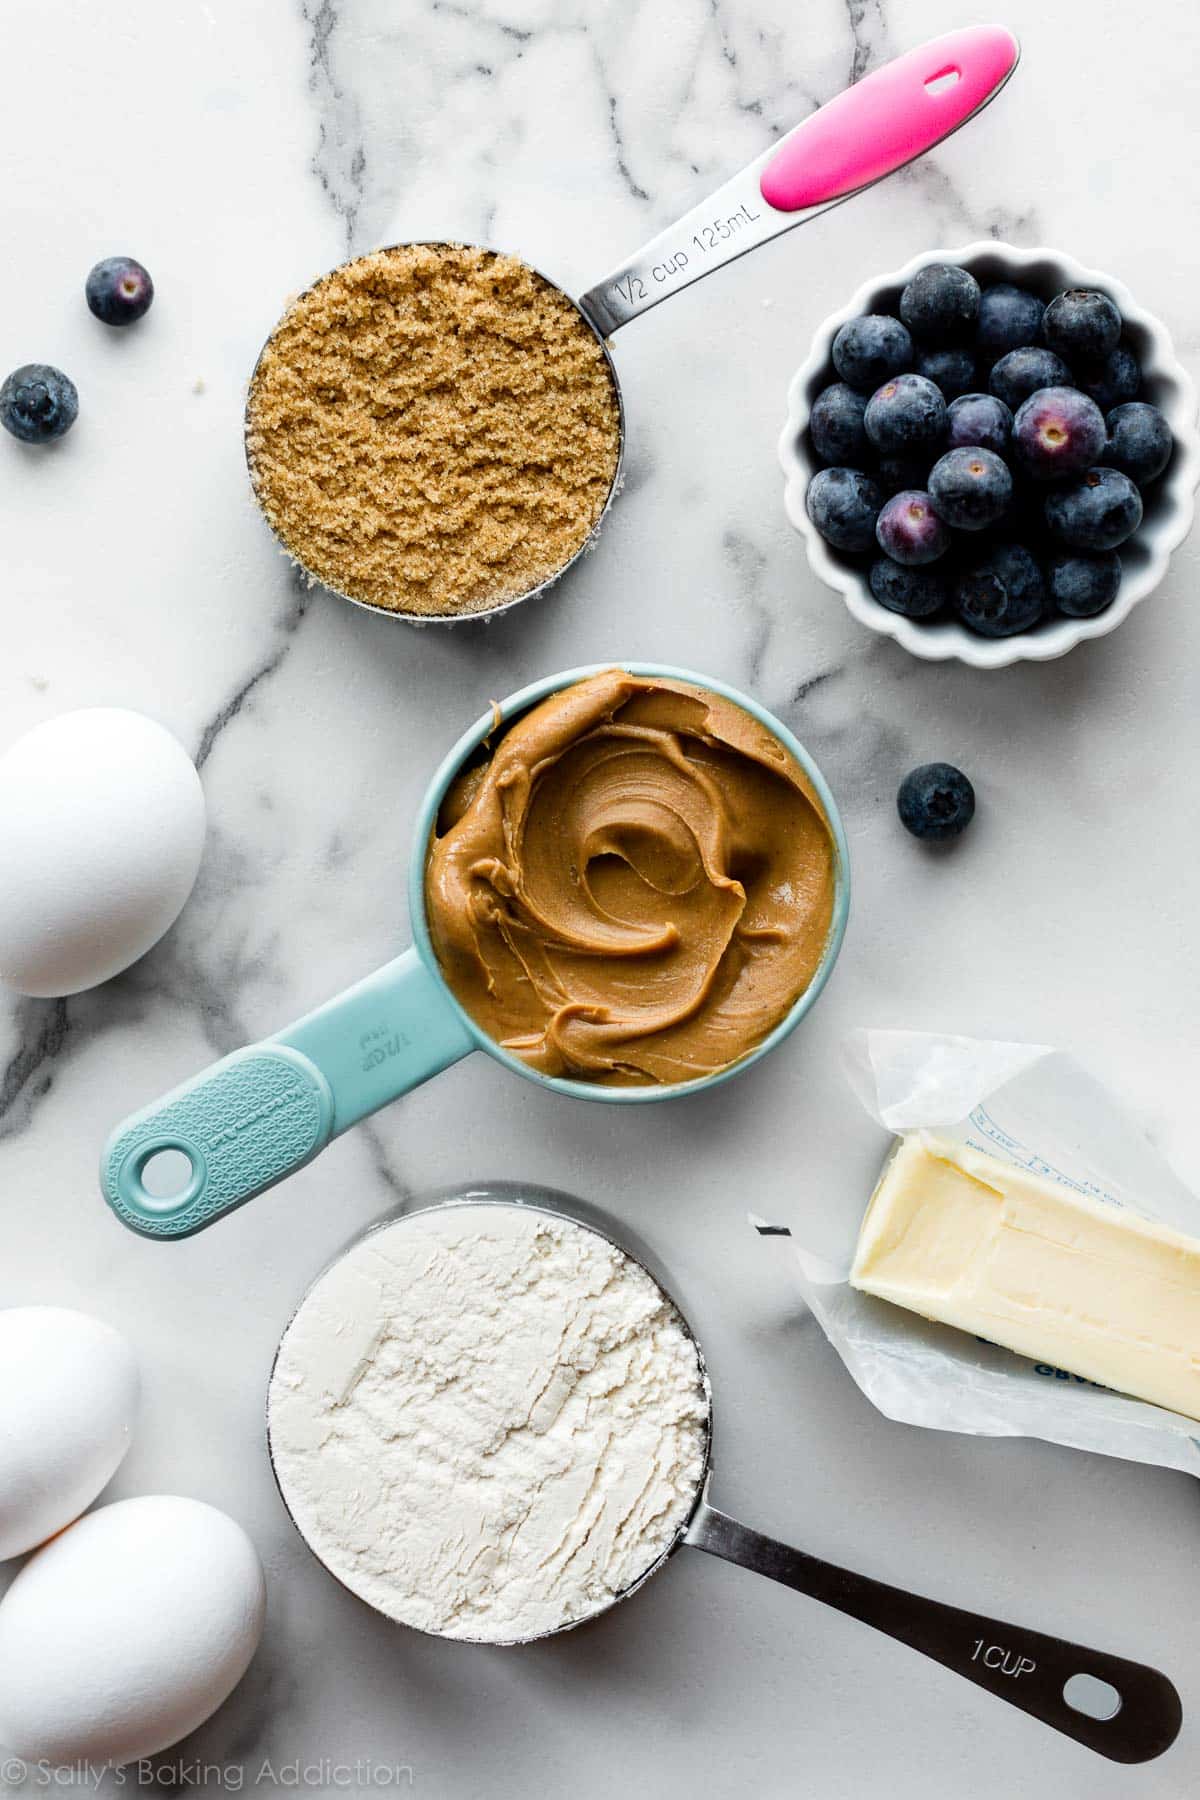
Measure your ingredients before starting a recipe. Read through the ingredients, then get them prepared on your counter. There’s very little room for error when you begin recipes this way; you’re not scrambling and rushing during the recipe process.
And avoid making ingredient substitutions. Remember, baking is chemistry. Make the recipe as written first then if you feel confident, make substitutions as you see fit.
5. Learn How to Measure
This is actually one of the most important baking tips on this page. As you know, baking is science. Excellent baking requires precise ratios, proven techniques, and well-tested recipes. Unlike cooking, you can’t just bake something by throwing some ingredients together, mess it up, then eat it anyway. (Well, most of the time you can’t!)
One of the most crucial baking tips is measuring ingredients properly.
- Problems are common if measurements are incorrect. Having a firm grasp of measuring techniques is essential.
- Measure dry ingredients in measuring cups or spoons because these are specially designed for dry ingredients. Spoon and level (aka “spoon and sweep”) your dry ingredients. This means that you should use a spoon to fill the cup and level it off. This is especially important with flour. Scooping flour (or any dry ingredient) packs that ingredient down and you could be left with up to 150% more than what’s actually needed. A recipe calling for 1 cup of flour and baked with 2 or more cups instead will surely result in a fail. And a rather dry baked good!
- And for liquid ingredients (like milk, oil, water, buttermilk/buttermilk substitute, etc), use clear liquid measuring cups.
Further Reading: How to Properly Measure Baking Ingredients
6. Weigh Your Ingredients
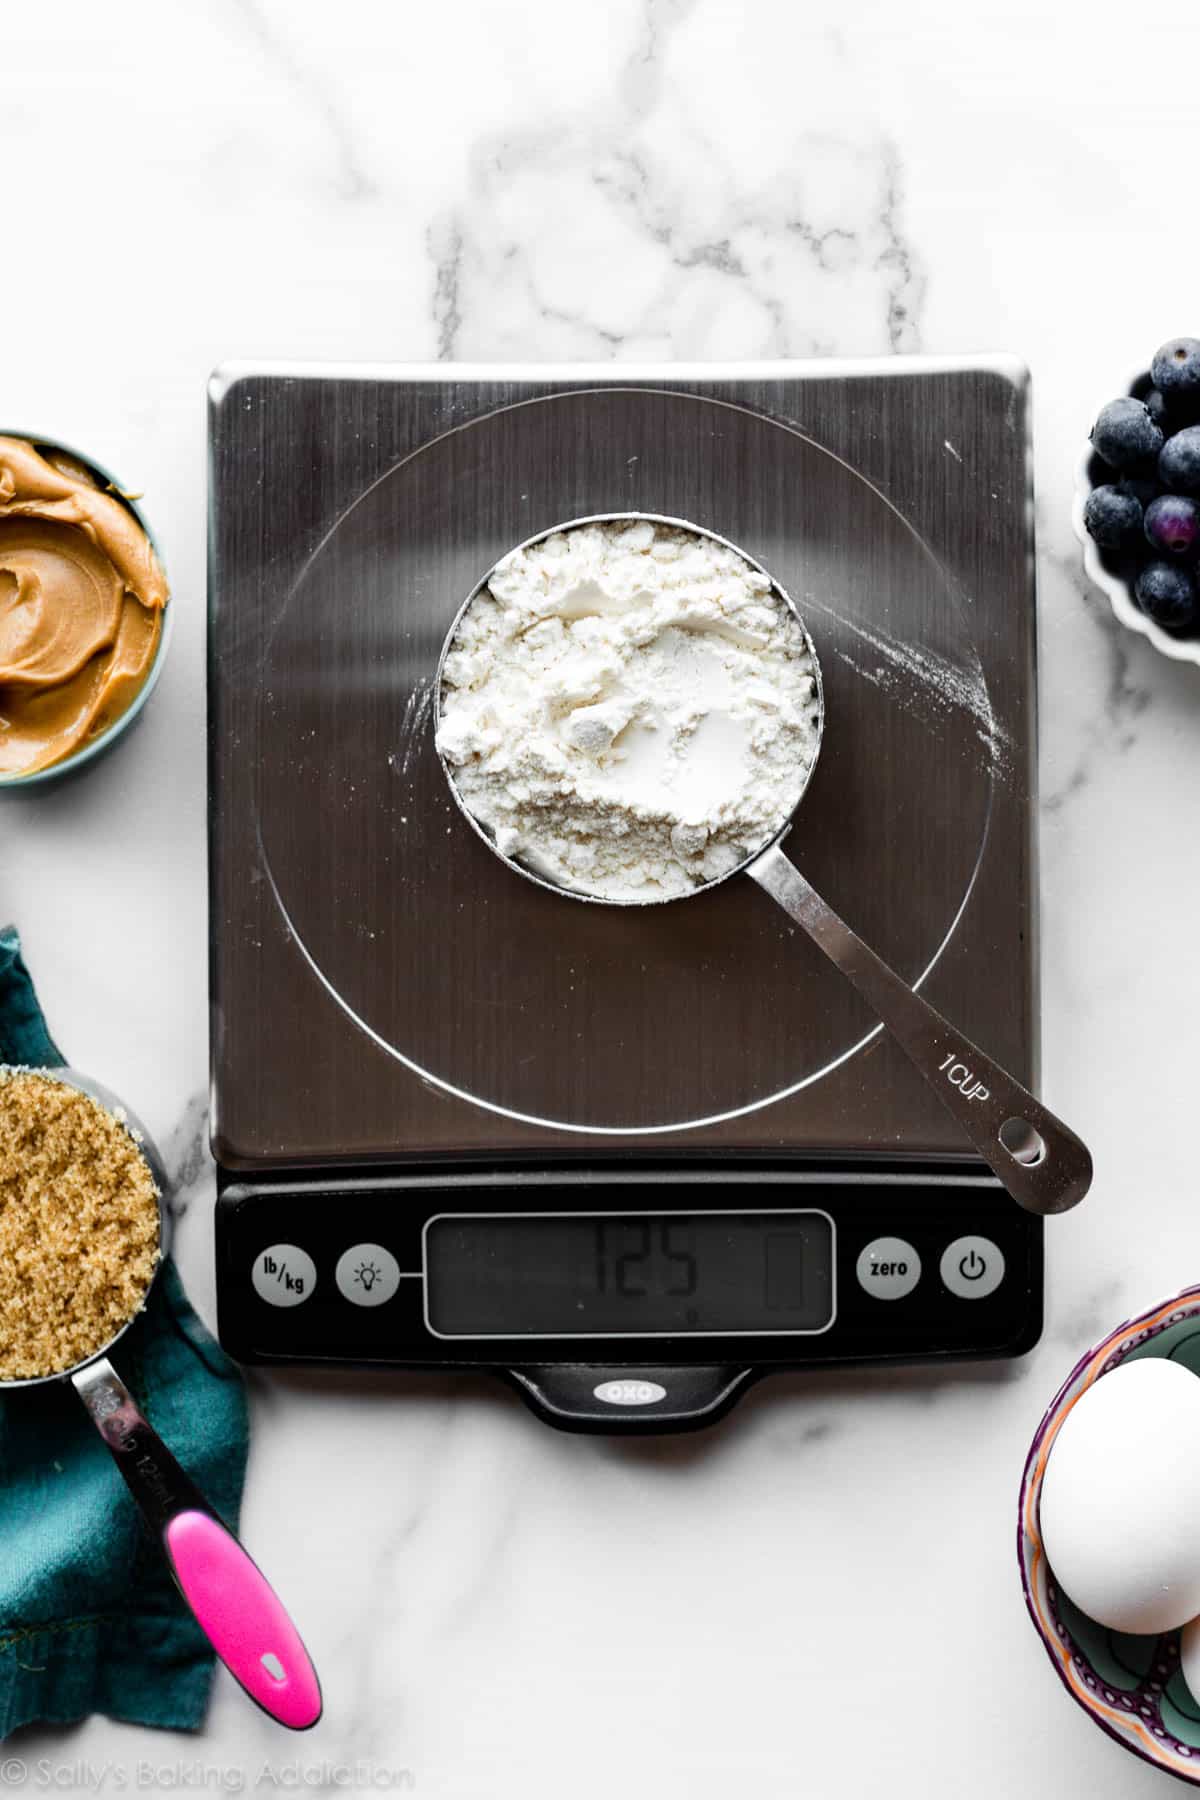
A small kitchen scale is priceless! It is, by far, the most used tool in my kitchen. A gram or ounce is always a gram or an ounce, but a cup isn’t always a cup. This is why I offer gram measurements with my recipes. Again, precision is everything. A kitchen scale is included in my 14 Best Baking Tools roundup, Best Cake Decorating Tools list, as well as the Gifts for Bakers page. It’s undoubtedly handy!
7. Get an Oven Thermometer
I use my ovens so much that the temperatures are sometimes off. Yes, the actual oven temperature can be much higher or lower than what the controller says. I’ve worked with 6 different sets of ovens in the past 10 years (all different brands) and after a period of time, each have been slightly off.
No ovens are safe from this!
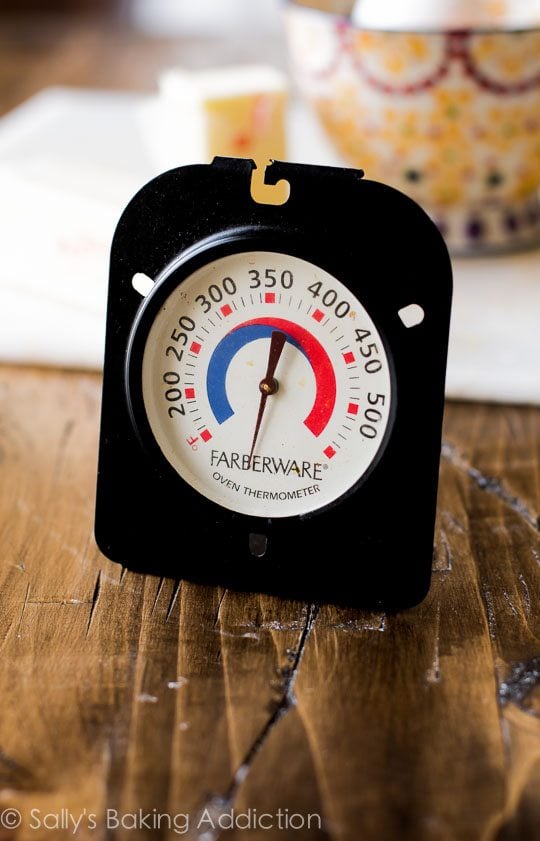
Use an oven thermometer. Place it in the center of your oven. Some hang from the racks or can be placed directly on the bottom of the oven. While inexpensive, they’re irreplaceable in a baker’s kitchen. Place it in your oven so you always know the actual temperature.
- Unless you have a brand new or regularly calibrated oven, your oven’s temperature is likely inaccurate. When you set your oven to 350°F, it might not really be 350°F inside. It could only be off by a little—10 degrees—or more—100 degrees! Do you know what that will do to your cookies, cinnamon rolls, and cakes? While this might not seem like a big deal to you, it is a LOADED problem for baked goods.
- An inaccurate oven can ruin your baked goods, the hours spent on the recipe, the money spent on ingredients, and leave you hungry for dessert.
- If you use a convection oven, reduce the oven temperature by 25°F. Best to reduce the baking time as well. Your eyes are the best tools for determining when a baked good is done.
I just saved a cake from a baking fail last week using my oven thermometer!
8. Keep Your Oven Door Closed
You now know how the oven’s temperature can ruin a recipe. But what can completely throw off the oven temperature is constantly opening and closing the oven door to peek inside. I know you’re excited about what’s baking! It’s so tempting to keep the oven ajar to see your cake rising, cookies baking, and cupcakes puffing up. But doing so can let cool air in, which interrupts the baked good from cooking and/or rising properly.
- Rely on the light feature in your oven if it has one.
- If you need to test your cakes for doneness with a toothpick, do so quickly. Remove it from the oven, close the oven immediately, test for doneness, then put it back in as quickly as you can if more oven time is required.
9. Chill Your Cookie Dough
Chilling cookie dough in the refrigerator firms it up, decreasing the possibility of over-spreading. Chilling cookie dough not only ensures a thicker, more solid cookie but an enhanced flavor as well. Not only this, cold cookie dough is much easier to handle and shape. In chewy chocolate chip cookies, for example, it helps develops a heightened buttery, caramel-y flavor. After chilling, let your cookie dough sit at room temperature for about 10 minutes (or more, depending how long the dough has chilled) before rolling into balls and baking. Sometimes after refrigeration, cookie dough can be too hard to roll/handle.
- If a recipe calls for chilling the cookie dough, don’t skip that step.
- If a recipe yields super sticky cookie dough, chill it before rolling and baking.
This tip is so important that I wrote a separate post about it!
Further Reading: How to Prevent Cookies from Spreading
Don’t Have Time? Here are my No Chill Cookie Recipes, including favorites like snickerdoodles, giant chocolate chip cookies, and shortbread cookies. Or try my M&M cookie bars.
10. Here is my Cookie Trick
Last baking tip and it’s all about cookies. To keep leftover cookies extra soft, store them with a piece of bread. Have you heard of this before? If storing cookies in a container or cookie jar, stick a regular piece of bread in there as well. The cookies will absorb all of the bread’s moisture, leaving the bread hard and the cookies extra soft. And they’ll stay soft FOR DAYS!
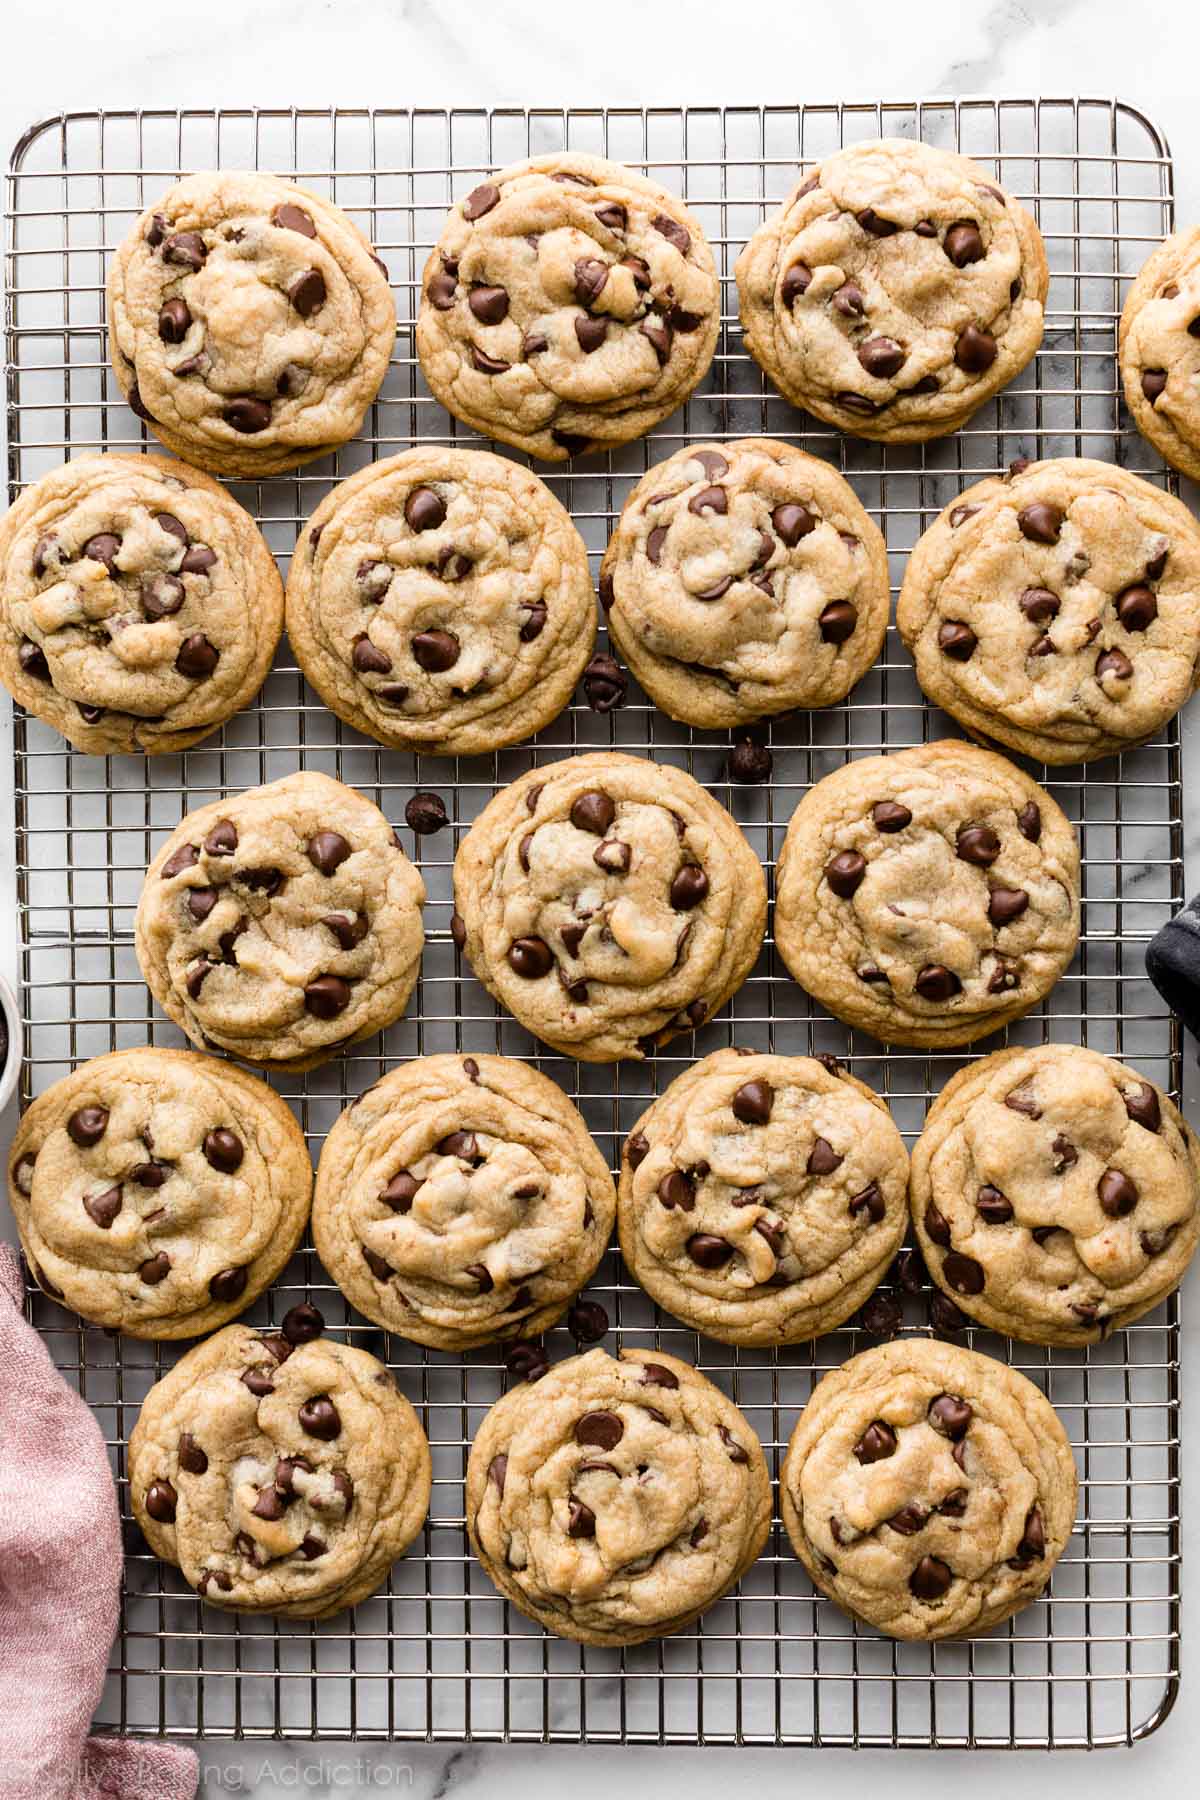
Pictured Below: Chewy Chocolate Chip Cookies
When it comes to baking, it pays off to be a perfectionist. Hopefully these baking tips will help bring you the recipe success and kitchen confidence you crave.
More Baking Tips
- 10 Cake Baking Tips for Perfect Cakes
- Baking Powder Vs. Baking Soda
- 14 Best Baking Tools Every Baker Needs
- Dutch-process Vs. Natural Cocoa Powder
- 10 Tips for Baking the Best Cupcakes & How to Fill Cupcakes
- 10 Best Cookie Baking Tools




Reader Comments and Reviews
I love ALL your recipes so far. I do have an issue icing a round cake. The family loves icing on their cakes and cupcakes. My cake tends to slide off the bottom layer. I’ve tried different technics and continue to fail. Can you please provide a video on the proper way to ice a round cake. I’ve laid one upside down and the 2nd right side up, I’ve shaved off the dome and crumbs get mixed up in the icing. I’ve turned it upside down and it still slides. I live in Tx and LOTS of humidity and it’s hard baking sometimes.
Hi Mary! It could be a heat/humidity issue. Make sure not to let the frosting warm up too much while assembling. If it seems to be getting too warm, we would put it in the fridge to rest for 10 minutes or so before continuing. We include instructional videos, including cake assembly, with many of our cake recipes, like our confetti cake recipe. Hope this helps!
Do you recommend using a convection oven? Does it make a difference (besides reducing the temp and bake time)? Are there certain types of baking that it is better for?
Hi Erin, We always recommend conventional settings for baking (not convection/fan). The flow of air from convection heat can cause baked goods to rise and bake unevenly and it also pulls moisture out of the oven. If you do use convection/fan settings for baking, lower your temperature by 25 degrees F and keep in mind that things may still take less time to bake. We do use the convection setting for savory items- like when roasting veggies or cooking meats. Hope this helps!
Hi, I love your recipes. I’m actually having an issue with my cakes. I use a basic recipe and the cakes taste great, however I’m experiencing an aftertaste once I eat a slice. I have searched all over for tips as to why this might be happening. Can you share any ideas that may be causing this?
Hi Barbara! Could one of your ingredients be expired or getting old? Older baking soda or powder can leave an aftertaste, in particular.
I’d really like your advice please. I’m often asked to make cakes to celebrate folks birthdays and have with refreshments at gatherings of a group I attend. I used to be able to make 8 inch sized sponge recipes and fit both sandwich pans in my oven side by side but now with the numbers attending increased I need to make 9 inch layered cakes. My problem is that my small oven will not fit both layers side by side. I’ve been getting round this by splitting the recipe and cooking layers separately but this makes the overall cake preparation very time consuming and inefficient. Could you advise please if you can think of a better workaround. Many thanks.
Hi Tassie, it sounds like you have the right approach. If you cannot fit both pans in the oven on the same rack and without the sides of the pans touching, it’s best to bake in batches. You can leave the remaining batter covered at room temperature while waiting for the current layers to bake.
I am never sure how long to cream the butter and sugar together and what they should look like. I have chilled cookie dough , used parchment paper, weighed ingredients… and cookies still flatten out. I have a kitchen aid stand mixer – but not sure what speed to use and time for best results. thanks for any thoughts. I love your website!
Hi Laurie! Properly creamed butter will turn a slightly lighter color – this is what we usually look for. Here’re more tips for preventing cookies from spreading!