
Like my regular sugar cookies, these chocolate sugar cookies are soft and thick with crisp edges and a nice smooth top for decorating. Use cookie cutters to cut this chocolate dough into shapes, and after baking and cooling, you can decorate them with royal icing or this super easy cookie icing.
Bakers, you know I aim to bring you only the very best when it comes to sugar cookies. (I solemnly swear on my cookie cutters.) They need to hold their shapes in the oven, have a nice flat surface for decorating, and, obviously, taste amazing! So developing a chocolate version of this popular recipe was not a task I took lightly.
Not only are today’s cookies the perfect balance of chocolate and buttery goodness, they’re also easy to make!
Tell Me About These Chocolate Sugar Cookies
- Texture: These cookies are soft and thick with slightly crisp edges.
- Flavor: Chocolate and buttery flavors are front and center here, reminding you of chocolate butter cookies or even homemade brownies. Both icing options are sweet, and pair wonderfully with the cookie’s deep chocolate flavor.
- Ease: Even if you’ve never made cookie cutter cookies before, this is a great place to start. You only need 8 ingredients for the cookie dough and the steps are ordered in such a way to make rolling and shaping EASIER.
- Time: Set aside a few hours for these because the dough does need to chill—I recommend setting aside an afternoon for baking and decorating fun. You can also make these ahead of time if it’s easier (see Note).
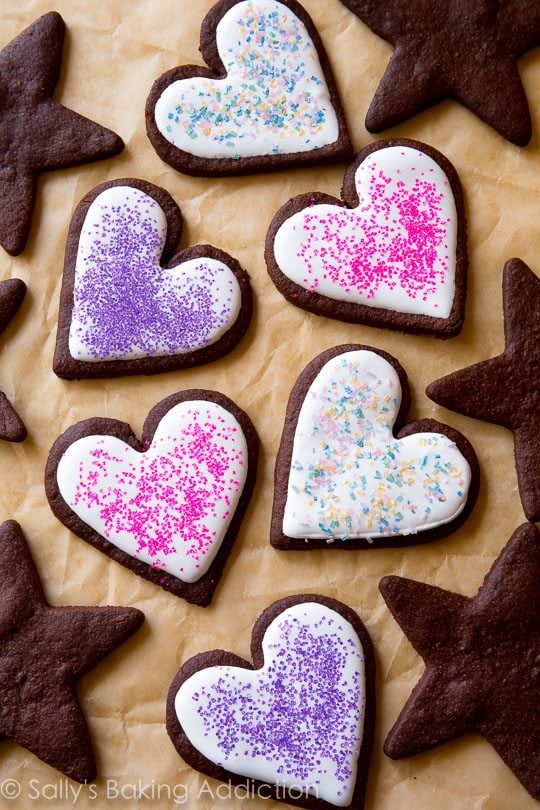
You can use this recipe to make any shapes like hearts and stars.

By the way, you can use this exact dough when making Halloween cookies, my reader-favorite homemade thin mint cookies, and holiday-perfect peppermint bark cookies. They also look great decorated as fireworks cookies or football cookies. This is a very versatile chocolate sugar cookie dough!
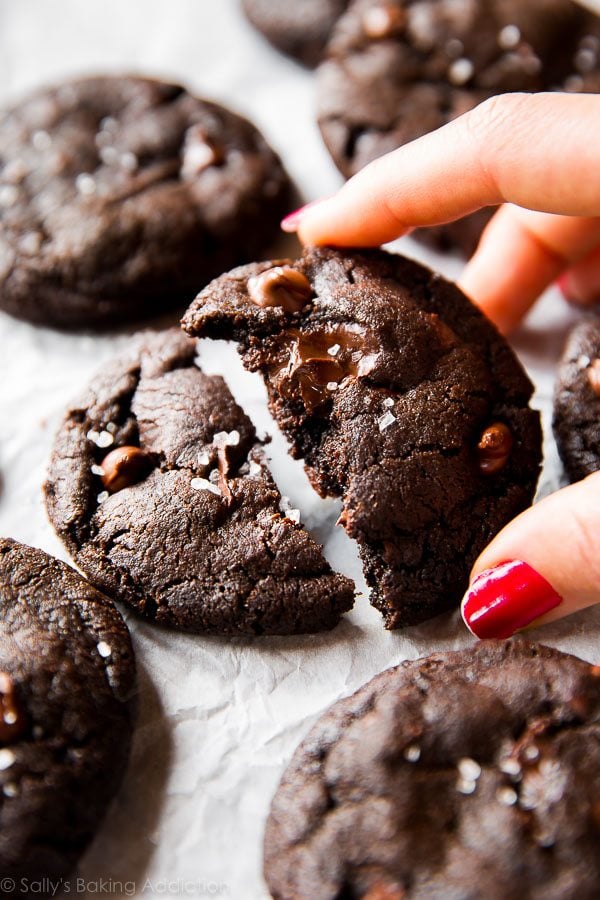
And if you’re looking for a drop-style chocolate cookie recipe, you’ll love these double chocolate chip cookies or my popular chocolate chip cookies.
Why This Chocolate Sugar Cookie Recipe Works
There are a few tricks to making sure your chocolate sugar cookies hold their cookie-cutter shapes in the oven (rather than spreading into unrecognizable blobs)
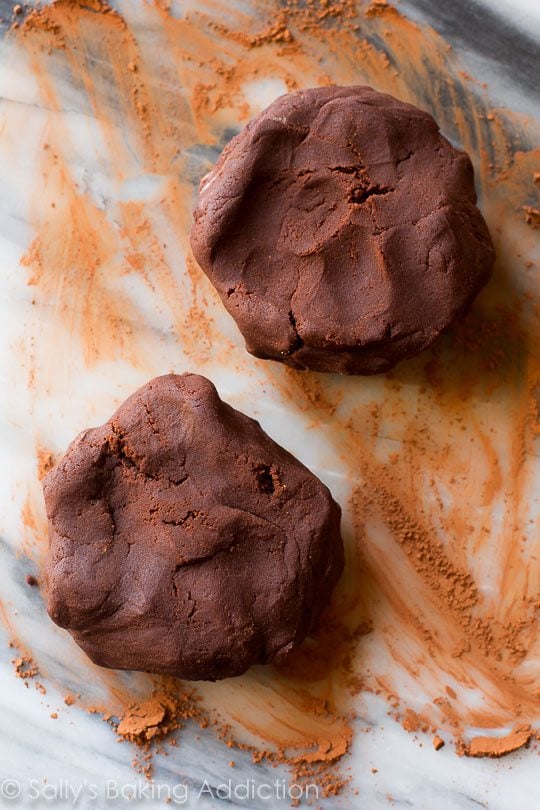
- Roll out the dough BEFORE chilling. It’s much more effective to chill the cookie dough *after* rolling it out—just as you do when making regular sugar cookies or brown sugar cut-out cookies. Trying to roll out hard, chilled sugar cookie dough is frustrating and difficult. So, once you’ve mixed together your dough, divide it into 2 halves, and roll out each portion before chilling the rolled-out dough in the refrigerator.
- Another trick: Roll out the cookie dough directly on a silicone baking mat or parchment paper so you can easily transfer it to the refrigerator. If you don’t have enough room for 2 baking sheets in your refrigerator, stack the pieces of rolled-out dough on top of each other, with parchment/baking mat in between.
- My final trick: Instead of dusting your hands and work surface with flour like you usually do when handling/working with dough, use cocoa powder—an ingredient you need for the dough anyway! Flour is completely tasteless, so might as well use cocoa powder for extra chocolate flavor, right?
One reader, Anna, commented: “Yummy. My favorite cut out cookie recipe so far. Really does remind me of brownies. ★★★★★“
One reader, Peggy, commented: “My kids have labeled these Brownie Cookies because they taste like the perfect combination of a cut out and a brownie. They were so easy to make and very sturdy like your gingerbready cookie recipe. We used the easy glaze and just did a quick drizzle over the top. This is a great addition to my cut out cookie rotation. ★★★★★“

Choosing the Right Ingredients: Natural Cocoa Powder or Dutch-Process?
Cocoa powder is the key ingredient in these chocolate sugar cookies. But which one should you use: natural cocoa powder or dutch-process?
If you’re not sure about the difference between the 2 and are interested, you can read more on my dutch-process vs natural cocoa powder page. Though dutch-process is typically what you would use when paired with baking powder, for this cookie recipe—and actually for these brownie cookies, too—it’s OK to use either dutch-process or natural cocoa powder.
So choose whichever cocoa powder you like best! I typically use Hershey’s or Ghirardelli brands.
Icing for Decorating These Cookies
I have 2 cookie icing recipes and you can use either based on your skill level and decorating needs. Here are the basic differences:
1. Royal Icing: I have a separate post for royal icing where you can find many FAQs, make-ahead instructions, and a video tutorial. This icing is ideal for intermediate or advanced cookie decorators. In a nutshell:
- Sturdy icing for piping sharp detail and fine designs
- Sets on the cookie in just 1–2 hours
- Dries firm but still soft, not a hard cement-like texture
- Make with an electric mixer
- Meringue powder eliminates the need for raw egg whites
- Decorate with piping bags (reusable or disposable) and tips
The pictured chocolate sugar cookie hearts are decorated with royal icing using Wilton piping tip #4, the same tip I use when decorating these Valentine’s Day cookies and these Halloween cookies (pictured next).
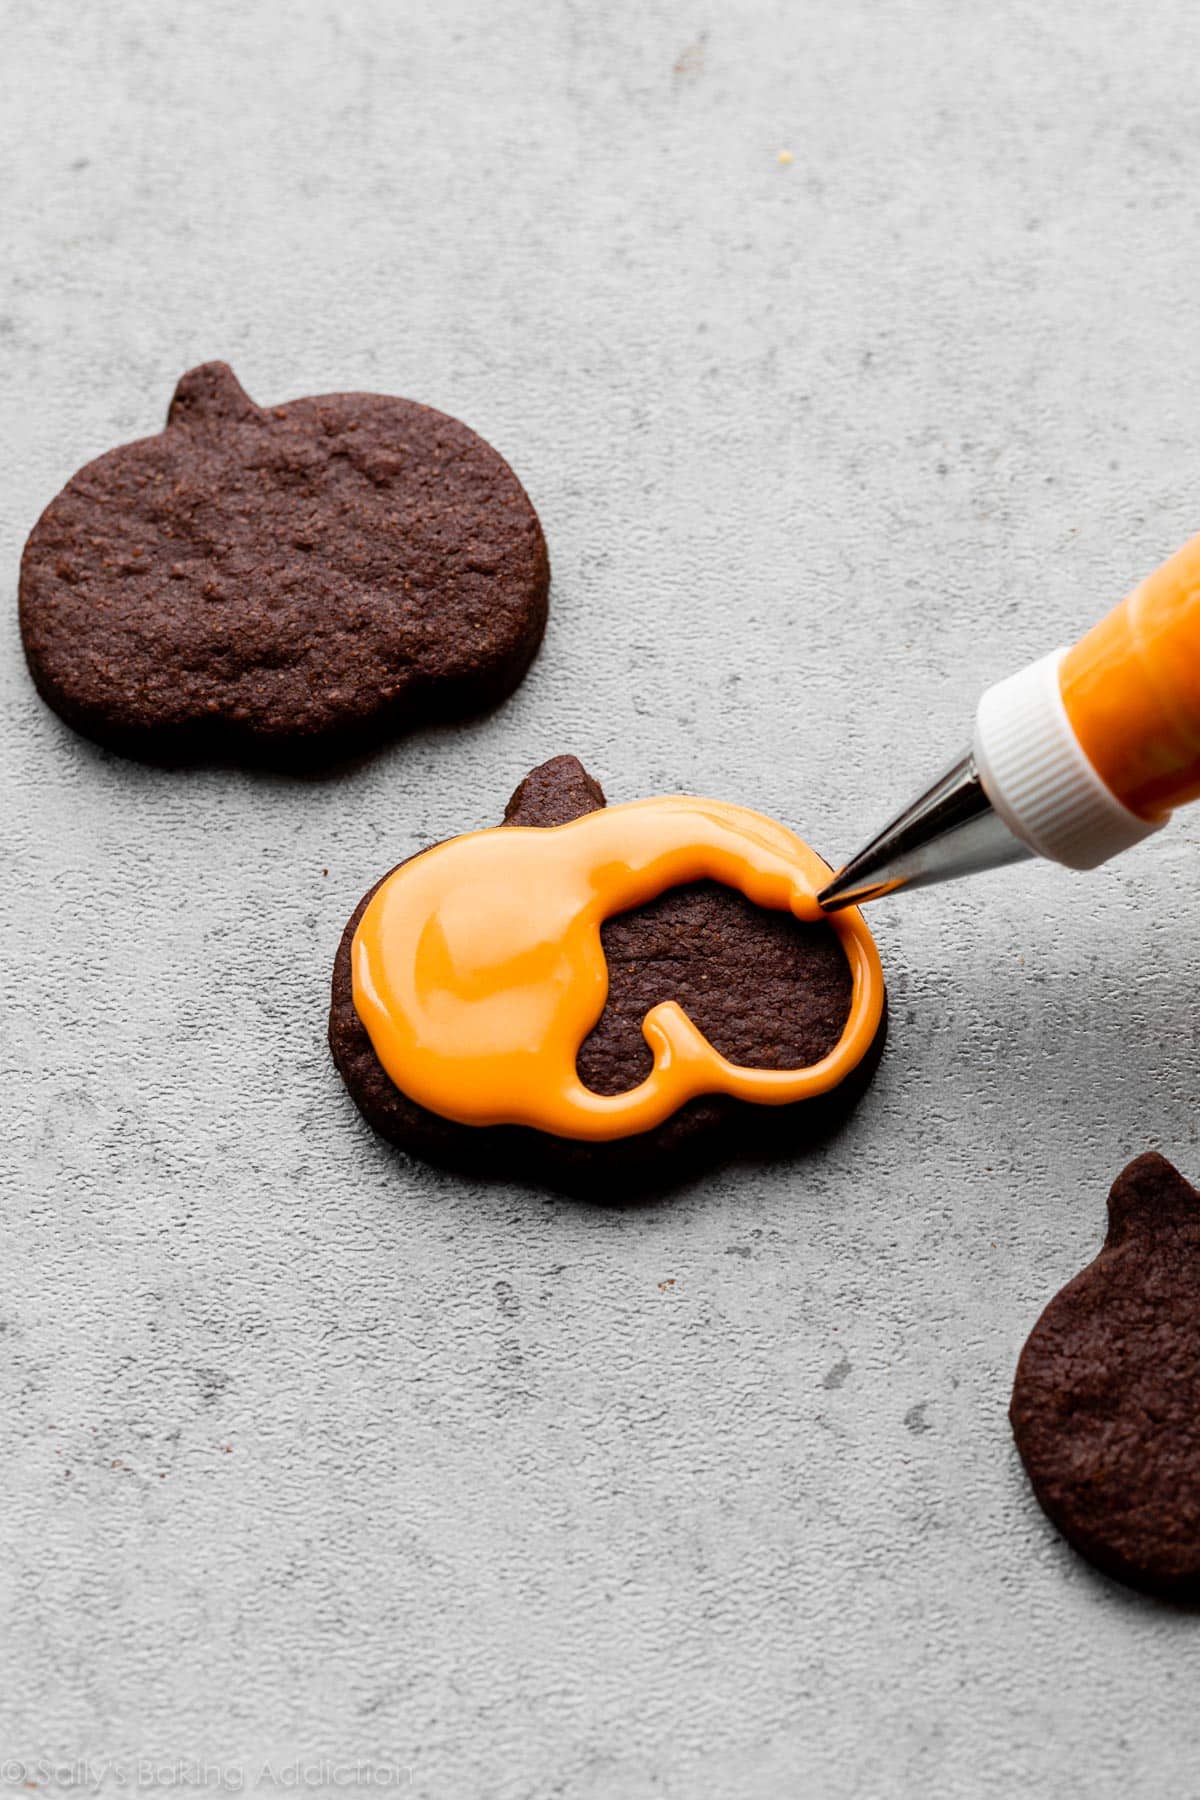
2. Easy Glaze Icing: Another option is this easy cookie icing, which I typically use on these Christmas sugar cookies. This glaze-style icing is great for beginners and much easier to make than royal icing because you don’t need an electric mixer or the perfect icing consistency for success. It isn’t as sturdy as royal icing, though, so you won’t be able to pipe concise details. It also takes a good 24 hours to dry. In a nutshell:
- Easy to make with just a fork/whisk and bowl
- Just 5 basic ingredients
- Can decorate with piping tips or a squeeze bottle (good for beginners and young bakers)
- Sets on the cookie in 24 hours
For more decorating inspiration, here is my full tutorial (video included) on how to decorate sugar cookies. You could also top these with cookie decorating buttercream, like I use on these St. Patrick’s Day cookies. And if you’re not into piping tips, you can just dunk the tops of the chocolate sugar cookies into the icing like when making mini animal cracker cookies. A fun option if you’re baking with kids!
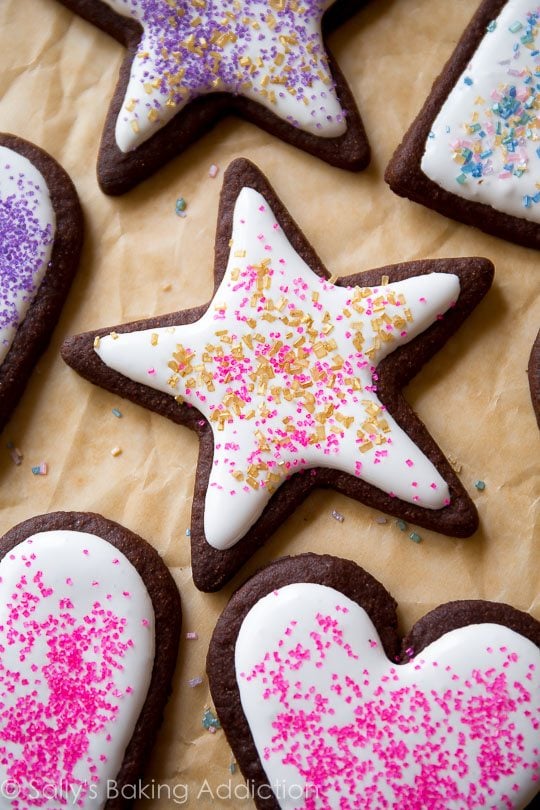
A Note on Tinting Your Icing: Liquid food coloring can alter the consistency of the icing, so I recommend using gel food coloring. This Americolor Soft Gel Paste Color Kit is handy if you decorate a lot and want a variety of colors. (Note: The pictured cookies do not use food coloring, but you can absolutely use it if you’d like colored icing!)
Chocolate Sugar Cookie Tips & Tools
Before I leave you with the recipe, let me suggest some useful chocolate sugar cookie tools. These are the exact products I use and trust in my own kitchen:
- Electric Mixer (Handheld or Stand Mixer)
- Baking Sheets
- Silicone Baking Mats or Parchment Sheets
- Rolling Pin or this Adjustable Rolling Pin
- Piping Tips/Squeeze Bottle: If you’re using royal icing, I recommend Wilton piping tip #4 for outlining and flooding. This is a wonderful basic piping tip to have in your collection. If you’re using my easy glaze icing, I recommend using a squeeze bottle.
- Piping Bag: If you’re using a piping tip, you need a disposable piping bag or reusable piping bag.
- Couplers: Couplers are handy if you have multiple colors of icing and only 1 tip, and need to move the tip to the other bags of icing.
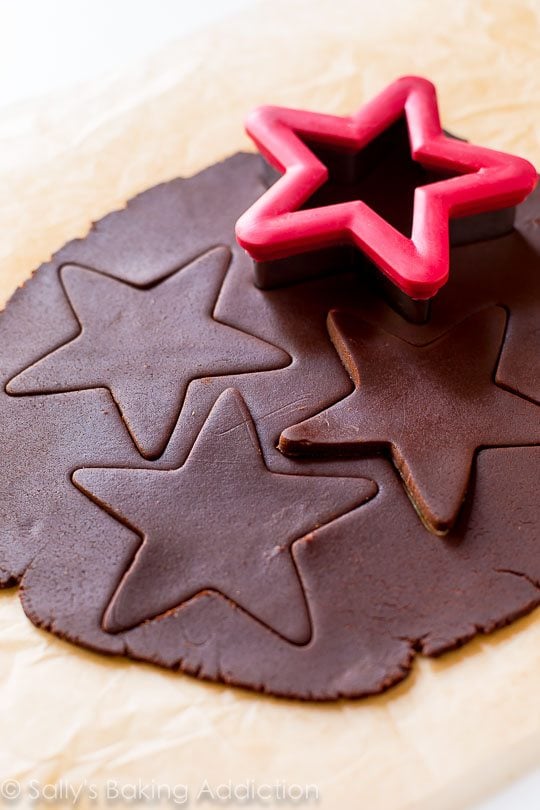
- Cookie Cutters: I like this heart-shaped cookie cutter and these star-shaped cookie cutters, but you can use any shape!
For even more recommendations you can see this full list of my favorite cookie decorating supplies.
Print
Chocolate Sugar Cookies
- Prep Time: 2 hours
- Cook Time: 12 minutes
- Total Time: 3 hours, 30 minutes (plus icing setting time)
- Yield: 24 3-4 inch cookies
- Category: Cookies
- Method: Baking
- Cuisine: American
Description
If you love chocolate, try flavorful chocolate sugar cookies instead of regular sugar cookies. This is an easy recipe and they’re so fun to decorate! Chilling is the most important step, so don’t skip it. The number of cookies this recipe yields depends on the size of the cookie cutter you use. If you’d like to make dozens of cookies for a large crowd, double the recipe.
Ingredients
- 1 and 1/2 cups (188g) all-purpose flour (spooned & leveled)
- 3/4 cup (62g) unsweetened natural or dutch process cocoa powder, plus more as needed for rolling and work surface
- 1 teaspoon baking powder
- 1/8 teaspoon salt
- 3/4 cup (12 Tbsp; 170g) unsalted butter, softened to room temperature
- 1 cup (200g) granulated sugar
- 1 large egg, at room temperature
- 1 teaspoon pure vanilla extract
For Decorating
- Royal Icing or Easy Glaze Icing (royal icing is pictured)
- Assorted sprinkles
Instructions
- Make the cookies: Whisk the flour, cocoa powder, baking powder, and salt together in a medium bowl. Set aside.
- In a large bowl using a handheld or a stand mixer fitted with a paddle attachment, beat the butter and sugar together on high speed until completely smooth and creamy, about 2 minutes. Add the egg and vanilla and beat on high speed until combined, about 1 minute. Scrape down the sides and up the bottom of the bowl and beat again as needed to combine.
- Add the dry ingredients to the wet ingredients and mix on low until combined. Dough will be soft. If the dough seems too soft and sticky for rolling, add 1 more Tablespoon of flour.
- Roll the dough: Divide the dough into 2 equal parts. Dust 2 large pieces of parchment paper or 2 silicone baking mats with cocoa powder or flour. Place a dough half on each. With a rolling pin lightly dusted with cocoa powder or flour, roll the dough out to about 1/4-inch thickness. Use more cocoa powder/flour if the dough seems too sticky. The rolled-out dough can be any shape, as long as it is evenly 1/4-inch thick.
- Chill the dough: Lightly dust one of the rolled-out doughs with cocoa powder or flour. Place a piece of parchment on top. (This prevents sticking.) Place the 2nd rolled-out dough on top. Cover with plastic wrap or aluminum foil, then refrigerate for at least 1-2 hours and up to 2 days.
- Preheat oven & shape cookies: Once chilled, preheat oven to 350°F (177°C). Line 2-3 large baking sheets with parchment paper or silicone baking mats. Carefully remove the top dough piece from the refrigerator. Using cookie cutters, cut the dough into shapes. Re-roll the remaining dough, using more cocoa powder or flour to lightly dust your work surface and rolling pin, and continue cutting the dough until all is used. Work quickly so the dough doesn’t become too warm or soft. If it does, stop what you’re doing and place any unused dough back in the refrigerator for 10 minutes to stiffen up again. Repeat cutting into shapes with 2nd half of dough. (Note: It doesn’t seem like a lot of dough, but you get a lot of cookies from the dough scraps you re-roll.)
- Bake & cool: Arrange shaped cookies on baking sheets 3 inches apart. Bake for 11-12 minutes or until edges are set. If your oven has hot spots, rotate the baking sheet halfway through bake time. Allow cookies to cool on the baking sheet for 5 minutes and then transfer to a wire rack to cool completely before decorating.
- Make either icing: Prepare the royal icing or cookie icing and decorate the cooled cookies however you’d like. Add sprinkles on top of the icing if desired. Feel free to tint either icing with gel food coloring. See post above for recommended decorating tools. No need to cover the decorated cookies as you wait for the icing to set. If it’s helpful, decorate the cookies directly on a baking sheet so you can stick the entire baking sheet in the refrigerator to help speed up the icing setting.
- Enjoy cookies right away or wait until the icing sets to serve them. Once the icing has set, these cookies are great for gifting or for sending. Plain or decorated cookies stay soft for about 5 days when covered tightly at room temperature. For longer storage, cover and refrigerate for up to 10 days.

Notes
- Freezing Instructions: Plain or decorated sugar cookies freeze well up to 3 months. Wait for the icing to set completely before layering between sheets of parchment paper in a freezer-friendly container. To thaw, thaw in the refrigerator or at room temperature. You can also freeze the cookie dough for up to 3 months before rolling it out. Prepare the dough through step 2, divide in half, flatten both halves into a disk as we do with pie crust, wrap each in plastic wrap, then freeze. To thaw, thaw the disks in the refrigerator, then bring to room temperature for about 1 hour. Roll out the dough as directed in step 4, then chill in the refrigerator for 1 hour before cutting into shapes and baking.
- Special Tools (affiliate links): Electric Mixer (Handheld or Stand Mixer) | Baking Sheets | Silicone Baking Mat or Parchment Paper | Rolling Pin or this Adjustable Rolling Pin | Heart-Shaped Cookie Cutter and/or Star-Shaped Cookie Cutter | Cooling Rack | Americolor Soft Gel Paste Color Kit | Piping Bags (Disposable or Reusable) | Couplers | Wilton Tip #4 | Squeeze Bottle
- Room Temperature: Room temperature butter is essential. If the dough is too sticky, your butter may have been too soft. Room temperature butter is actually cool to the touch. Room temperature egg is preferred so it’s quickly and evenly mixed into the cookie dough.
- Icing: Use royal icing or my easy cookie icing. See post above to read about the differences.
- Be sure to check out my top 5 cookie baking success tips AND these are my 10 must-have cookie baking tools.


Reader Comments and Reviews
I love this recipe. They were great with your royal icing flavored with cherry extract for Valentine’s Day! Would you just add espresso powder to make this a mocha cookie?
Hi Steven, yes, a teaspoon of espresso powder would be wonderful here!
Hi Sally.
I usually bake your sugar cookies a few week before a holiday, put them in the freezer, and decorate them (with your royal icing) the day before. My “rustic” decorating skills notwithstanding, they are so delicious. So I decided to bake these chocolate ones, for the first time, in anticipation of doing the same for Easter. Well, I better get them completely cooled and into the freezer quickly because I just ate one and OMG: so, so good, it’s going to be challenging to not eat them all before I need to decorate and bring them to dinner.
Thank you for these. As always, easy to follow recipe and super delicious.
Hi Sally! These cookies are delicious!!! I’ve made them three times and the whole family loves them! Thanks for another great recipe! The recipe is super easy to follow and the ingredients are simple, I would definitely recommend these cookies if you want something easy with amazing results.
These cookies are delicious and were a big hit on Valentine’s Day. I made a combination of heart shapes and stamped cookies and both came out great. Like some of the other reviewers, I too noted the brownie like taste, but they also reminded me of the Chocolate Snaps that I had as a child. So – rich chocolate taste and a bit of nostalgia rolled up into one, delicious cookie 🙂 Thanks Sally and team!